Tackling a project like replacing old, busted-up concrete can feel like a huge undertaking. But whether it's your driveway, a patio, or a sidewalk, getting it right comes down to a proven, step-by-step process. The core of any good concrete replacement job boils down to five key stages: demolition, base preparation, reinforcement, pouring, and curing. Following these steps in order is what separates a long-lasting, durable surface from one that fails in just a few years. For instance, skipping proper base preparation can lead to a new driveway cracking within two years, while a professionally executed job should last for decades.
The Professional's Playbook for Concrete Replacement in Atlanta

When your concrete starts to look more like a shattered pane of glass—with deep cracks, flaking surfaces (spalling), or dangerous uneven sections—it’s not just ugly. It’s a genuine safety hazard. Consider a homeowner in Sandy Springs who had a sidewalk slab that had lifted two inches due to a tree root; this created a serious trip-and-fall liability. While the thought of replacing it all can be intimidating, breaking down the professional workflow takes the mystery out of it and helps you know what to expect.
A common mistake we see is homeowners trying to pour a thin layer of new concrete over an old, damaged slab. This is a shortcut that’s guaranteed to fail. Any existing cracks will telegraph right through to the new surface, a phenomenon we call reflective cracking. A true replacement means starting fresh to avoid this problem entirely. For example, a 2-inch overlay on a cracked patio will show those same cracks within a single season of temperature changes.
Why Every Step Matters
Here in the Atlanta area, our unique climate and soil conditions make a disciplined approach absolutely non-negotiable. That famous Georgia red clay is expansive, meaning it swells and shrinks with moisture. Combine that with our heavy rainfall, and you have a recipe for disaster if the ground isn't prepared correctly. Without proper subgrade preparation, the shifting soil can wreck a new slab before it even has a chance to fully harden.
A professional replacement isn't just about the concrete; it's about building a stable foundation from the ground up. This methodical process is the difference between a slab that lasts five years and one that serves you well for over 25 years.
The key phases of a successful project really boil down to this:
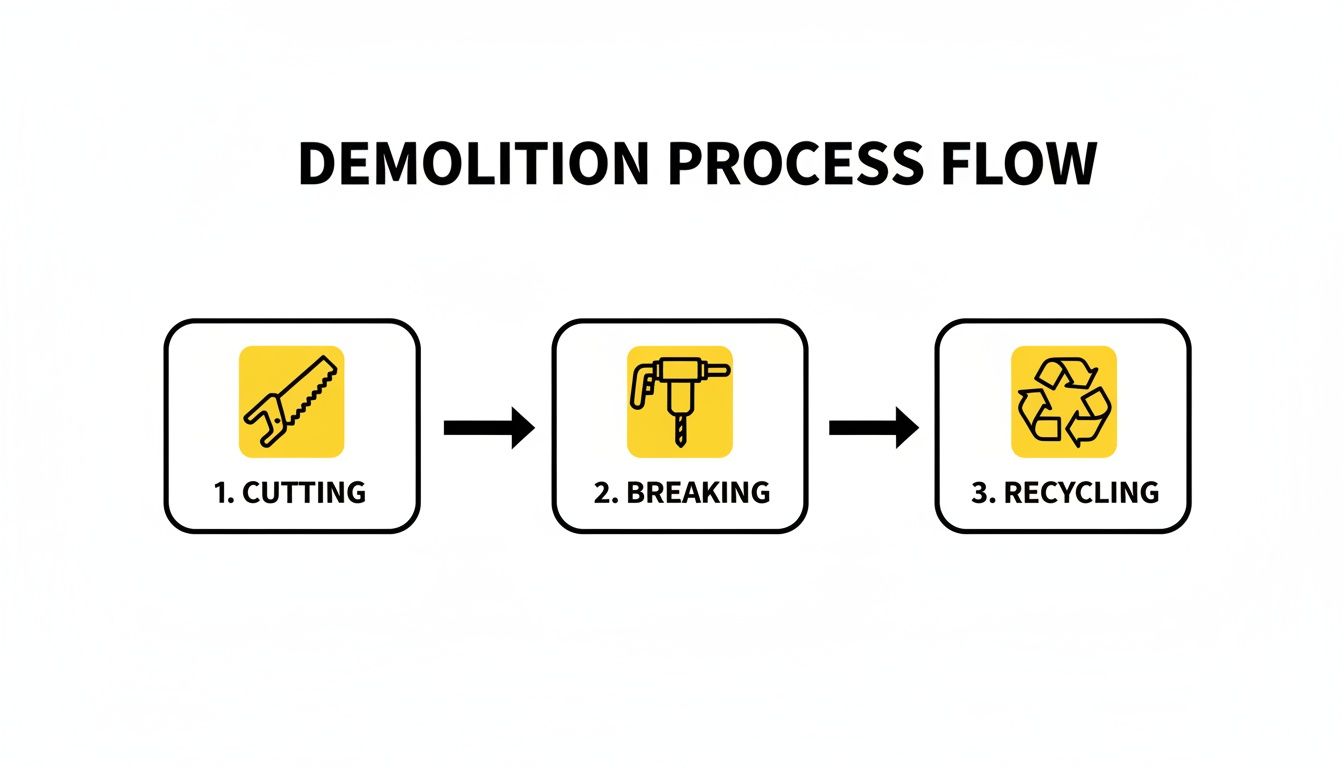
- Thoughtful Planning and Demolition: This is more than just swinging a sledgehammer. It’s about carefully breaking up the old slab, managing the debris, and making sure the surrounding property—like your lawn or garage foundation—is protected. An example of poor planning is damaging sprinkler heads along a driveway edge because their locations weren't marked before demolition began.
- Expert Base Preparation: This is, without a doubt, the most important step. It involves compacting the soil and laying a solid gravel base that allows for proper drainage. In Georgia, this is essential for handling our downpours.
- Pouring and Finishing: From choosing the right concrete mix for the job to applying the final finish, this is where strength meets aesthetics. The right techniques ensure the surface is both tough and looks great. For example, using a broom finish on a sloped driveway provides essential traction in wet weather.
- Proper Curing: This final, often-overlooked phase is what allows the concrete to reach its maximum strength and durability, preventing premature surface cracks. A slab that dries too quickly on a hot day can lose up to 50% of its potential strength.
When you understand these concrete replacement steps, you can truly appreciate the skill and planning that goes into a high-quality job. You can see how these phases come together to create a lasting final product in our portfolio of completed Atlanta concrete projects.
Breaking Ground: Demolition and Site Prep
Before you can even think about fresh, new concrete, the old, busted slab has to go. This isn't just about swinging a sledgehammer until you're exhausted; it's a strategic process. The whole point is to create a perfectly clean slate for the new pour while making sure the surrounding area—your house, your garage, your landscaping—stays untouched.
The Right Tools for the Job
How we break up the old concrete really depends on what we're dealing with. For a driveway that meets your garage slab, we can't just go at it with brute force. We’ll use a heavy-duty diamond saw to make clean, precise cuts right where the two slabs meet. This is crucial for preventing any damage to your garage's foundation and gives us a nice, clean edge for the new pour. For example, without this cut, a jackhammer's vibrations could easily chip or crack the edge of the garage floor.
Now, if we're tackling something bigger, like a thick old patio or a commercial loading dock, it’s a different story. For that, we bring in the heavy equipment, usually a hydraulic breaker on a skid steer. That machine makes short work of even the most stubborn concrete, breaking it into chunks that are easy to haul away. This is where professional demolition and rehabilitation services come into play.
Keeping the Peace (and the Clean)
Let's be honest: demolition is loud and messy. There’s no getting around it. But a good crew knows exactly how to manage the chaos. Dust is a big one. We keep a steady stream of water on the area as we work to keep particles from flying everywhere. It’s a simple trick that protects your house and landscaping and, just as importantly, keeps your neighbors happy. For example, we'll often use a dedicated crew member with a hose to spray the area being cut or broken.
Speaking of neighbors, timing is everything. A considerate contractor won’t fire up a jackhammer at 7 a.m. We schedule the noisiest parts of the job for reasonable, mid-day hours. It’s a small thing that makes a big difference.
And here in Atlanta, you can't just start tearing things up without the city's blessing. Pulling the right permits is non-negotiable. For a typical driveway replacement, this might involve a simple encroachment permit from the city to ensure work doesn't interfere with public sidewalks or utilities. Working with a licensed team like ours at Atlanta Concrete Solutions means all that paperwork is handled correctly, so you don't have to worry about surprise fines or stop-work orders.
What Happens to the Old Concrete?
So where does all that rubble go? We’re not just dumping it in a landfill. Responsible disposal is a huge part of how we work. The broken concrete gets hauled off to a local recycling facility.
At these recycling centers, old concrete is crushed down into aggregate. This recycled material gets a second life as a solid base layer for new roads, driveways, and other construction projects. It’s a smart, sustainable way to handle demolition waste.
This isn't just a feel-good add-on for us; it’s built right into our 5-step process. We focus on controlled demolition and make it a point to recycle over 80% of the old concrete from our jobs. This approach helps cut landfill waste by over 50%, which lines up with Georgia's push for greener building practices. You can dig deeper into the data on this in the latest industry report on the concrete repair market.
Demolition in the Real World
Every job site has its own quirks that call for a tailored approach. Here are a couple of scenarios we see all the time:
- Tearing Out a Sloped Driveway: In Atlanta, a heavy rain can turn a sloped demolition site into a mudslide. If we just break up all the concrete at once, the soil underneath can easily wash away. To prevent this, we work in manageable sections and often use temporary silt fences at the bottom of the slope to hold the soil in place until we're ready to prep the new subgrade.
- Replacing a Patio Next to Mature Landscaping: When a patio is framed by established flower beds or your favorite azaleas, a wrecking ball approach is out of the question. Here, precision is key. We use smaller tools, like hand-held electric jackhammers, and carefully carry out the debris by hand in wheelbarrows to make sure your plants are unharmed. It’s all about containing the work to the project area.
Building a Bulletproof Foundation
Once the old, busted-up concrete is gone, the real work begins. The success of your new driveway, patio, or foundation slab hinges entirely on what’s underneath it. I can't stress this enough: rushing this phase is the single biggest mistake you can make. A poorly prepared base is the root cause of almost every crack, dip, and failure down the road.
Think of it like building a house—you wouldn't frame walls on shifting sand, right? The same logic applies here. This is where professional experience really shines, turning a patch of Georgia dirt into a rock-solid platform ready to support thousands of pounds for decades.
The demolition process is just the first step in clearing the way for this critical foundation work.
As you can see, professional demo isn't just about smashing things; it's a controlled process that sets the stage for a perfect installation.
Taming Atlanta’s Red Clay
Here in Georgia, we’ve got a unique challenge lurking right under our feet: Atlanta’s infamous red clay. This stuff is highly expansive, which means it swells up like a sponge when it gets wet and shrinks dramatically when it dries out. This constant movement puts a ton of pressure on any slab sitting on top of it.
If you pour new concrete directly onto loose clay, it's not a matter of if it will crack, but when. The shifting ground will cause the slab to heave, sink, and ultimately fail. The fix involves a one-two punch: excavation and compaction. First, we dig out the soil to a uniform, specified depth.
Then, we bring in a heavy-duty plate compactor and methodically pound the soil, squeezing out air pockets to create a dense, stable surface. This step drastically reduces the soil's ability to move, giving your new concrete a fighting chance right from the start.
To handle our unique soil conditions, we follow a rigorous preparation process. This checklist breaks down what we do and why it’s so important here in Georgia.
Subgrade Preparation Checklist for the Atlanta Climate
| Preparation Step | Why It's Critical in Atlanta | Professional Standard |
|---|---|---|
| Uniform Excavation | Ensures consistent slab thickness and prevents weak spots over uneven clay. | Dig to a minimum depth of 8-10 inches from the final surface grade. |
| Soil Compaction | Reduces the expansive properties of red clay, preventing heaving and sinking. | Use a plate compactor to achieve at least 95% soil density. |
| Gravel Base Installation | Provides a crucial drainage layer to manage Georgia's heavy rainfall. | A 4- to 6-inch layer of compacted #57 stone or crushed aggregate. |
| Proper Grading | Directs water away from the slab and your home's foundation. | A minimum slope of 1/4 inch per foot away from structures. |
Following these steps isn't optional; it's the only way to build concrete that lasts in this climate.
The Non-Negotiable Gravel Base
With the native soil properly compacted, the next layer of defense is a solid aggregate base, usually made of crushed gravel. This is probably the most critical part of ensuring a long life for your concrete in a wet climate like ours.
A 4- to 6-inch layer of compacted gravel serves one primary, vital purpose: drainage. When heavy rains hit, this gravel base gives water a path to escape from under your concrete, preventing the soil from becoming a saturated, unstable mess.
Without this drainage layer, water would just pool beneath the slab. That leads to erosion, creating voids that cause the concrete to sink and crack. A prime example is seeing one corner of a patio sink and crack after a few years; this is almost always caused by poor drainage and an inadequate gravel base.
Setting the Stage with Forms and Steel
Once the base is perfectly graded and compacted, it's time to build the framework that will hold the wet concrete. This means setting up wooden or metal forms around the perimeter of the project area. These forms act as a mold, defining the slab's final shape, thickness, and edges.
Getting the forms perfectly level and square is an art. We use levels, string lines, and stakes to make sure every edge is precise. For a driveway, for instance, the forms have to be sloped just right—typically a quarter-inch per foot—so rainwater runs off toward the street, not into your garage. Our team has dialed in these details working on projects like residential concrete foundations, where there’s zero room for error.
Inside these forms, we lay down a grid of steel reinforcement, better known as rebar. While concrete has incredible compressive strength (it’s hard to crush), its tensile strength is terrible (it cracks easily when bent or pulled). Rebar solves this weakness.
This systematic approach—from a 4-inch gravel stabilization layer to manage Atlanta's nearly 50 inches of annual rainfall to placing #4 rebar grids that can boost tensile strength by 300%—is what separates a professional job from a DIY failure.
This steel skeleton literally holds the concrete together, distributing heavy loads and stresses across the entire slab. It’s what keeps a heavy truck from cracking your driveway and prevents soil movement from splitting your patio in two.
The Art of Pouring and Finishing Concrete
After all the groundwork is done—the old slab is gone, the base is solid, and the steel is in place—we get to the main event. This is the moment a frame full of gravel and rebar starts its transformation into the smooth, sturdy surface you’ve been waiting for. Pouring and finishing is where the real skill comes in, a blend of technical precision and hands-on artistry.
When that ready-mix truck pulls up, it’s go-time. We’ve timed its arrival perfectly so there's no delay. We don’t just dump the concrete in one spot; that’s a rookie mistake. Instead, we strategically place it throughout the forms to get an even distribution from the start.
As it flows in, our crew is right there with shovels and concrete rakes, making sure every corner is filled. This first step is crucial for getting a uniform thickness and avoiding any hidden weak spots down the road.
Selecting the Right Mix for the Job
You’ve probably heard that not all concrete is the same, and it’s absolutely true. The mix design is everything. Its strength is measured in PSI (Pounds per Square Inch), which tells you how much compressive force it can handle. For an Atlanta driveway that has to put up with daily traffic from cars and SUVs, we always recommend a 4,000 PSI mix. It's the professional standard for a reason.
Could you get away with a 3,000 or 3,500 PSI mix for a simple patio or walkway? Maybe. But here in Georgia, the stronger mix gives you a serious advantage against our freeze-thaw cycles and torrential downpours. Think of it as a small investment in long-term durability. For example, a 4,000 PSI mix is less permeable to water, which helps prevent surface spalling (flaking) during the rare winter freeze.
We can also tweak the mix with additives. One of the most common and effective is fiber mesh, which involves tiny synthetic fibers being mixed right in at the plant.
Think of fiber mesh as a three-dimensional reinforcement system. It won't replace the heavy-lifting strength of steel rebar, but it does an incredible job of preventing those tiny, spiderweb-like shrinkage cracks that can form as the concrete cures.
Shaping and Smoothing the Surface
The second the concrete hits the forms, the clock starts on the finishing process. This isn't something you can rush or delay; it's a carefully timed sequence where each step happens when the concrete is at the perfect stage of setting.
The Finishing Sequence Unpacked
- Screeding: First, we level it out. We take a long, perfectly straight tool called a screed (often a 2×4) and pull it across the top of the forms. This sawing motion strikes off any excess concrete and gives us our initial flat surface.
- Floating: Next up is the bull float—a big, wide blade on a long handle. We push and pull this across the surface to smooth out any lines from the screed. This action also gently pushes the heavier aggregate down and brings the rich "cream" of cement and sand to the top.
- Edging and Grooving: As the concrete starts to firm up, we run an edging tool along the forms. This creates a clean, rounded edge that’s much less likely to chip over time. At this same stage, we cut in control joints with a groover to give the concrete a planned place to crack as it settles.
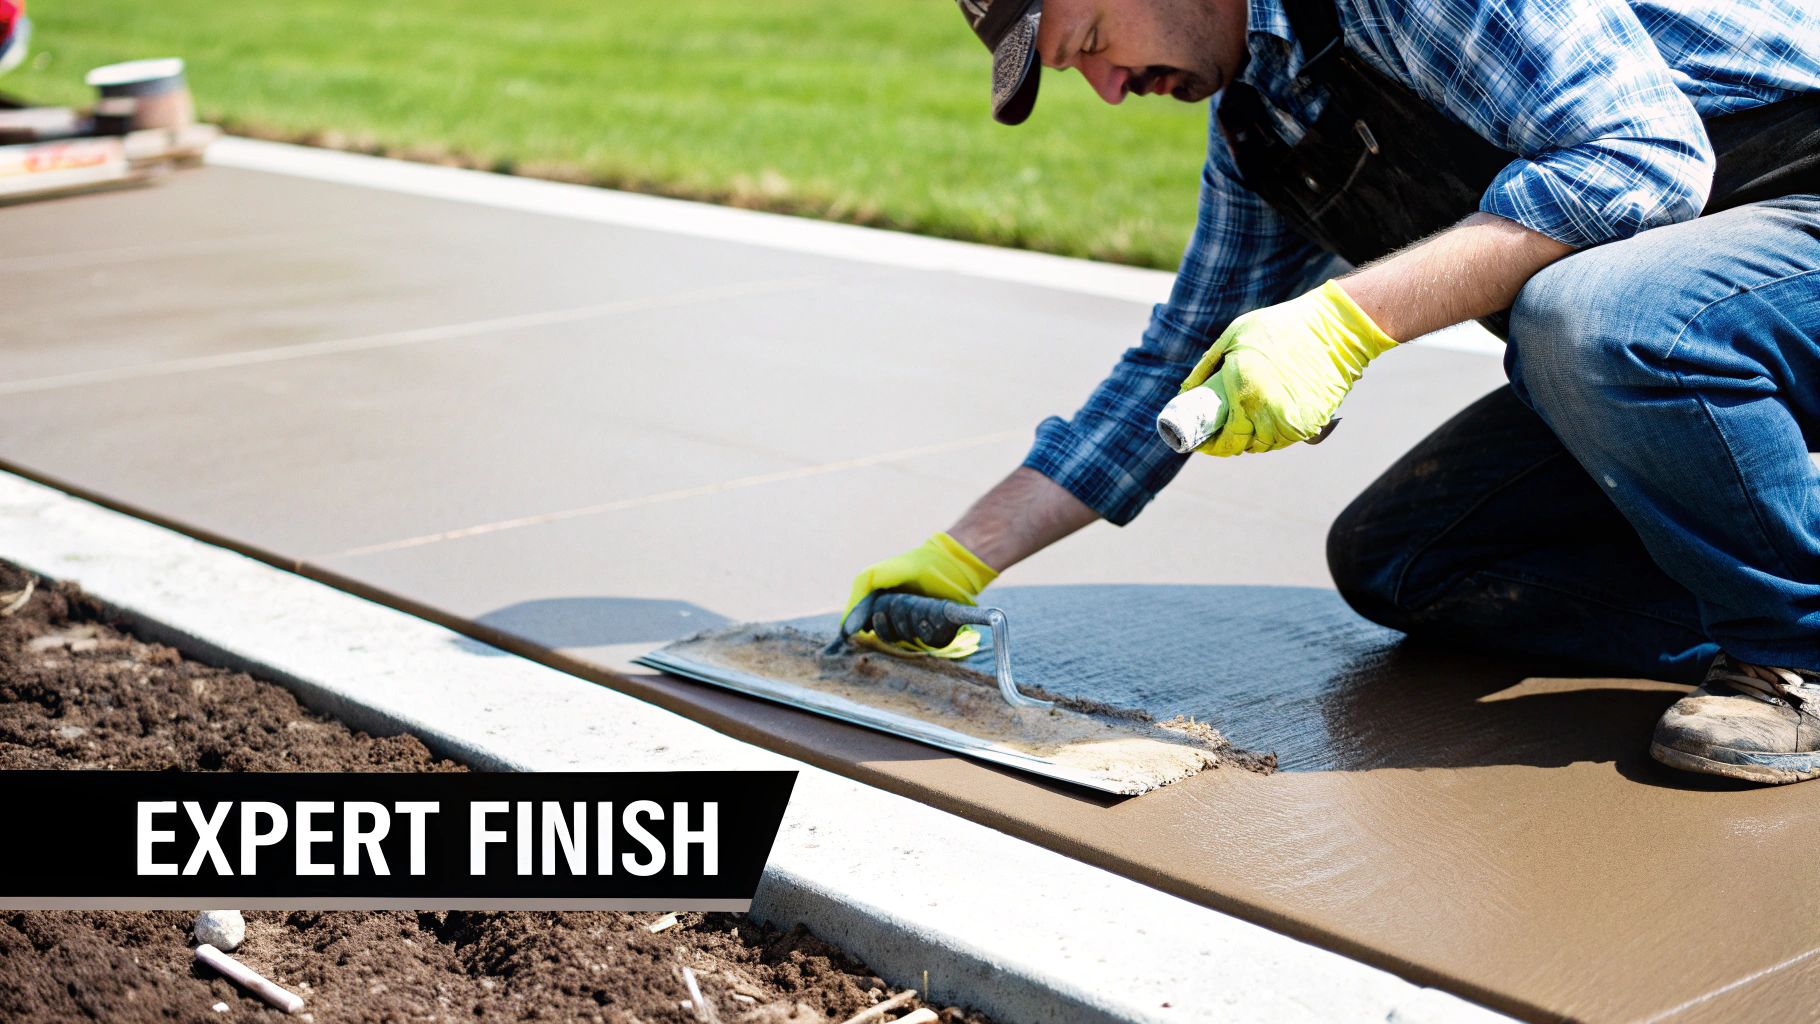
- Troweling: This is the final touch. Using hand trowels or a power trowel for larger areas, we compact the surface one last time. This creates a dense, smooth finish that’s strong and less permeable to water.
Adding Style with Decorative Finishes
Most people go with a standard broom finish for driveways and sidewalks because it provides great traction. But today, a lot of Atlanta homeowners are looking for something with more curb appeal. The world of poured concrete offers some amazing design possibilities.
Stamped concrete, for example, is hugely popular. We can press patterned mats into the fresh concrete to mimic the look of brick, slate, or natural stone. Add in some color, and you get a high-end finish without the cost or hassle of individual pavers. For a recent project in Roswell, we used an Ashlar Slate stamp pattern with a charcoal release agent to create a stunning patio that looked like expensive quarried stone.
The Curing Process: Strength from Within
Just because the concrete looks finished doesn't mean the work is done. The most important chemical process—curing—is just getting started. Curing is all about controlling the moisture and temperature so the concrete can actually reach its full design strength. Mess this part up, and you'll end up with weak, cracked concrete.
The magic happens through a chemical reaction called hydration, where cement and water bond. If the water evaporates too quickly, especially on a hot and windy Atlanta day, that reaction stops dead. The result is a weak, porous surface that’s begging to crack.
We use a couple of professional methods to make sure that doesn't happen:
- Applying a Curing Compound: We spray a liquid membrane over the fresh slab. It forms a thin, clear film that locks in moisture, letting the hydration process complete itself properly.
- Using Wet Curing Blankets: On some jobs, we’ll cover the slab with special blankets that we keep wet for several days. This is one of the most effective ways to get the absolute strongest concrete possible.
Managing this final stage is a non-negotiable part of our process. It’s what guarantees your new driveway or patio will be around for years to come.
Costs, Timelines, and When to Call in a Pro
Alright, let's talk about the practical side of things—the money, the time, and who’s actually going to do the work. Getting these details right is just as crucial as the technical steps. A little foresight here can save you from a blown budget, frustrating delays, and a driveway that just doesn't hold up.
The first question I always get is about the cost. Here in the Atlanta area, you can generally expect to pay somewhere between $8 and $18 per square foot to replace a standard concrete driveway. That’s a pretty wide range, and it all comes down to the specifics of your job.
A simple, flat driveway with plenty of room for a concrete truck to pull right up? That’ll keep you on the lower end of the scale. But if your project has a steep grade, is tucked away in a tight spot that needs a concrete pump, or involves breaking up a seriously thick old slab, the price will naturally creep up. For example, a recent project in a tight urban lot required a concrete pump, adding about $1,000 to the total cost.
Breaking Down the Budget
Your choice of finish is another huge factor in the final invoice. A classic broom finish is your most straightforward and cost-effective option. If you want something with more flair, you'll need to budget for it.
- Stamped Concrete: Want the look of stone or brick? Stamping can add another $4 to $8 per square foot to your base cost.
- Colored Concrete: Adding color, whether mixed in or stained on top, usually tacks on an extra $1 to $3 per square foot.
And don't forget the "hidden" costs. Things like permits, hauling away the old concrete, and repairing the landscaping around the new slab are all part of the total project. For instance, a section of sod next to the new driveway may need to be replaced, which could cost a few hundred dollars. It’s easy to overlook them, but they need a line item in your budget.
Mapping Out the Project Timeline
For a pretty standard double-car driveway in a typical Atlanta suburb—let’s say around 600 square feet—a good professional crew can usually knock out the entire job in about a week, as long as the weather plays nice.
Here’s a realistic look at how that time gets spent:
- Day 1: Demo Day. The crew arrives to break up the old concrete and haul it off.
- Day 2: Prep Work. This is all about getting the foundation right—excavating, grading the soil, and compacting the subgrade until it's solid.
- Day 3: Forms & Steel. The team builds the wooden frame for the pour and lays down the steel rebar grid for strength.
- Day 4: The Pour. This is the main event. The concrete truck shows up, and the crew gets to work pouring, leveling, and finishing the new surface.
- Day 5-7: Curing & Cleanup. While the crew removes the forms and tidies up, the real work is happening inside the slab as it cures and gains strength.
A critical piece of advice: Even though you can probably walk on the new concrete in a day or two, you absolutely must wait a full 7 days before driving a car on it. Rushing this can cause cracks and permanent damage.
The Big Decision: DIY vs. Hiring a Professional
The thought of saving a few bucks by doing it yourself is always tempting, I get it. But concrete is not a forgiving material. There are no do-overs. A poorly done job isn't just an eyesore; it can become a real structural problem. Mixing, pouring, and finishing hundreds of square feet of concrete is back-breaking work that requires expensive, specialized tools and a ton of know-how.
When things go wrong, they go really wrong. Improperly prepped ground can lead to cracking and heaving. An incorrect slope can send rainwater streaming right into your garage. A pro handles all of that, plus the local building codes and permits you might not even know you need. They understand the challenges unique to our area, like properly preparing Atlanta’s infamous clay soil to prevent problems down the road.
Think of a professional job as an investment, not just an expense. Data shows a well-done concrete replacement can increase property value by 7% to 12% and slash future repair costs by as much as 60%. For our commercial clients, like facility managers in Duluth, replacing old polished floors is often a safety issue, preventing trip hazards that create liability. This aligns with OSHA standards, which note that slips and falls account for about 15% of all workplace injuries. You can dig deeper into the numbers by checking out the latest industry analysis on concrete market trends.
Hiring a reputable company like Atlanta Concrete Solutions buys you peace of mind, a warranty, and a final product that genuinely adds value and longevity to your property. It’s the surest way to know every step is handled correctly from start to finish.
Your Concrete Replacement Questions Answered
Even with a step-by-step guide, it's natural to have more questions. After years of replacing concrete all over the Atlanta area, we've heard just about everything. Let's dig into some of the most common things homeowners ask us.
How Long Will My New Concrete Actually Last in Georgia?
You should expect a new concrete driveway or patio to last a solid 20 to 30 years here in Atlanta. The trick isn't just about the concrete mix, though. The real secret to a long-lasting slab is building it right from the ground up, especially with our challenging Georgia red clay.
To hit that 30-year mark, a few things are non-negotiable:
- A rock-solid subgrade: The ground underneath has to be compacted properly so it doesn't sink or shift later on.
- Good drainage: We always put down a 4- to 6-inch gravel base. This is crucial for handling our heavy rains and preventing water from undermining the slab.
- The right strength: For any surface that will see vehicle traffic, like a driveway, we won't use anything less than a 4,000 PSI mix.
- Steel inside: Rebar isn't an optional upgrade; it's essential for giving the slab the structural integrity it needs to resist major cracking.
Beyond the installation, a little maintenance goes a long way. Sealing the surface every few years is the best way to protect your investment from moisture and the sun, keeping it strong for decades. For example, applying a penetrating silane/siloxane sealer every 3-5 years can dramatically reduce water absorption and prevent surface damage.
Can I Just Pour New Concrete Over My Old, Cracked Driveway?
We get this question all the time, and I understand why—it seems like an easy fix. But the answer is always a hard no. Pouring a thin layer of new concrete over an old, failing slab is like putting a band-aid on a broken bone. You're just hiding the problem, not solving it.
Those existing cracks in the old driveway have a nasty habit of working their way up through the new surface. It's a phenomenon we call reflective cracking, and it's guaranteed to happen. All the time and money you spend on the new layer will be wasted when the old cracks reappear, sometimes in less than a year. The only way to do it right is to tear out the old stuff and start fresh.
Don't cover up the problem; eliminate it. A proper replacement starts with a clean slate, ensuring the new slab's integrity isn't compromised by the failures of the old one.
When Is the Best Time of Year to Get Concrete Work Done in Atlanta?
In Atlanta, timing is huge. The sweet spots for pouring concrete are definitely spring and fall. The mild temperatures—hovering between 50°F and 80°F—are just about perfect. This weather gives the concrete plenty of time to set, finish, and cure properly without any drama.
Extreme weather is concrete's worst enemy. That brutal Georgia summer heat can make the water in the mix evaporate way too fast, weakening the final product and causing ugly shrinkage cracks. On the flip side, a winter freeze can stop the chemical hardening process dead in its tracks, completely ruining the slab before it ever gets a chance to gain strength. By aiming for those milder months, you set your project up for the best possible result.
Is Stamped Concrete a Good Idea for a Patio?
Oh, absolutely. Stamped concrete is a fantastic choice for patios, walkways, and any other area where you want a more decorative, high-end look. It gives you the beautiful appearance of natural stone, classic brick, or rustic slate, but without the premium price tag and fussy installation.
We use special stamps and colorants to create textures and patterns that can match your home's architecture perfectly. It does cost a bit more than a basic broom-finished surface, but for the huge boost in curb appeal and design flexibility it offers, most homeowners find it's a worthwhile investment. For example, you can achieve the look of a $30 per square foot bluestone patio for about half the cost using stamped and colored concrete.
When you're ready to transform your property with a durable, professionally installed concrete surface, trust the local experts who understand Atlanta's unique challenges. At Atlanta Concrete Solutions, we manage every detail of the concrete replacement steps to deliver results that last. Contact us today for a free, no-obligation quote by visiting https://atlantaconcretesolutions.com.