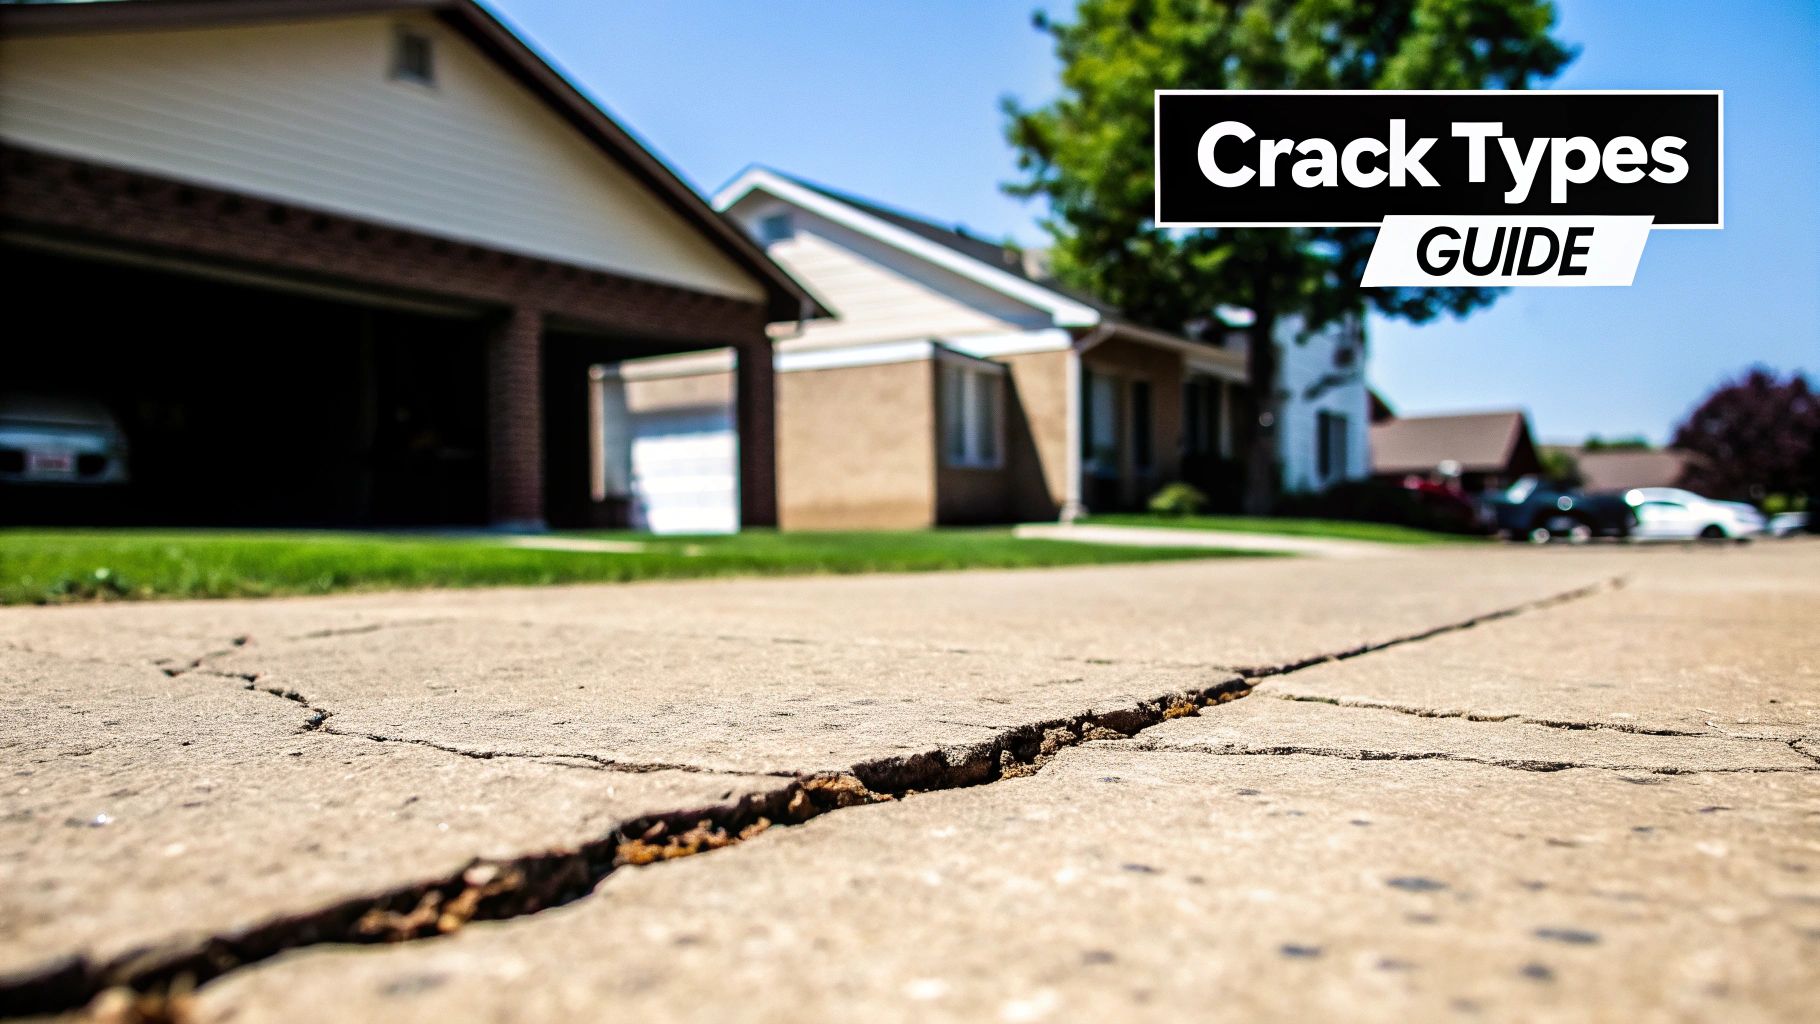
So you've spotted a crack in your driveway, patio, or foundation. It's a discovery that can make any homeowner's heart skip a beat, but it's important to take a breath first. The truth is, not all cracks spell disaster.
In fact, some cracking is a totally normal part of concrete's life cycle. For example, hairline cracks often appear within the first month after concrete is poured as it cures and settles. The real trick is learning to tell the difference between a harmless little fissure and a serious red flag that needs attention right away.
Why All Cracks in Cement Are Not Created Equal
Seeing a jagged line appear on a once-perfect slab of concrete can instantly conjure up images of massive repair bills. But it's much more helpful to think of cracks like symptoms. Some are like a minor paper cut—superficial, easy to patch up, and nothing to lose sleep over. A prime example is a shallow, web-like crack on a new patio surface. Others, however, might be more like a deep, persistent cough, hinting at a bigger issue lurking beneath the surface that needs a professional opinion.
This guide is here to help you become a concrete detective. We'll walk you through the process of diagnosing what's going on, so you can move from a state of worry to one of confident, informed action.
Understanding the Basics of Concrete Cracking
Concrete is a powerhouse material, known for its incredible strength and durability. But it does have an Achilles' heel: it's not very flexible. When forces like drying, temperature swings, or shifting ground pull on it, the concrete has to give somewhere, and that's when a crack forms. For instance, a common cause is the natural expansion and contraction during seasonal temperature changes. The goal isn't to prevent every single crack, but to manage and control where and how they appear.
To get started, let's break down the most common culprits you're likely to find.
Here's a quick cheat sheet to help you start your diagnosis. Take a look at your crack and see which description fits best.
Quick Guide to Common Concrete Cracks
| Crack Type | What It Looks Like | Common Cause | Severity Level |
|---|---|---|---|
| Hairline/Shrinkage | Very thin, web-like patterns, often less than 1/8" wide. | Concrete drying and curing. | Low – Usually cosmetic. |
| Settlement | Cracks that follow a distinct line, sometimes wider at one end. May have slight vertical displacement. | The soil underneath the slab has shifted or compacted. | Moderate – Needs monitoring; may require repair. |
| Structural | Wide cracks (over 1/4"), often running through the entire slab. One side is noticeably higher than the other. | Heavy loads, poor foundation, or major soil problems. | High – Urgent. A sign of serious structural issues. |
| Freeze-Thaw | Shallow, scaly patches (spalling) or D-shaped cracks near joints. | Water seeping into concrete, freezing, and expanding. | Moderate – Can worsen over time and lead to bigger problems. |
This table is your starting point, but let's dive a little deeper into what causes these issues and what they really mean for your property.
Shrinkage Cracks
These are by far the most common and least worrisome cracks you'll see. As new concrete cures, the water in the mix evaporates, causing the slab to shrink slightly. This process creates tension, resulting in those fine, web-like cracks on the surface. Think about how mud looks after it dries out in the sun—it's the exact same principle at work. A typical example is finding a map-like pattern of cracks on a newly poured garage floor.
Settlement Cracks
Settlement cracks pop up when the ground beneath your concrete slab decides to move. This can happen for a few reasons, like if the soil wasn't packed down properly before the pour, or if water runoff from a misplaced downspout is slowly eroding the dirt away underneath. The slab loses its even support, and the resulting stress causes it to crack. For example, you might see a crack that starts at the corner of your house foundation and runs down towards the ground.
Structural Cracks
Now, these are the ones to take seriously. A structural crack is a sign that the concrete itself or its underlying foundation is failing. They are typically much wider than a credit card, and you'll often see a clear vertical shift—where one side of the crack is higher or lower than the other. This isn't just a surface issue; it's a deep-seated problem. A classic example is a large, jagged crack in a retaining wall that is visibly bowing outwards.
The most crucial first step is to correctly identify what you're looking at. A hairline shrinkage crack might just need to be watched, but a wide, growing structural crack in your foundation demands an immediate, professional evaluation from a team like Atlanta Concrete Solutions.
By learning how to spot the difference, you can save yourself from panicking over minor cosmetic flaws while also knowing exactly when to pick up the phone for a problem that truly matters.
When you look at a crack in your concrete, you're not just seeing damage—you're reading a story. Every crack, from a tiny web-like fissure to a gaping split, tells you something about the forces at play beneath the surface. Figuring out what that story is becomes the first step in knowing whether you have a simple fix on your hands or a serious problem brewing.
Think of it like a doctor diagnosing a patient. You can't just throw a bandage on every issue; you need to understand the root cause. Let's walk through the most common types of cracks you'll find, starting with the least worrisome and moving up to the ones that should ring alarm bells.
Hairline and Plastic Shrinkage Cracks
These are by far the most common cracks you'll see, and thankfully, they're usually the least alarming. Hairline cracks, or plastic shrinkage cracks, are super-fine, shallow lines that often look like a spiderweb across the concrete's surface. You'll almost always see them on freshly poured slabs.
The cause is simple: water evaporation. As new concrete cures, the water in the mix rises to the surface and evaporates. This causes the slab to shrink ever so slightly, creating tension that pulls the surface apart in these tiny fissures. It's the same thing you see when a mud puddle dries up in the sun.
In Atlanta's humid but often hot climate, this process can be surprisingly aggressive. If cured improperly, 50% of new pours can show shrinkage cracks. The high evaporation rates here can cause a 0.04-0.08% volume reduction in the concrete, which is enough to form hairline cracks up to 1/16 inch wide.
Key Takeaway: Hairline cracks are almost always cosmetic. They aren't a sign of structural failure, but you should still seal them to keep water from getting in and causing bigger problems down the road.
Settlement Cracks
Now we're getting a bit more serious. Settlement cracks look different from the random patterns of hairline cracks. They are typically more defined, often running in a fairly straight line from one edge of the slab to another. You might also notice that one side of the crack is sitting a little lower than the other.
These cracks happen when the ground underneath your concrete gives way. The soil shifts, compacts, or erodes, leaving a void. With nothing to support it, the rigid concrete slab cracks under the stress. This is a big issue around the Atlanta metro area, thanks to our infamous expansive clay soils.
- Example: Imagine a Marietta homeowner who sees a long crack appear across their driveway after a cycle of heavy spring rain and a dry summer spell. That's the clay soil doing its thing—swelling up with water, then shrinking as it dries, causing the ground to shift and the concrete to crack.
Whether it’s poor soil compaction when the slab was poured, water erosion from a leaky downspout, or just the nature of Georgia clay, the result is the same. The foundation moves, and the concrete breaks. For a deeper dive into these kinds of issues, check out our guide on residential driveway concrete solutions.
Structural Cracks
Okay, these are the ones you can't ignore. Structural cracks are a red flag that the concrete slab's integrity, or even your home's foundation, is compromised. They are wide—often larger than a quarter-inch—and almost always have vertical displacement, where one side is visibly higher or lower than the other.
Structural cracks aren't caused by simple drying or minor soil shifts. They point to major underlying problems:
- Poor Construction: A weak base or a bad concrete mix can cause the slab to fail under its own weight.
- Overloading: Parking a heavy truck or RV on a standard driveway not built for that load can easily crack it.
- Major Soil Failure: Significant erosion or deep soil settlement can completely undermine the slab, causing it to snap.
Example: A homeowner in Duluth notices a large, jagged crack running across their garage floor. It keeps getting wider, and one side is clearly sinking. That’s a classic sign of a structural issue, possibly tied to the foundation, that needs a professional assessment immediately.
Freeze-Thaw Cracks
Finally, there's the damage caused by our winter weather. Freeze-thaw cracks happen when water gets into the tiny pores of the concrete, freezes, expands, and then thaws. When water turns to ice, it expands by about 9%, creating an incredible amount of pressure from within.
This cycle acts like a tiny jackhammer, breaking the concrete apart from the inside out. Over time, it causes the surface to pop and flake off in a process called spalling. It also creates distinctive D-shaped cracks near the joints and edges where water tends to pool. While Atlanta doesn't get brutal northern winters, our temperatures bounce above and below freezing all the time, making this a very real threat to unprotected concrete.
How to Assess Crack Severity and When to Worry
So, you’ve learned to spot the different cracks in cement. Now for the big question: Is this a minor cosmetic issue you can keep an eye on, or a major problem that needs immediate attention? Figuring out how serious a crack is doesn't take a lot of fancy equipment. It really just comes down to knowing what to look for and measuring three key things: width, depth, and any changes over time.
Think of it like being a detective at the scene. One clue might not tell you much, but when you start putting them all together, the full story begins to take shape. The easiest clue to find is the crack's width, and you can get a good idea of it with something you probably have in your wallet right now.
The Credit Card Test
A quick and surprisingly effective way to get a baseline measurement is what we call the "credit card test." Just take a standard credit card and try to slip the edge into the crack.
- If the card doesn’t fit: You’re likely looking at a hairline crack. These are usually just on the surface and fall into the low-worry category. For example, a fine, web-like crack on a patio.
- If the card fits snugly: This means the crack is at least 1/32 inch wide. That's your signal to start paying closer attention. A gap this size is wide enough for water to seep in, which can cause real trouble down the line, especially with Atlanta's freeze-thaw cycles.
- If there’s room to spare: If the crack is wider than a credit card (over 1/16 inch), and especially if it’s getting close to the width of a quarter (about 3/32 inch), it’s a much more serious issue. An example would be a crack in your garage floor where you can see the edge of the card and still have space.
This simple test gives you an immediate snapshot. A crack that a credit card fits into isn't necessarily a catastrophe, but it's a clear sign that you need to dig a little deeper and start watching for changes. That brings us to the next crucial piece of the puzzle.
Active Cracks Versus Dormant Cracks
Not all cracks behave the same way. Some show up and then don't change for years, while others are actively growing. Knowing the difference is everything when deciding whether to worry.
A dormant crack is stable. It happened because of some initial event—like the concrete curing or some minor settling—but it’s not getting any wider, longer, or deeper. These are less of a concern, though it's still a good idea to seal them to keep water out.
An active crack, on the other hand, is a red flag. It’s a crack that is visibly changing, which tells you that the underlying cause, whether it's significant soil movement or foundation pressure, is still happening. Any active crack should be treated as a serious problem.
A dormant crack is a photograph of a past problem. An active crack is a live video of a current one. Your job is to figure out which one you're watching.
So, how can you tell if a crack is active? You don't need special gear—just a pencil and a bit of patience.
How to Monitor Cracks Over Time
Keeping an eye on a crack is the most reliable way to tell if you're dealing with a minor annoyance or a developing structural threat. It’s a straightforward process anyone can do.
- Mark the Ends: Grab a permanent marker or a sharp pencil and draw a short, clean line right at the very tip of the crack. Write today's date next to the line. This will show you immediately if the crack is getting longer.
- Mark the Width: Draw two small "tick marks," one on each side of the crack. Use a ruler to measure the exact distance between them, and jot it down with the date. For instance, you might write "1/8 inch, Nov 15."
- Check Regularly: Come back and check your marks every month or two, especially after big weather events like a heavy downpour or a hard freeze. If the crack has grown past your end marks or the gap between your tick marks has widened, you've confirmed it's an active crack.
This simple monitoring gives you hard evidence of what's going on. If you discover a crack is active, particularly in your foundation, this is no longer a DIY project. It’s a clear signal to call in a professional. Understanding what could be happening with your home’s base is critical; we have more information about common residential foundation problems on our site. Plus, having a record of these changes will give an expert a huge head start when they come to assess the situation.
A Practical Guide to DIY Cement Crack Repair
Seeing a crack in your concrete can be disheartening, but the good news is that many minor issues are perfect for a weekend DIY project. This guide is all about tackling those small, non-structural problems—think cosmetic hairline fractures and minor shrinkage cracks that aren't threatening the integrity of your slab. These fixes are designed to improve appearance and, more importantly, keep water out, not to solve deep-seated structural problems.
Before you roll up your sleeves, you need to be absolutely sure you’re dealing with a minor issue. It really boils down to two things: how wide is the crack, and is it getting bigger?
This handy flowchart breaks down the decision-making process for you.
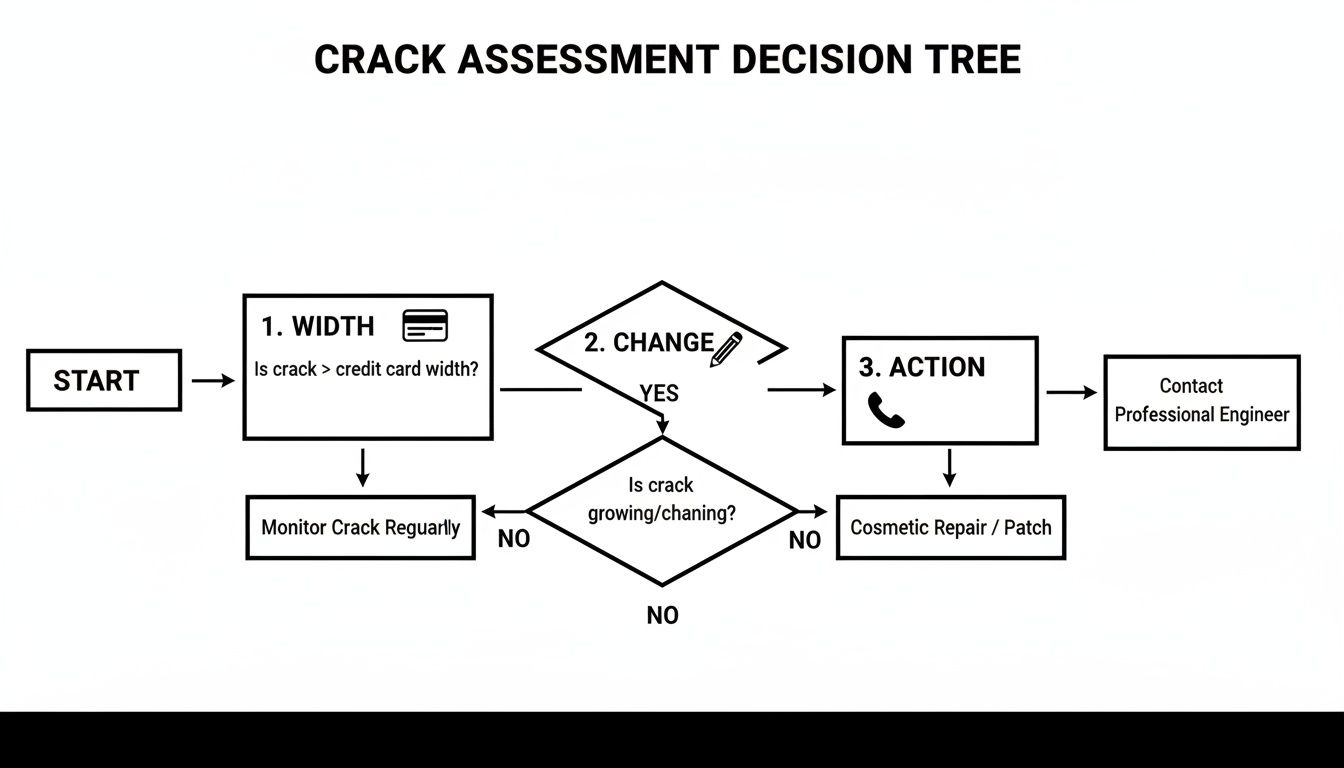
The takeaway here is pretty straightforward. If you have a small, stable crack, you’re likely in the clear for a DIY fix. But if that crack is growing or you see one side of it is higher than the other, it’s time to call in an expert.
Tools and Materials You Will Need
Getting all your supplies together before you start makes the whole job much less of a headache. You can find everything you need at a local hardware store.
- Stiff Wire Brush: Absolutely essential for cleaning out loose debris from inside the crack.
- Shop Vacuum or Blower: To get the crack completely free of dust and tiny particles.
- Caulk Gun: For applying sealant-style crack fillers.
- Putty Knife or Trowel: For pressing in and smoothing out patching compounds.
- Safety Gear: Don't skip the safety glasses and gloves. Concrete dust is no joke.
The most critical choice you'll make is the repair material itself. For small, non-structural cracks in cement, you have two solid options:
- Concrete Crack Filler: This is a flexible sealant that usually comes in a caulking tube. It’s perfect for narrow hairline cracks (less than 1/4 inch) on horizontal surfaces like patios or driveways. Its flexibility allows it to move with the concrete as temperatures change. A good example is using a product like Quikrete Concrete Crack Sealant.
- Cement Patching Compound: This is a pre-mixed, cement-like putty that dries rock-hard. It’s the better choice for slightly wider cracks or areas where the concrete has chipped away, such as a damaged step corner. You can use it on both horizontal and vertical surfaces.
Step 1: Prepare the Crack for Repair
I can't stress this enough: proper prep is 90% of the battle. If you just squeeze filler into a dirty, crumbling crack, the repair is doomed to fail, and quickly.
Start by taking a screwdriver or a small chisel and gently gouging out any loose, weak concrete along the edges of the crack. Next, grab your wire brush and give the inside of the crack a vigorous scrubbing to dislodge all the dirt, dust, and stubborn debris.
Expert Tip: After brushing, blow the crack out with a shop vac or leaf blower. You want it surgically clean. Any dust left behind will act as a bond-breaker, preventing the new material from getting a solid grip on the old concrete.
Finally, give the area a light mist with a spray bottle. You want the concrete to be slightly damp, but definitely not wet. This stops the dry concrete from sucking the moisture out of your patch material too quickly.
Step 2: Apply the Repair Material
With your crack clean and prepped, it's time to fill it. The technique changes a bit depending on the product you chose.
- For Concrete Crack Filler: Load the tube into your caulk gun and snip the tip at a 45-degree angle. Make the opening just a hair smaller than the crack itself. Apply a steady, consistent bead of the filler, making sure to slightly overfill the crack. It will shrink a bit as it cures.
- For Patching Compound: Scoop up some compound with your putty knife or a small trowel and press it firmly into the crack. Work in layers, packing it in tight to make sure you eliminate any air pockets. A solid, dense repair is what you're aiming for.
Step 3: Finish the Surface for a Seamless Look
The final touch is all about making the repair blend in. Once the crack is filled, you need to smooth the surface so it sits flush with the surrounding concrete.
Use your putty knife or trowel to feather the edges of the patch until it’s level. If you want to match the texture of older concrete, you can lightly drag a dry paintbrush across the wet material to give it a slightly rough finish.
Now, just let it be. Check the manufacturer's instructions for curing time—it could be anywhere from a few hours to a full day. Keep foot traffic and vehicles off the spot until it's fully hardened. A little bit of effort here can really extend the life of your concrete and give your home’s curb appeal a nice boost.
When to Call a Professional for Concrete Repair
While DIY repairs can be great for small, cosmetic fixes, the most important skill a homeowner can have is knowing when to put down the tools and pick up the phone. Trying to fix a serious structural problem with a tube of caulk is like putting a bandage on a broken arm—it ignores the real issue and often makes things worse down the line.
Learning to spot the red flags that signal a problem is beyond your scope is the key to protecting your home’s value and, more importantly, its safety. Certain cracks in cement aren't just ugly; they're symptoms of a much bigger headache brewing under the surface.
Red Flags That Demand an Expert Opinion
If you see any of the following signs, it's time to stop guessing and get a professional assessment from a team like Atlanta Concrete Solutions. These are not candidates for a simple patch job.
- Cracks Wider Than a Quarter-Inch: Once a crack is wider than 1/4", it's a major red flag. That gap is a clear sign of significant movement or stress and acts as an open invitation for water to get in and wreak havoc. For instance, a crack on your pool deck that you can fit a stack of several coins into.
- Vertical Displacement: This is one of the most serious warning signs. If one side of the crack is higher or lower than the other, it means the slab is no longer supported evenly and has failed. This is a classic symptom of major soil settlement, creating a dangerous trip hazard.
- Growing or Active Cracks: Is that crack in your foundation getting longer, wider, or deeper? If so, you're looking at a live problem. It means whatever is causing it—shifting soil, water pressure—is still happening and will only get worse.
- Water Intrusion: If a crack in a basement wall or foundation is actively leaking, it needs immediate professional help. Water compromises your home's structure and opens the door to dangerous mold and mildew growth.
The moment you see one side of a crack drop lower than the other, or you notice a foundation crack is actively changing, the problem is officially out of DIY territory. These are tell-tale signs of potential structural failure that require specialized expertise to diagnose and fix correctly.
Advanced Professional Repair Techniques
When you call in a pro, you’re not just getting a second opinion—you’re getting access to repair methods and materials that are leagues beyond anything at the local hardware store. These techniques are designed to restore strength, stability, and safety for the long haul.
Two of the most effective solutions for serious cracks in cement are epoxy injections and polyurethane foam lifting.
Epoxy and Polyurethane Injections
For structural cracks, especially in foundation walls, professionals use a high-pressure injection process. You can think of it as a medical procedure for your concrete. An epoxy injection essentially welds the crack back together, creating a chemical bond between the two sides and restoring the concrete’s original strength.
Similarly, polyurethane injections are perfect for sealing cracks and stopping water leaks for good. The material expands upon contact with water, creating a flexible, watertight seal deep inside the crack. Here at Atlanta Concrete Solutions, we specialize in these techniques, restoring up to 90% of the original structural integrity with epoxy and achieving 95% success rates with polyurethane foam lifting to level uneven slabs.
Polyurethane Foam Lifting (Slab Jacking)
For those sunken driveways, patios, or sidewalks with tell-tale settlement cracks, polyurethane foam lifting is an incredible solution. We drill a few small, dime-sized holes into the sunken slab and inject a high-density structural foam underneath. This foam expands with immense force, gently lifting the concrete back to its original level while also stabilizing the weak soil below.
It’s a far less invasive, faster, and more durable fix than old-school mudjacking. For example, a sunken driveway can often be lifted and ready for use on the same day.
When thinking about your home's overall health, a comprehensive renovation guide can provide a broader perspective on structural issues and when to call in the experts. In the end, knowing who to call and when is one of the most important parts of being a homeowner. To learn more about our professional methods, check out our page on residential concrete and masonry repair.
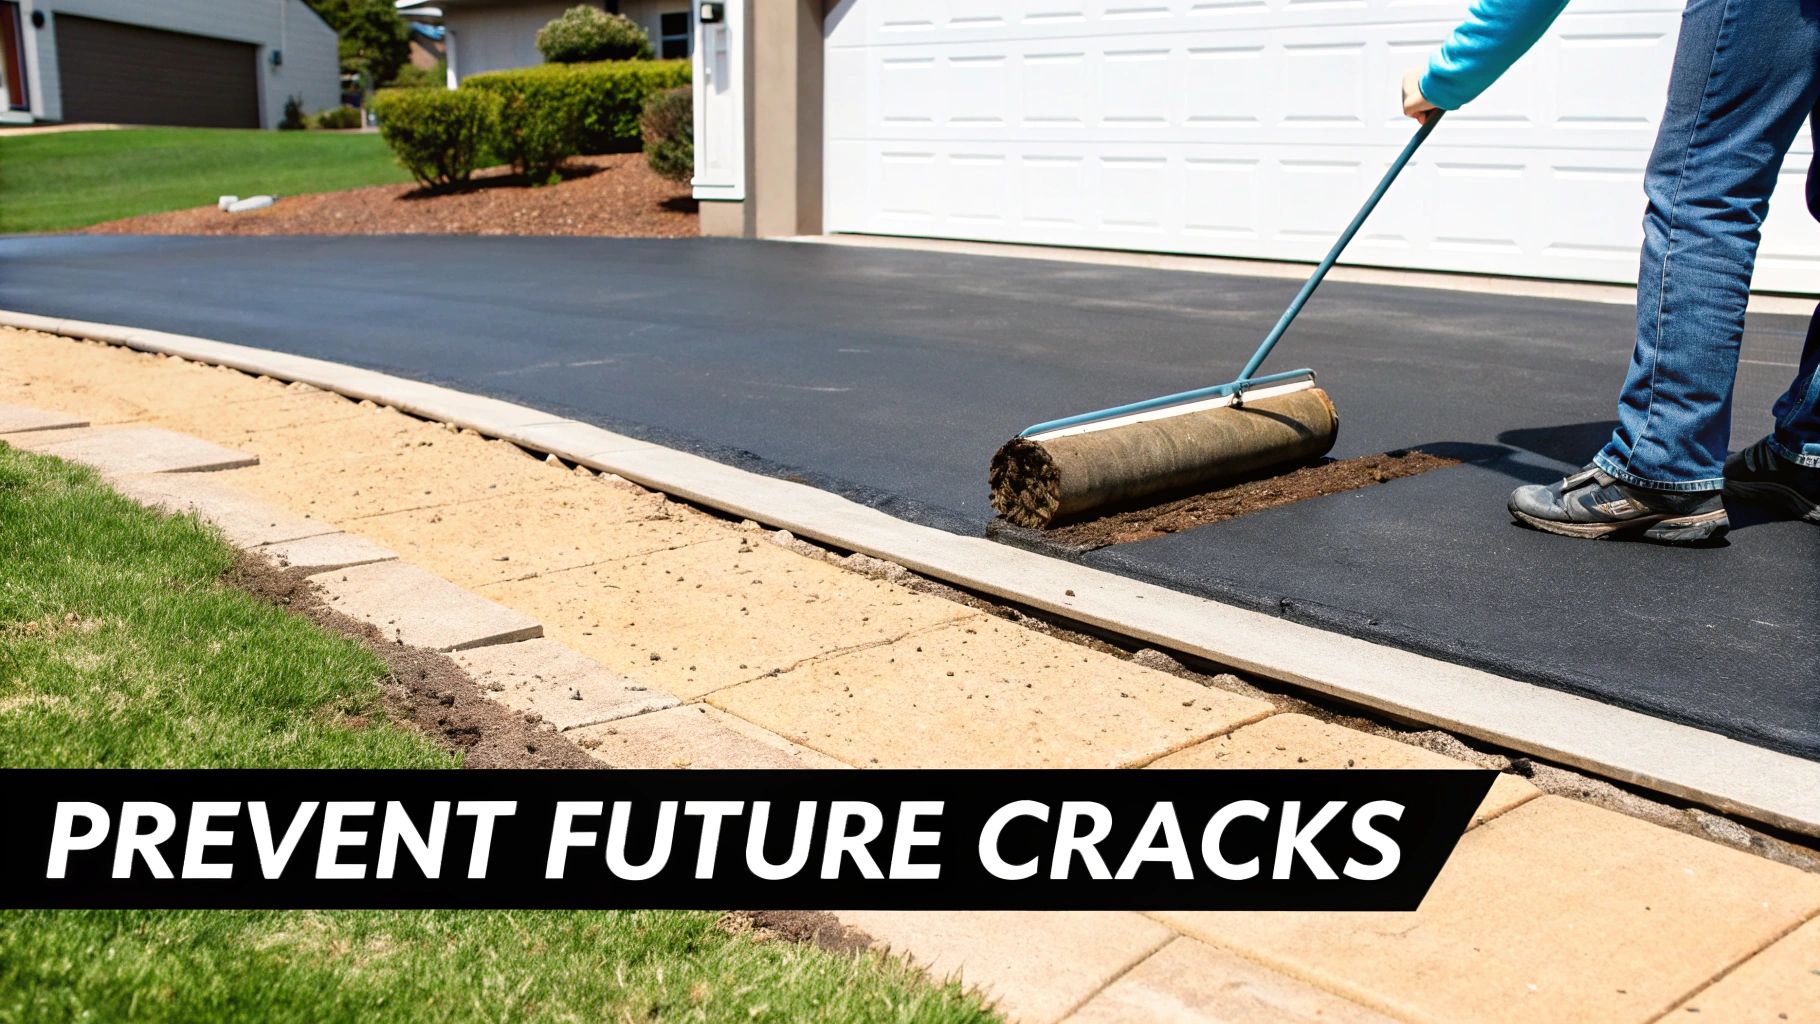
Proactive Maintenance to Prevent Future Cracks
The best way to deal with cracks in cement is to stop them before they even start. While you can't prevent every tiny crack, a little proactive maintenance and smart thinking during installation can make a huge difference in how long your concrete lasts and how good it looks. This is especially true here in the Atlanta area, where our unique climate and soil are constantly putting pressure on our driveways and patios.
It all starts with a quality pour. Something as fundamental as using control joints—those straight grooves you see on sidewalks—is a game-changer. These joints are essentially planned weak spots. They give the concrete a designated, straight line to crack along when it naturally expands and shrinks, preventing a chaotic web of ugly cracks from spreading across the surface.
For those of us in Alpharetta, Marietta, and other areas with Atlanta's infamous red clay, this is non-negotiable. Our expansive soil can cause as much as 1-2 inches of movement annually, which is more than enough to split a slab that doesn't have proper control joints. If you're interested in the bigger picture, you can review more on this topic to see how materials like concrete impact global trends.
Smart Maintenance Strategies for Atlanta Homeowners
Once your slab is in the ground, regular care becomes your best line of defense. A few simple habits can have a major impact.
- Seal Your Concrete: Think of sealant as a coat of armor for your driveway. Applying a high-quality sealant every 2-3 years is one of the most effective things you can do. It blocks water from seeping into the concrete's pores, which is your number one defense against the freeze-thaw cycles we get during our unpredictable winters.
- Manage Water Drainage: Water is public enemy number one for concrete. Make sure your gutters and downspouts are aimed well away from your foundation and other concrete surfaces. For example, add a splash block or an extender to a downspout that empties next to your patio. Keeping the ground from getting oversaturated helps prevent the soil from eroding, which in turn reduces the risk of settlement cracks.
- Avoid Harsh Chemicals: Be careful with de-icing salts. Many common salts can chemically eat away at concrete, causing the surface to flake and pit. When you need to melt ice, look for products that are specifically marked "safe for concrete," such as those containing calcium magnesium acetate.
The Importance of a Solid Foundation
At the end of the day, lasting prevention starts from the ground up. The combination of a properly compacted base, the right concrete mix for our local climate, and professional installation techniques creates a surface that's built to resist cracks from day one.
An investment in a proper installation is an investment in preventing future headaches. A well-poured slab with good drainage and strategic control joints will resist the forces of nature far better than one where corners were cut, saving you significant time and money on repairs down the road.
Your Top Questions About Cracks in Cement, Answered
When you spot a crack in your concrete, a lot of questions probably pop into your head. It's totally normal to feel a bit of concern. We hear these questions all the time, so let's walk through some of the most common ones to give you the clear, straightforward answers you're looking for.
Are Hairline Cracks in a New Driveway Normal?
Yes, seeing small hairline cracks in new concrete is not only normal, it’s practically expected. These are usually plastic shrinkage cracks, which form as the huge volume of water in fresh concrete evaporates during the curing process.
Think of it as the concrete simply settling into its new, solid state. While they're almost always just a cosmetic flaw and nothing to worry about structurally, it’s still a good idea to keep an eye on them. Once the driveway has fully cured (give it about 28 days), a good preventative step is to apply a quality concrete sealer to keep moisture from seeping into those tiny openings.
How Much Does Concrete Crack Repair Cost in Atlanta?
The cost to repair cracks in cement is all over the map because it really depends on the crack's severity and the repair method needed. For a few minor cosmetic cracks, you can often handle it yourself with a DIY crack filler kit from the hardware store for under $50.
When you need to call in the pros, the investment goes up. A structural foundation crack that requires an epoxy injection could run anywhere from $500 to $1,500. For a bigger job, like lifting a sunken slab with polyurethane foam, you might be looking at a few thousand dollars. For example, leveling a 10×10 foot patio slab could cost between $1,000 and $2,500. Your best bet is always to get a professional out to take a look and give you an accurate quote for your specific situation.
Remember, a small investment in a professional repair for a serious issue can prevent a much larger, more expensive problem from developing down the road.
Can a Crack in My Foundation Be a Serious Problem?
Without a doubt. While some tiny, unchanging vertical cracks might just be normal settlement, you should treat any foundation crack with serious attention. Certain types are immediate red flags that point to significant structural issues.
Be on the lookout for horizontal cracks, wide "stair-step" cracks in brick or block walls, or any fissure that’s getting wider or letting water in. These are classic signs of intense pressure from shifting Atlanta soil or water buildup. For example, a horizontal crack in a basement wall indicates intense external pressure from the soil, which could lead to wall failure. If you see anything like this, it's time to call a foundation repair specialist for an immediate and thorough inspection.
When it comes to the safety and value of your home, there's no room for guesswork. The experts at Atlanta Concrete Solutions have the local experience to accurately diagnose what's going on with your concrete and provide a repair that lasts. For a free, no-obligation quote on your driveway, foundation, or patio, visit us at https://atlantaconcretesolutions.com.