Pouring a concrete driveway is a serious undertaking. Get it right, and you’ve got a beautiful, functional feature that boosts your home's value for decades. Get it wrong, and you're stuck with a costly, cracking mess. The entire process really boils down to four critical phases: prepping the site and base, setting up forms and steel reinforcement, the actual pour and finish, and finally, letting it cure correctly. Nail these steps, and you'll have a driveway built to last. For example, a properly executed pour can easily last over 30 years, while a poorly prepared one might show cracks in less than two.
Your Blueprint for a Flawless Concrete Driveway
A professionally installed concrete driveway is more than just a spot to park your car—it’s a major upgrade to your home's curb appeal and daily use. This isn't like painting a room or planting a garden; once that concrete starts to set, there’s no turning back. Success isn't just about the mix; it’s about a methodical process that anticipates everything from our infamous Georgia red clay to a sudden summer thunderstorm.
This guide will walk you through the entire project, step by step. We’ll skip the generic advice and focus on what really matters for homeowners here in the Atlanta area, especially when it comes to dealing with our unique soil conditions. For instance, we'll explain why a 4-inch gravel base is the absolute minimum here, whereas in other regions with sandy soil, less might suffice. You'll quickly see why the hard work you put into preparation pays off for years to come.
The Make-or-Break Fundamentals
Every great concrete driveway, from a basic slab to a stamped and colored showpiece, is built on the same core principles. To truly grasp how to pour a concrete driveway, it helps to know that these aren't just local tricks—they're proven global standards.
Concrete is a massive global industry for a reason. In 2020, the world poured an estimated 14.0 billion cubic meters of concrete. About 40% of that went into residential projects just like this. These established, best-practice methods are why a properly installed driveway can easily last 30 years or more.
For you, the homeowner, this means the path to a perfect driveway is well-paved, so to speak. It all starts with a few key considerations right from the beginning:
- Proper Site Preparation: This is everything, especially with Atlanta's expansive clay soils. A stable, compacted base is non-negotiable. For example, failing to compact the sub-base can lead to a section of the driveway sinking by an inch or more within the first year.
- The Right Concrete Mix: You need a mix design with the right strength to handle daily traffic. We always recommend a 4,000 PSI mix for driveways. A lower strength mix, like 3,000 PSI, might be fine for a sidewalk but can spall and crack under the weight of a heavy SUV.
- A Solid Reinforcement Plan: Rebar or wire mesh gives the concrete the tensile strength it needs to resist the cracks that can ruin a slab. This is what stops a hairline crack from widening into a major gap.
- Finishing and Curing: These final steps are what determine the surface's durability and ultimate hardness. For example, curing improperly can reduce the final strength of the concrete by up to 50%. Don't rush them.
Whether you're a hands-on DIYer ready to take this on or a homeowner doing your homework before hiring a pro, this guide is your roadmap. To see what a finished, professionally-poured driveway looks like, feel free to review some of the diverse driveway projects we have completed in the Atlanta area.
Groundwork and Site Prep: Where Your Driveway’s Strength Truly Lies
Let's be clear: the real secret to a long-lasting driveway isn't just the concrete itself. It's what you put underneath it. I’ve seen more driveways fail from a bad base than from bad concrete. For example, a perfect 4,000 PSI concrete pour on an uncompacted base of topsoil will crack and sink within five years. This first phase is all about creating a rock-solid foundation, and every hour you spend here will save you from years of headaches down the road.
Think of it like building a house. You wouldn’t put a foundation on soft, shifting dirt, would you? Same principle applies. Skipping steps here is just asking for cracks, sinking, and costly repairs.
Digging Out the Old, Making Way for the New
First things first, you have to clear the site. That means breaking up and hauling away any old concrete or asphalt, which may require renting a demolition hammer. After that, you'll need to strip away all the topsoil, grass, and any big tree roots until you hit firm, undisturbed subsoil, often called the subgrade.
For a typical driveway here in Atlanta, you need to dig down about 8 to 10 inches. I know that sounds like a lot, but it’s crucial for making room for a proper gravel base and the concrete itself. This total depth is a combination of:
- The Gravel Sub-base: You'll need a good 4 to 6-inch layer of compacted aggregate.
- The Concrete Slab: On top of that, you'll pour a 4-inch slab of concrete.
Don't be tempted to cut corners on this depth. For instance, a 2-inch gravel base won't provide enough of a buffer against our local soil, making it absolutely necessary.
Dealing with Atlanta’s Infamous Clay Soil
Around here, we’re blessed with expansive clay soil. I say "blessed" with a bit of sarcasm, because this stuff is a driveway killer. Clay acts like a sponge—it swells up when it gets wet and shrinks when it dries out. That constant movement puts a ton of stress on any slab sitting on top of it.
A driveway poured directly on unprepared clay is a ticking time bomb. The seasonal shrink-and-swell cycle will lift, drop, and crack your beautiful new concrete into a spiderwebbed mess. Your best defense is a properly installed gravel sub-base.
That layer of gravel acts as a buffer. It creates a stable, load-distributing platform between the volatile clay and your driveway, and it dramatically improves drainage to keep that soil movement to a minimum. Before getting too far, it's worth understanding the fundamentals of mastering land preparation for building, because it truly sets the stage for success.
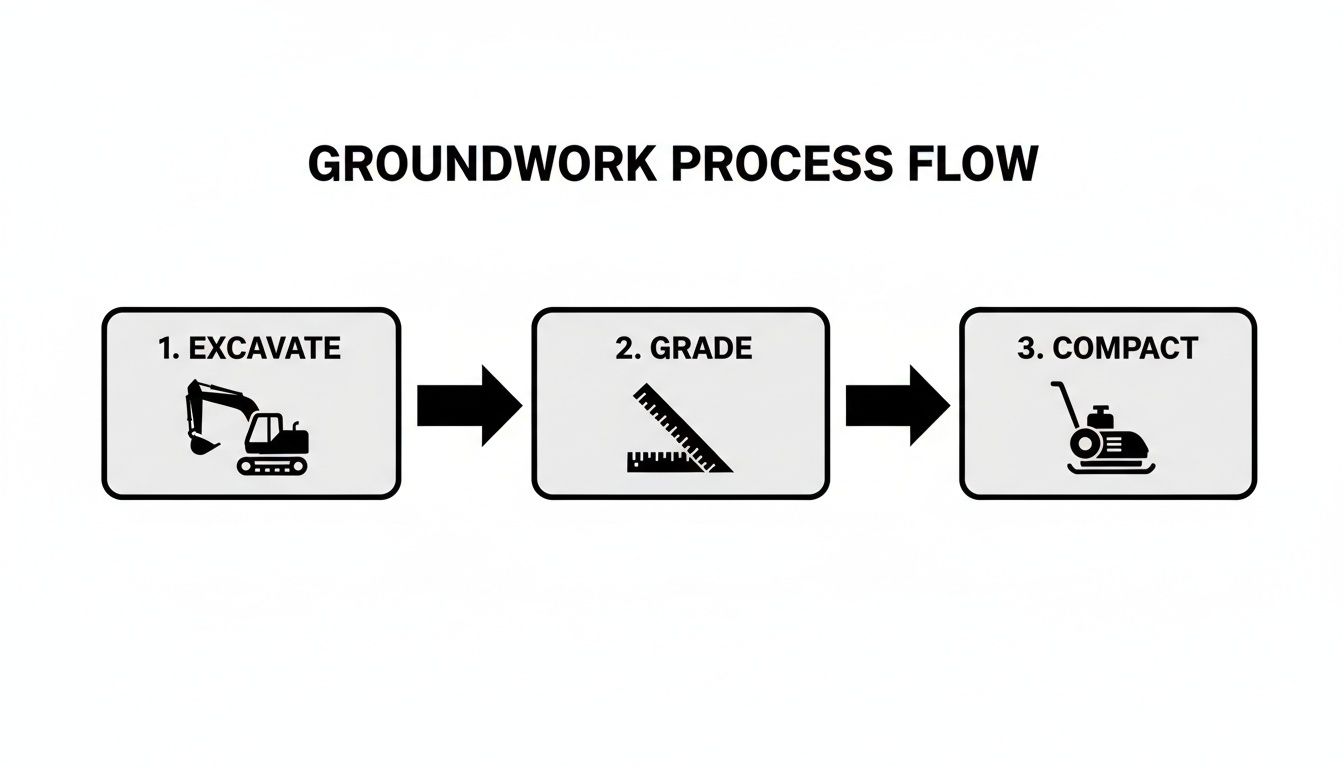
Grading and Compacting: The Final Foundation Steps
With the site excavated, you need to grade it so water runs away from your house. This is non-negotiable. The standard slope we use is at least 1/4 inch per foot. So, if your driveway is 20 feet long, it should be about 5 inches lower at the street than it is at your garage. You can check this using a string line and a line level.
Next, bring in the sub-base material. You'll want a 4 to 6-inch layer of crushed aggregate, which locals often call "crusher run" or "ABC stone." Spread it out evenly.
Now for the part people always want to rush: compaction. Rent a heavy-duty plate compactor and go over that gravel until it’s absolutely solid. A good example of proper compaction is making at least three to four passes over the entire area. When you can walk on it without leaving a footprint, you know you’ve done it right. This is what stops the slab from sinking later on. Trust me, skimping on compaction is the single biggest mistake a DIYer can make.
Building Forms and Adding Steel Reinforcement
With your base graded and compacted, it’s time to build the skeleton of your driveway. This is where we create the sturdy frame—the forms—that will hold the wet concrete in place and lay down the steel reinforcement that gives the finished slab its real muscle.
Think of the forms as the mold for your driveway. For a simple, straight driveway, standard 2×4 lumber is your best bet. You'll set these boards on their edge and secure them with wooden or metal stakes hammered into the ground every 2-3 feet. The tops of these forms dictate the final height and slope of your driveway, so getting them perfectly level and pitched for drainage is non-negotiable.
Setting Up Your Driveway's Perimeter
A clean, professional edge comes down to solid formwork. If you're going for a more modern look with gentle curves, you can use a flexible material like 1/4-inch hardboard siding, often called Masonite. It bends into smooth arcs and is staked just like regular lumber. For example, to create a gentle curve, place stakes every 18 inches to ensure the form holds its shape against the concrete's pressure. The key is to make sure the curve is gradual, with no sharp kinks.
Proper formwork isn’t just about containing the concrete; it’s about fighting back against immense outward pressure. Wet concrete is incredibly heavy—we're talking around 150 pounds per cubic foot. A 12×40 foot driveway pour involves over 22,000 pounds of concrete. Weak forms will bow out, leaving you with a wavy, amateur-looking edge that’s impossible to fix after the fact.
The way we build driveways has changed over the years. What was once a simpler process is now a more engineered one, thanks to a better understanding of how these materials work together. The global concrete market is projected to grow from about USD 205.46 billion in 2024 to over USD 308 billion by 2032, and residential projects are a huge slice of that pie. You can find more industry research on how this trend is shaping modern construction. This evolution is precisely why meticulous reinforcement has become so crucial.
This process shows just how important that initial groundwork is. A stable, compacted base is the platform for everything that comes next.
Choosing Your Steel Reinforcement
Here’s the thing about concrete: it’s incredibly strong when you squeeze it (compression) but surprisingly weak when you try to pull it apart (tension). Steel reinforcement is the secret ingredient that handles that pulling force, holding the slab together against the stress from heavy cars or shifting Georgia clay.
For a driveway, you've got two main choices:
- Welded Wire Mesh (WWM): This is a grid of steel wires that comes in big rolls. It’s generally faster to lay down, but it has a nasty habit of getting pushed to the bottom of the slab during the pour. If that happens, it’s basically useless.
- Rebar Grid: This means laying out individual steel bars (rebar) in a grid and tying them together at the intersections with wire. It’s more work, no doubt, but a rebar grid is far more rigid and provides a backbone of strength you just can't get from mesh. For a typical Atlanta driveway, #3 or #4 rebar (which is 3/8" or 1/2" in diameter) laid in a 2-foot by 2-foot grid is the professional standard.
Elevating the Steel for Maximum Effectiveness
If you remember one thing about reinforcement, make it this: the steel must be in the middle of the concrete slab, not sitting on the gravel base. If it’s on the bottom, it provides zero structural benefit.
To get it right, you need to lift the rebar or mesh off the ground using supports called "chairs" or "dobies." These are small plastic or concrete blocks that hold the steel at the perfect height. For a standard 4-inch slab, you want the steel floating about 2 inches off the ground. Place these chairs every few feet, for example, one chair every 3 feet in each direction under the grid, to ensure the entire grid is properly suspended right where it needs to be when the concrete truck arrives. This single step is your best insurance policy against cracks down the road.
The Big Pour: From Concrete Truck to a Leveled Slab
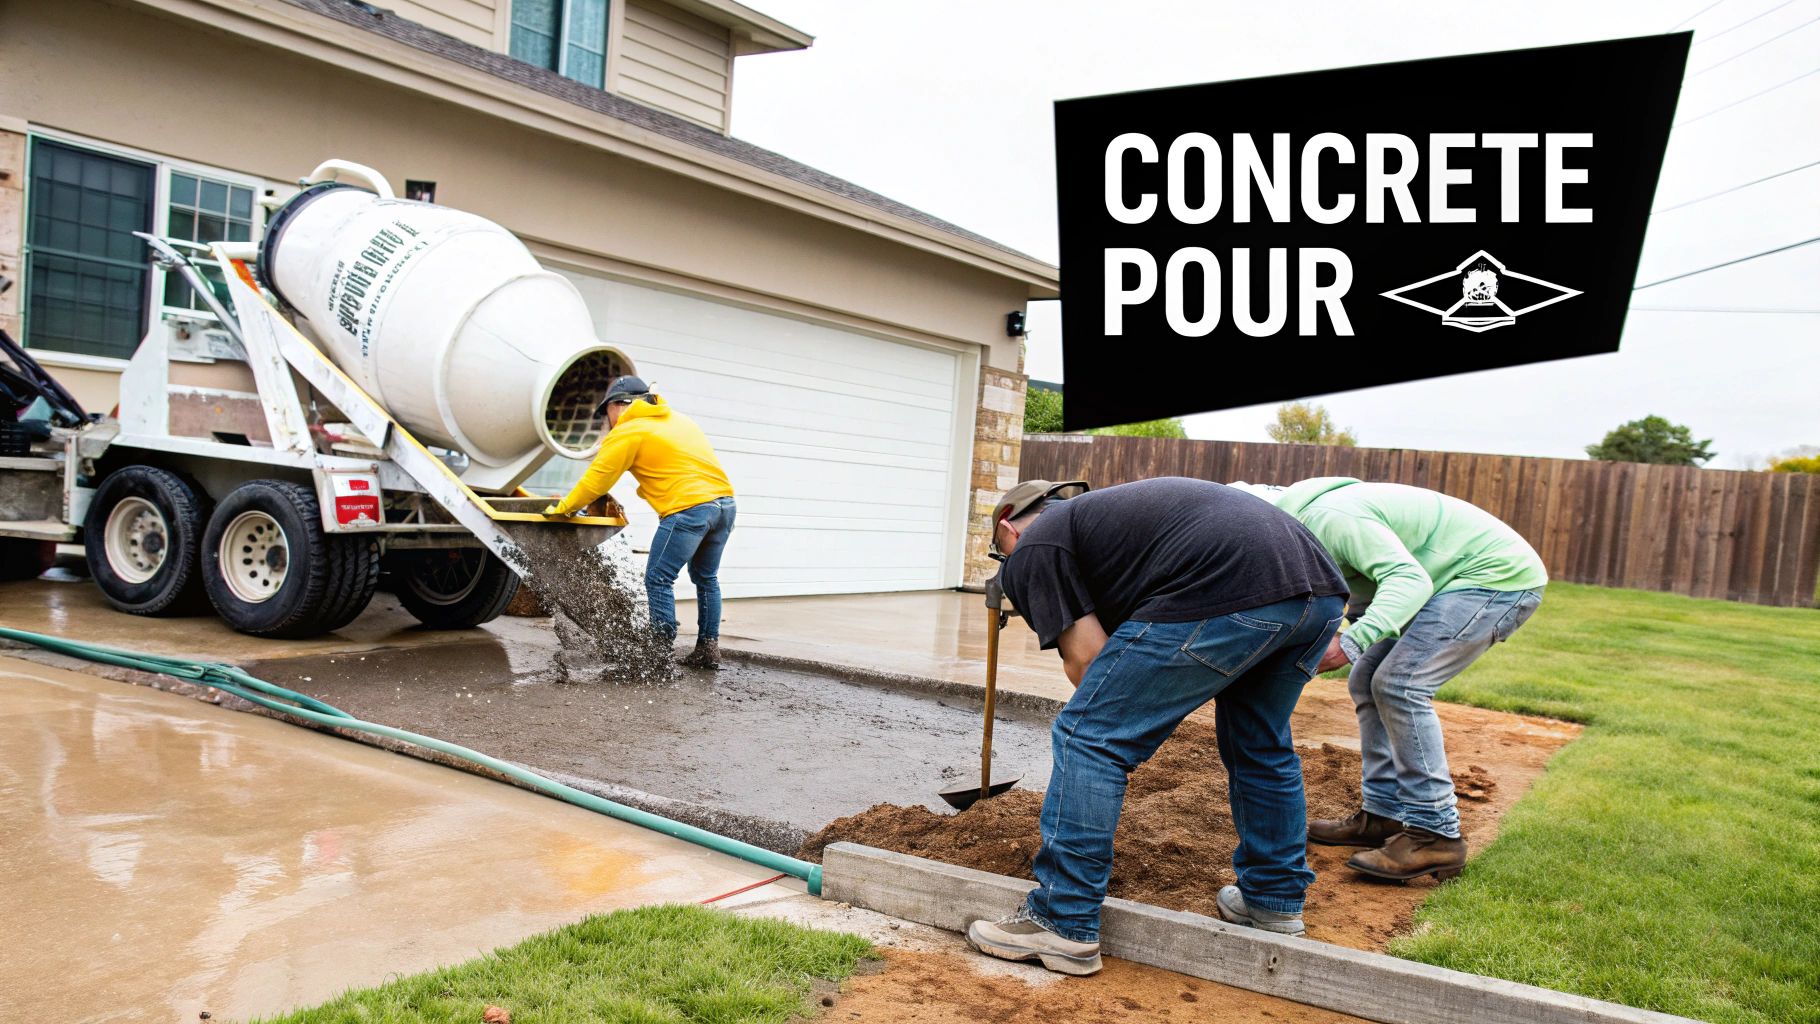
Alright, this is where all that digging, grading, and form-building pays off. The concrete pour is easily the most intense part of the whole job. When that mixer truck pulls up, the clock is officially ticking. You've got a limited window, usually around 90 minutes, to work with the concrete before it starts to set up, so having a solid plan—and enough friends to help—is non-negotiable.
This whole stage is a whirlwind of activity. You're directing the truck, spreading heavy, wet concrete, and getting the first critical finishing steps done, all while racing against chemistry. It’s a workout, but when you do it right, the result is incredibly satisfying.
Getting the Concrete Order Just Right
Before that truck ever rolls onto your street, you need to have your concrete ordered. This is more than just telling them how much you think you need; you have to be specific to get the right mix for a driveway that will last.
First, let's nail down the volume. For example, a driveway that is 12 feet wide, 40 feet long, and 4 inches (0.33 feet) thick would need: 12 x 40 x 0.33 = 158.4 cubic feet. Concrete is sold by the cubic yard, so you'll need to divide that total by 27 (158.4 / 27 = 5.86 cubic yards) to get the right number for your order.
A Pro's Rule of Thumb: Always, and I mean always, order about 10% extra. In our example, you'd round up to 6 cubic yards and add 10%, ordering 6.5 or even 7 yards. Running out of concrete mid-pour is a project-killing disaster. It's far better to have a small form ready for a leftover pad than to come up short and have a permanent cold joint in your new driveway.
When you call the dispatcher, be crystal clear. Tell them it’s for a residential driveway and you need a 4,000 PSI (pounds per square inch) mix. That’s the gold standard for driveways around here. It has the compressive strength needed to handle everything from an SUV to the freeze-thaw cycles we sometimes get in an Atlanta winter.
Running the Pouring Operation
Once the truck is on-site and the chute is in position, it's go-time. The name of the game is speed and efficiency. Your job is to get that concrete into the forms and roughly leveled out before it has a chance to stiffen up. This is absolutely not a solo mission; you need a team with shovels, concrete rakes (come-alongs), and wheelbarrows at the ready.
Here’s how a smooth pour should flow:
- Work with Gravity: Start pouring at the highest point of the driveway—usually near the garage—and work your way down toward the street. Let gravity be your friend.
- Place, Don't Push: Have the truck driver place the concrete as close as possible to where it needs to be. You want to use your rakes and shovels to guide it, not to drag it across the entire form. Pulling it too far can cause the rocks (aggregate) to separate from the cement paste.
- Overfill a Little: Make sure the concrete fills the forms and stands just a bit above them. This gives you the material you need to level it off perfectly.
This is the phase where you can really tell the difference between a DIY job and a pro one. If you're weighing your options, seeing the organized chaos involved in residential poured concrete can really highlight the value of an experienced crew.
Leveling the Surface with a Screed
The moment the concrete is down, it's time to level it. We call this screeding, and it’s what sets the final height and flatness of your slab. For this, you'll need a very straight 2×4 that's a bit longer than the width of your driveway. For a 12-foot wide driveway, a 14-foot 2×4 is ideal.
With one person on each side, rest the screed board on top of your forms. Use a back-and-forth sawing motion while you pull the board along the forms. This shaves off the excess concrete and creates a flat, uniform surface. It also helps settle the heavier aggregate down into the mix where it belongs.
The First Pass: Hitting it with a Bull Float
Immediately after screeding a section, grab your bull float. This is a long-handled tool with a wide, flat blade. The goal here isn’t perfection; you’re simply knocking down the ridges left by the screed board and pushing the larger rocks just below the surface.
As you glide the float across the concrete, you’ll see a layer of water rise to the top. This is known as "bleed water," and seeing it is a good sign—it means the heavy stuff is settling and the excess water is being forced out.
Patience is Everything Here: Do not touch that surface again until every last bit of that bleed water has evaporated. On a warm day, this might take an hour; on a cool, cloudy day, it could take several. If you try to finish it while that water is present, you'll trap it in the surface, leading to a weak, flaky top layer that will pop and dust off down the road. Waiting for the concrete to lose its sheen is the single most important secret to a strong, long-lasting finish.
Getting the Finish Right and Curing for a Lifetime of Strength
You've done the heavy lifting, but don't kick your feet up just yet. What you do in the next few hours—and over the following week—is what separates a pro-level job from one that disappoints. These final steps are where your driveway’s looks, safety, and long-term durability get locked in for good.
Wait for all the bleed water to evaporate from the surface after your initial floating. This is a game of patience. If you get back on the slab too early, you'll trap water below the surface, creating a weak top layer that will flake and dust away within a year. Once that wet sheen is gone, you’re ready to go.
Creating a Safe, Good-Looking Surface
First, grab a magnesium hand float or a long-handled fresno trowel. This is your chance to smooth out the surface, get rid of any high spots, and prep it for its final texture. Work from the outside edges inward, using gentle and even pressure to create one consistent, flat plane. An edger tool should also be run along all the forms to create a clean, rounded edge that resists chipping.
Next up is the most critical finish for any driveway: the broom finish. A perfectly smooth, glassy slab might look slick, but it becomes a serious slip hazard the moment it gets wet. A light broom finish gives you just enough texture for grip without feeling rough underfoot.
Timing the broom finish is truly an art form. Drag the broom too soon, and you'll carve deep, ugly gouges into the concrete. Wait too long, and you won't be able to leave a mark at all. You've hit the sweet spot when the slab is firm enough to support your weight on kneeboards without sinking in.
When the time is right, gently pull a stiff-bristled concrete broom across the full width of the driveway in one continuous motion. Lift the broom, place it right beside the first pass with a slight overlap, and pull again. Keep this up until the entire surface is textured, always pulling the broom toward you for the cleanest lines.
Why Curing Is Not Just "Drying"
This is where so many DIY projects fall apart. Concrete doesn't just "dry" like paint; it cures through a chemical reaction called hydration. For that reaction to fully complete and for the concrete to reach its designed strength, it has to stay moist—especially in the Georgia heat.
Skimp on curing, and you’re basically asking for a weak, crack-prone driveway. When surface water evaporates too quickly, the hydration process grinds to a halt. You'll never get the full 4,000 PSI strength you paid for.
To do it right, you need to keep the slab continuously moist for at least 7 days. A few tried-and-true methods include:
- Continuous Misting: A simple sprinkler can keep the slab damp, but it uses a ton of water and needs constant monitoring. For example, setting a timer to run the sprinkler for 15 minutes every hour can work.
- Curing Blankets: Laying soaker hoses under plastic sheeting is a great way to create a humid microclimate over the slab.
- Spray-On Curing Compound: This is the go-to for most professionals. It's a liquid membrane, like a brand such as Quikrete Acrylic Cure & Seal, that you spray over the fresh concrete with a pump sprayer. It forms a thin film that locks in moisture, allowing the concrete to cure perfectly from the inside out.
It's also worth noting how much aesthetics matter these days. The global decorative concrete market hit around USD 18.3 billion in 2023, which just goes to show that homeowners want more than just a gray slab. We're seeing more requests for things like integral color and stamped borders, which can change up the finishing process. That's why mastering these basic finishing skills is so crucial—they're the foundation for any creative work. To get an idea of what's out there, you can explore some of the beautiful options for residential decorative concrete and see what's possible.
Knowing When to Call a Professional
I've laid out the whole process, and honestly, pouring your own driveway can be an incredibly rewarding project. But it's also a beast of a job. One small miscalculation with concrete can turn into a very big, very permanent, and very expensive mistake. It’s crucial to know your limits and recognize when it’s time to hand the keys to a pro.
Sometimes, bringing in an experienced crew isn't just a convenience—it's essential. Certain site conditions or project goals just demand a level of precision and specialized knowledge that you only get from years on the job.
When the Job Is Beyond DIY
Think hard about calling in the experts if your project involves any of these curveballs. These aren't just minor difficulties; they are game-changers that can quickly overwhelm a DIY enthusiast.
- Steep Slopes: Got a serious grade on your property? A driveway with more than a 15% slope requires a low-slump (stiffer) concrete mix and specific pouring techniques to keep that heavy, wet concrete from slumping downhill while it sets. It's a tricky business.
- Complex Drainage Needs: If your yard already struggles with water runoff, a new driveway can make things much worse. A pro knows how to engineer the perfect slope and integrate solutions like channel drains at the garage entrance to keep water away from your home's foundation.
- Large Projects: Anything over 800 sq. ft. becomes a race against the clock. This size, for example, is about 10 cubic yards of concrete. A slab that large is nearly impossible for a small, inexperienced crew to pour, level, and finish before it starts to harden.
- Decorative Finishes: If you're dreaming of stamped patterns, colored concrete, or exposed aggregate, that's art as much as it is construction. These techniques require special tools, precise timing, and a seasoned hand to get right.
An experienced contractor does more than just pour concrete. They handle the permits, they know exactly how to prep a base for Atlanta’s notorious red clay, and they stand behind their work. If you're tackling a big job or just want it done right, knowing how to choose a general contractor is your next critical step.
A professional’s biggest advantage is risk mitigation. They carry the right insurance, manage the logistics of a multi-ton concrete delivery, and often provide a warranty, giving you peace of mind that your investment is protected. For example, if a concrete truck cracks your city sidewalk while delivering, their insurance covers it, not your homeowner's policy.
Answering Your Top Driveway Questions
Even with the best plans laid out, a project this big is bound to stir up some questions. It's only natural. We've been doing this in and around Atlanta for years, so we’ve heard just about everything. Here are the answers to the questions that pop up most often.
What’s the Best Time of Year to Pour Concrete in Atlanta?
This is a big one. In Georgia, timing is critical. You’re looking for that sweet spot when the temperatures are consistently between 50°F and 80°F, which makes spring (April-May) and fall (late September-October) your best bet.
Those mild conditions are perfect. They let the concrete cure slowly and evenly, which is exactly what you want for maximum strength.
Trying to pour in the dead of a Georgia summer? That's asking for trouble. When it's 95°F, the brutal sun can bake the moisture out of the surface way too fast, leading to weak concrete and a web of shrinkage cracks. If you absolutely have to do it, it needs to be a very early morning job, and you've got to be on top of your curing game. Winter is just as tricky—a sudden freeze can permanently ruin fresh concrete by stopping the hydration process before it even has a chance to set up properly.
How Thick Does My Driveway Really Need to Be?
The absolute minimum industry standard for a residential driveway is 4 inches. That'll hold up for your typical family sedans and light SUVs, like a Toyota RAV4 or Honda CR-V. But honestly, we almost always push our clients to go with 5 inches.
Why? Because that single extra inch boosts the slab's load-bearing capacity by nearly 50%. Think about that. For a small bump in the total cost, you're getting a massive upgrade in durability. If you own a heavy truck like a Ford F-250, a big SUV, or plan on parking an RV, that extra inch isn't just a recommendation—it's essential.
Are Control Joints Actually Necessary?
One hundred percent, yes. There’s no getting around this one. Concrete is going to shrink as it cures, and it will expand and contract with every temperature swing. If you don't give it a designated place to crack, it’s going to make its own, and you won't like where it chooses.
Control joints are just pre-planned weak spots. We cut shallow grooves into the fresh slab, encouraging the concrete to crack neatly and predictably right inside that line, where you'll barely see it. A good rule of thumb is to cut the joints about 1 inch deep for a 4-inch slab and space them out every 8 to 12 feet. For instance, a 40-foot long driveway should have at least three or four control joints across its length.
How Long Before I Can Actually Drive on My New Driveway?
This is where you need a little patience. I know it's tempting to use your beautiful new driveway right away, but letting it cure is the final, crucial step. It might feel solid to the touch in a day, but it’s still getting stronger on the inside.
Here’s a safe timeline:
- Foot traffic: You're good to walk on it after about 24 to 48 hours.
- Cars and light trucks: Give it at least 7 full days. No cheating. This allows the concrete to reach about 70% of its final strength.
- Heavy vehicles (RVs, work vans): You really need to wait at least 14 days, and 28 days is even better to ensure it has reached nearly full strength.
Waiting the full cure time is the single best thing you can do to protect your investment. Do it right, and that driveway will be there for you for decades to come.
Feeling like this might be more than you want to take on? If you'd rather get a professional, guaranteed result without the guesswork, give us a call. The team at Atlanta Concrete Solutions knows exactly how to handle our local challenges, from tricky slopes to that famous Georgia red clay. Visit us online to get your free, no-obligation quote today!