You've seen it before—that chalky, white powder that mysteriously appears on your concrete driveway, patio, or basement walls. It might look like a stubborn stain or even mold, but what you're likely dealing with is efflorescence.
While it might look a little alarming, it’s really just a natural process that’s sending you a clear signal: you’ve got a moisture issue. Understanding what’s happening beneath the surface is the first step to getting rid of it for good.
What Is That White Powder On Your Concrete?
At its core, efflorescence is a simple deposit of mineral salts. Concrete, by its very nature, contains soluble salts from the cement and aggregates used to make it. When water—whether from rain, sprinklers, or groundwater—seeps into the porous concrete, it dissolves these salts.
As the concrete eventually dries, that moisture works its way back to the surface and evaporates into the air. The salts, however, get left behind, crystallizing into that powdery white residue you see.
The Science Behind The Stains
It helps to think of a concrete slab as a very dense, hard sponge. When it gets wet, it soaks up water. For example, after a heavy summer thunderstorm in Atlanta, your patio slab absorbs a significant amount of rainwater. This water becomes a little transportation system, picking up salt particles from deep inside the concrete and carrying them right to the top. When the ride is over and the water evaporates, the salts have nowhere else to go.
For this to happen, you need three things to line up perfectly:
- Soluble Salts: These are already present in the materials used to make the concrete.
- Water: The key ingredient that dissolves the salts and brings them to the surface.
- Porous Pathway: Tiny channels within the concrete that give the water a path to travel.
Efflorescence is more than just a cosmetic problem. It's a flashing neon sign that water is moving through your concrete. If you ignore it, you’re overlooking a potential moisture issue that could lead to bigger headaches later on.
Why Atlanta Concrete Is So Susceptible
While efflorescence can happen anywhere, it’s a particularly common sight here in Atlanta. Our humid climate means it can strike up to 30% more frequently due to consistent rainfall and high moisture levels in the soil.
In fact, statistics show that efflorescence is behind 25% of all masonry-related complaints in the Southeast. Here in Georgia, over 500,000 residential driveways are affected by it every single year.
The constant humidity provides a steady supply of moisture, so the evaporation cycle that causes efflorescence is almost always active. This is especially true for concrete slabs with poor drainage or those tucked away in shady spots that never seem to fully dry out. The same goes for foundational concrete, which is constantly exposed to ground moisture. You can find more information about how this affects your home’s base by reading about residential foundation concrete.
Efflorescence Removal Methods At A Glance
Before you grab a brush, it helps to know your options. Different situations call for different approaches, from simple scrubbing to specialized cleaners.
This table gives a quick overview of the most effective ways to remove efflorescence, helping you choose the best approach for your specific situation.
| Removal Method | Best For | Difficulty Level | Key Considerations |
|---|---|---|---|
| Water & Stiff Brush | Light, powdery, new efflorescence. Example: A fine white dust that appeared on your new patio after the first rain. | Easy | Most effective on fresh deposits. May require several passes. |
| Diluted Vinegar | Mild to moderate stains on unsealed surfaces. Example: A noticeable white film on your garage floor that won't come off with just water. | Easy | A 50/50 mix of white vinegar and water is a good starting point. Always rinse thoroughly. |
| Commercial Cleaners | Heavy, stubborn, or recurring efflorescence. Example: Thick, crystalline deposits on a retaining wall that have been there for years. | Moderate | Specifically formulated for the job. Follow manufacturer's safety instructions carefully. |
Each method has its place, but the key is always to start with the least aggressive option first. You can always escalate your approach if the initial attempt doesn't get the job done.
Essential Prep Work Before You Start Cleaning
I've seen it a hundred times: a homeowner gets eager, grabs a cleaner, and goes to town on their efflorescence-stained concrete, only to make things worse. Before you even think about mixing a cleaning solution, a little prep work can be the difference between a clean slab and a bigger headache.
Your first move is always the simplest. Get a stiff, non-metallic brush and give the area a good, vigorous dry scrubbing. You'd be amazed how much of that loose, powdery salt you can remove without a drop of water. This makes every other step that follows far more effective.
Protect Yourself and Your Concrete
Now, before we get into cleaners, let's talk safety. This isn't the time to skimp on personal protective equipment (PPE). Even mild solutions can irritate your skin and eyes.
Make sure you have:
- Gloves: A good pair of chemical-resistant gloves is a must.
- Safety Glasses: You really don't want cleaning solution splashing into your eyes.
- Long Sleeves: Keep your skin covered to avoid any accidental contact.
And if you're still not 100% sure what you're dealing with, this chart can help you figure out if it's efflorescence or something more troublesome like mold.
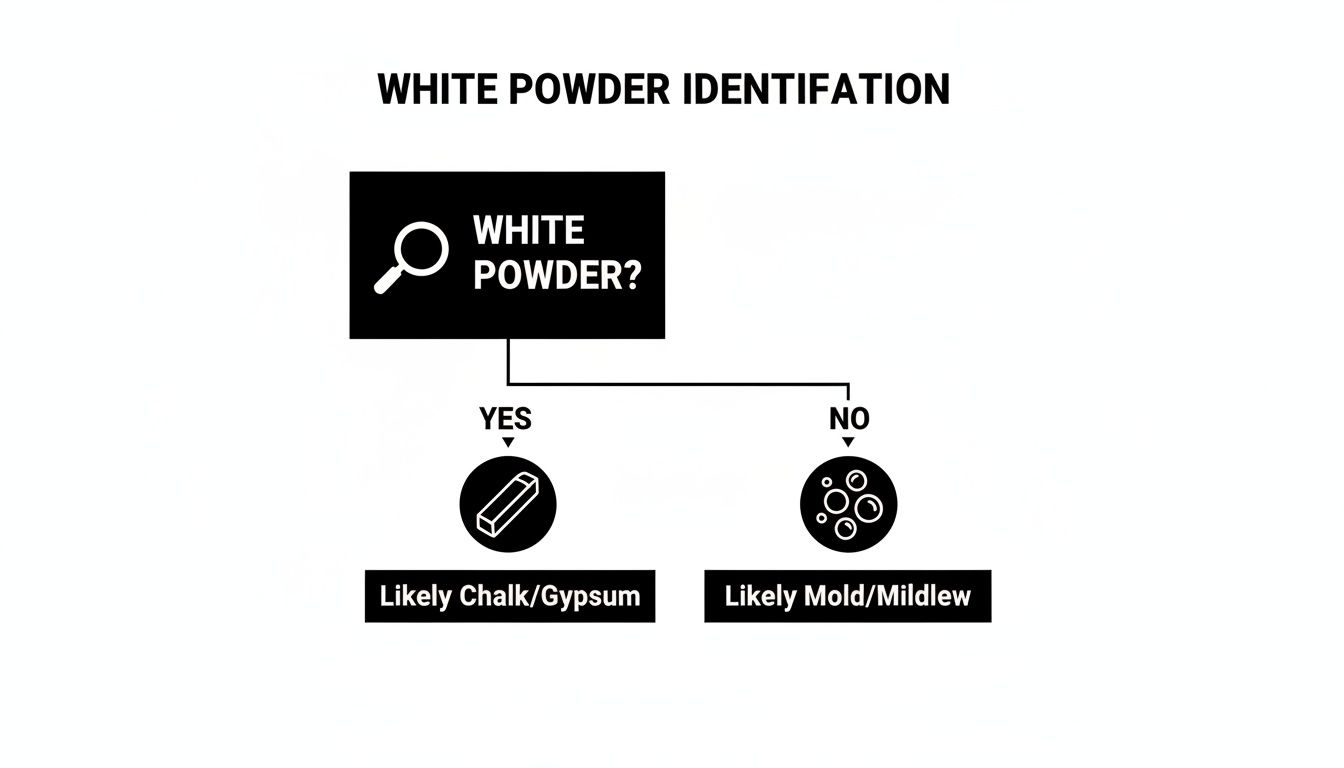
The key takeaway is that a chalky, powdery substance is almost always efflorescence, while musty stains or dampness point toward mold.
Protecting the concrete itself is just as critical. I can't stress this enough: always test your cleaning solution on a small, inconspicuous spot first. For instance, try a small area behind a planter on your patio or in a corner of your garage. Whether you're using household vinegar or a heavy-duty commercial cleaner, this patch test is non-negotiable. It's the only way to be certain the solution won't etch, stain, or discolor your particular surface.
Here's a pro tip that makes a huge difference: pick your day wisely. Trying to clean concrete on a blazing hot Atlanta afternoon is a recipe for failure. The cleaner will evaporate before it has a chance to work, leaving behind streaks and residue. Wait for a cool, overcast day if you can.
This isn't just about comfort; it's about chemistry. Cooler temperatures give the cleaning agent enough time to properly dissolve the mineral salts. When you rinse, everything washes away cleanly, leaving you with a uniform, spotless finish on your patio or driveway.
Simple DIY Removal Using Brushes and Water
When you first spot that chalky white powder on your concrete, don't immediately reach for harsh chemicals. For new or mild cases of efflorescence, your best bet is often the simplest approach—a good brush and some water. This mechanical method relies on a bit of elbow grease and is surprisingly effective for fresh deposits.
The whole idea is to physically break the salt crystals free from the concrete's pores without damaging the surface itself. It’s more about technique than brute force, and it’s always the right place to start.
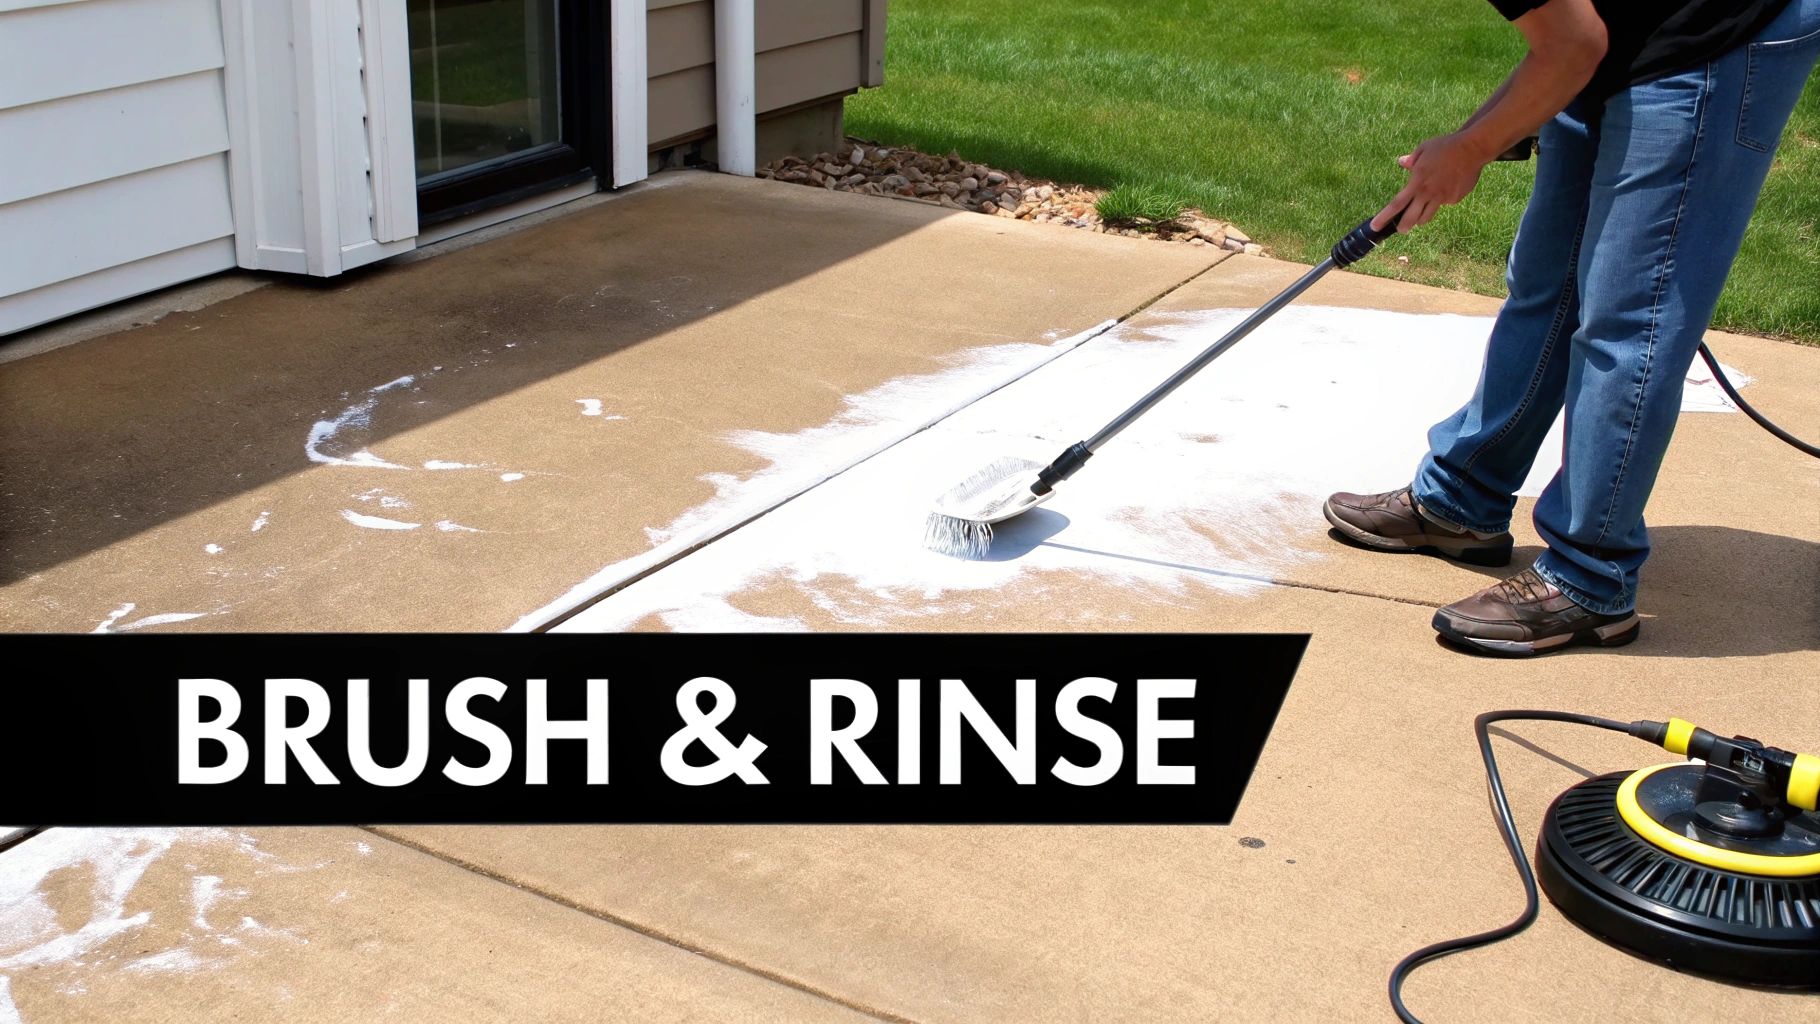
The Right Way to Use a Brush
Your first tool of choice should be a stiff-bristled brush. The key here is to grab one with synthetic or natural bristles—absolutely no wire brushes. A metal wire brush is way too aggressive and will easily scratch or gouge your concrete, leaving you with permanent damage that looks far worse than the original problem.
Start by dry brushing the area vigorously. You want to attack it from multiple directions, going up and down and then side to side. This helps dislodge as much of that loose powder as possible. Honestly, you’ll be surprised how much just sweeps right off.
Think of it like dusting a shelf before you polish it. If you have efflorescence on a broom-finished driveway, for instance, this dry scrub is crucial for getting the salt out of all those tiny grooves.
Simple Water Rinsing
Once you've brushed away the loose stuff, it's time to bring in the water. Most of the time, a simple rinse with a garden hose is all you need to dissolve what's left. Use a nozzle that gives you a decent spray pressure to help wash away the loosened particles.
Remember, efflorescence appears when water evaporates and leaves salt behind. By adding water back into the equation, you're just re-dissolving those salts so you can rinse them away for good.
Pro Tip: Always start with the gentlest method first. A brush and a garden hose is a no-risk, high-reward first step. It costs you nothing and is often all it takes to get your concrete looking right again.
Using a Pressure Washer Correctly
If the garden hose didn't quite do the trick, a pressure washer can give you that extra cleaning power. But this is where you need to be careful. Blasting your concrete with too much pressure is a classic DIY mistake that can etch the surface, permanently damaging the top layer.
You really don’t need a ton of force to remove efflorescence.
- Pressure Setting: Keep it low. Start somewhere between 1,200 and 1,500 PSI. That’s plenty of power to remove salt deposits without harming the concrete.
- Nozzle Choice: Go with a wide-angle fan tip, like a 25-degree or 40-degree nozzle. Never, ever use a zero-degree (turbo) nozzle—it will almost certainly scar your concrete.
- Technique: Keep the wand moving. Maintain a consistent distance of about 12-18 inches from the surface and work in broad, sweeping motions. Overlap each pass slightly to avoid creating ugly lines or streaks.
Picture this scenario: you're cleaning a lightly stained concrete patio in Marietta. A pressure washer set to 1,300 PSI with a 40-degree tip would be perfect for dissolving that white film without messing up the stamped pattern.
Tackling Stubborn Stains with Special Cleaners
When a good scrub with a brush and water just isn't getting the job done, it's a clear sign the mineral deposits have really dug in. This happens all the time with older stains or on concrete that’s constantly damp. Now you’ve got to bring in something with a bit more chemical muscle—either a mild acid or a specialized cleaner—to break down the salts that water can’t touch.
Don’t worry, this doesn't mean you need to run out and buy a jug of harsh industrial acid. Often, a simple homemade solution is the perfect next step. It gives you that extra cleaning power without being overly aggressive, making it a fantastic middle-ground option for most homeowners.
A Gentle Approach with White Vinegar
Believe it or not, one of the best tools for this job is probably already in your pantry: plain white vinegar. The acetic acid in vinegar is just strong enough to dissolve those alkaline salt deposits, but it's gentle enough that it won't wreck your concrete when you dilute it correctly. I find it’s the ideal choice for dealing with moderate efflorescence on a stamped patio or sidewalk.
Here’s my tried-and-true method for using it:
- Get the Mix Right: Start by mixing a 1:1 ratio of white vinegar and water. For example, use a bucket to mix 2 quarts of vinegar with 2 quarts of water. If you're working with colored or delicate concrete, I'd suggest being more cautious and starting with a weaker 1:4 mix (one part vinegar to four parts water).
- Dampen the Surface First: Before you apply the vinegar solution, lightly spray the whole area with plain water from a hose. This is a crucial step—it prevents the concrete from soaking up the acid too fast and keeps the solution on the surface where the efflorescence is.
- Apply and Let It Work: Pour your mix into a garden sprayer for an even application. Let it sit and do its thing for about 10-15 minutes. You'll know it's working when you see the white haze start to fizz or dissolve.
Once the solution has had time to work, grab a stiff, non-metallic brush and give the area another good scrubbing. The agitation helps lift the now-dissolved salts off the surface. Finally, and this is important, rinse the entire area thoroughly with plenty of clean water to wash away all the vinegar and leftover residue.
Choosing the Right Commercial Efflorescence Remover
If the vinegar trick doesn't quite get you there, it's time to step up to a commercial efflorescence cleaner. These products are engineered specifically to dissolve stubborn salts without damaging the concrete itself. They're a much safer and more reliable bet than raw acids like muriatic acid, which can easily etch and permanently scar your concrete if you're not a seasoned pro.
Commercial cleaners generally come in a few different flavors:
| Cleaner Type | Active Ingredient | Best For | My Take |
|---|---|---|---|
| Acid-Based | Phosphoric or Glycolic Acid | Tough, crystalline deposits on durable surfaces. Example: An old, thick salt buildup on an unsealed concrete retaining wall. | Very powerful, but you have to be extremely careful. Full PPE is a must. |
| Acid-Alternative | Synthetic Acids | All-purpose use, including on colored or stamped concrete. Example: Persistent efflorescence on a decorative, colored patio. | This is the sweet spot for most homeowners. It delivers acid-like power without the harsh risks. |
| Eco-Friendly | Plant-Based Solvents | General efflorescence where you're worried about plants. Example: Cleaning a concrete walkway that runs through your garden beds. | Gentler on the surrounding landscape, but be prepared for a bit more elbow grease. |
For most residential jobs I see, an acid-alternative cleaner is the best all-around choice. It strikes the perfect balance between cleaning power and safety, making it a workhorse for everything from a standard broom-finished driveway to a decorative pool deck. Just make sure you read the manufacturer’s instructions—application and dilution rates can vary wildly from one product to the next.
A quick but important note on safety: It doesn't matter if the bottle says "eco-friendly" or "industrial strength." Always wear chemical-resistant gloves and safety glasses. And if you're working in an enclosed area like a basement or garage, make sure you have plenty of fresh air.
Interestingly, research shows the specific type of deposit matters. Here in Atlanta, our limestone-heavy soils often lead to carbonate deposits. For these, a carefully prepared 1:9 hydrochloric acid mix can clear 92% of the efflorescence in one pass after a thorough rinse. This is after initial brushing and hosing, which typically dissolves about 80% of the more soluble hydroxides from the cement. If you want to dive deeper into the science, there are some great insights on how different cleaners interact with concrete that explain the chemistry.
How to Stop Efflorescence from Coming Back
Getting that chalky white residue off your concrete feels great, but the real win is making sure it stays gone for good. If you just clean the surface without tackling the underlying moisture problem, you're just kicking the can down the road. The key to preventing efflorescence is to stop thinking about cleaning and start thinking about water control.
This shift in focus will save you a ton of frustration and scrubbing later on. By managing how water interacts with your concrete, you're essentially shutting down the delivery service that brings those mineral salts to the surface.
Control Water at the Source
Your first move should be to look at the areas surrounding your concrete. More often than not, poor drainage is the main villain, letting water pool up against your slabs or soak into the ground underneath them.
A few simple fixes can make a world of difference:
- Redirect Downspouts: Make sure your gutters and downspouts are dumping water at least five feet away from your foundation and concrete surfaces. A simple example is adding a downspout extender from the hardware store to get water past your flower beds and away from the house.
- Adjust Sprinklers: Take a look at your irrigation system. Is it constantly soaking your driveway, patio, or walkways? A quick adjustment to the sprinkler heads can solve this.
- Improve Grading: The ground right next to your concrete should slope away from it, not toward it. If you see low spots where water collects, you might need to bring in some soil to build up the grade and encourage water to flow away.
If your home has a crawl space, installing professional crawl space dehumidification solutions is a game-changer. It helps control the ambient moisture that can easily migrate up into your foundation walls and slabs.
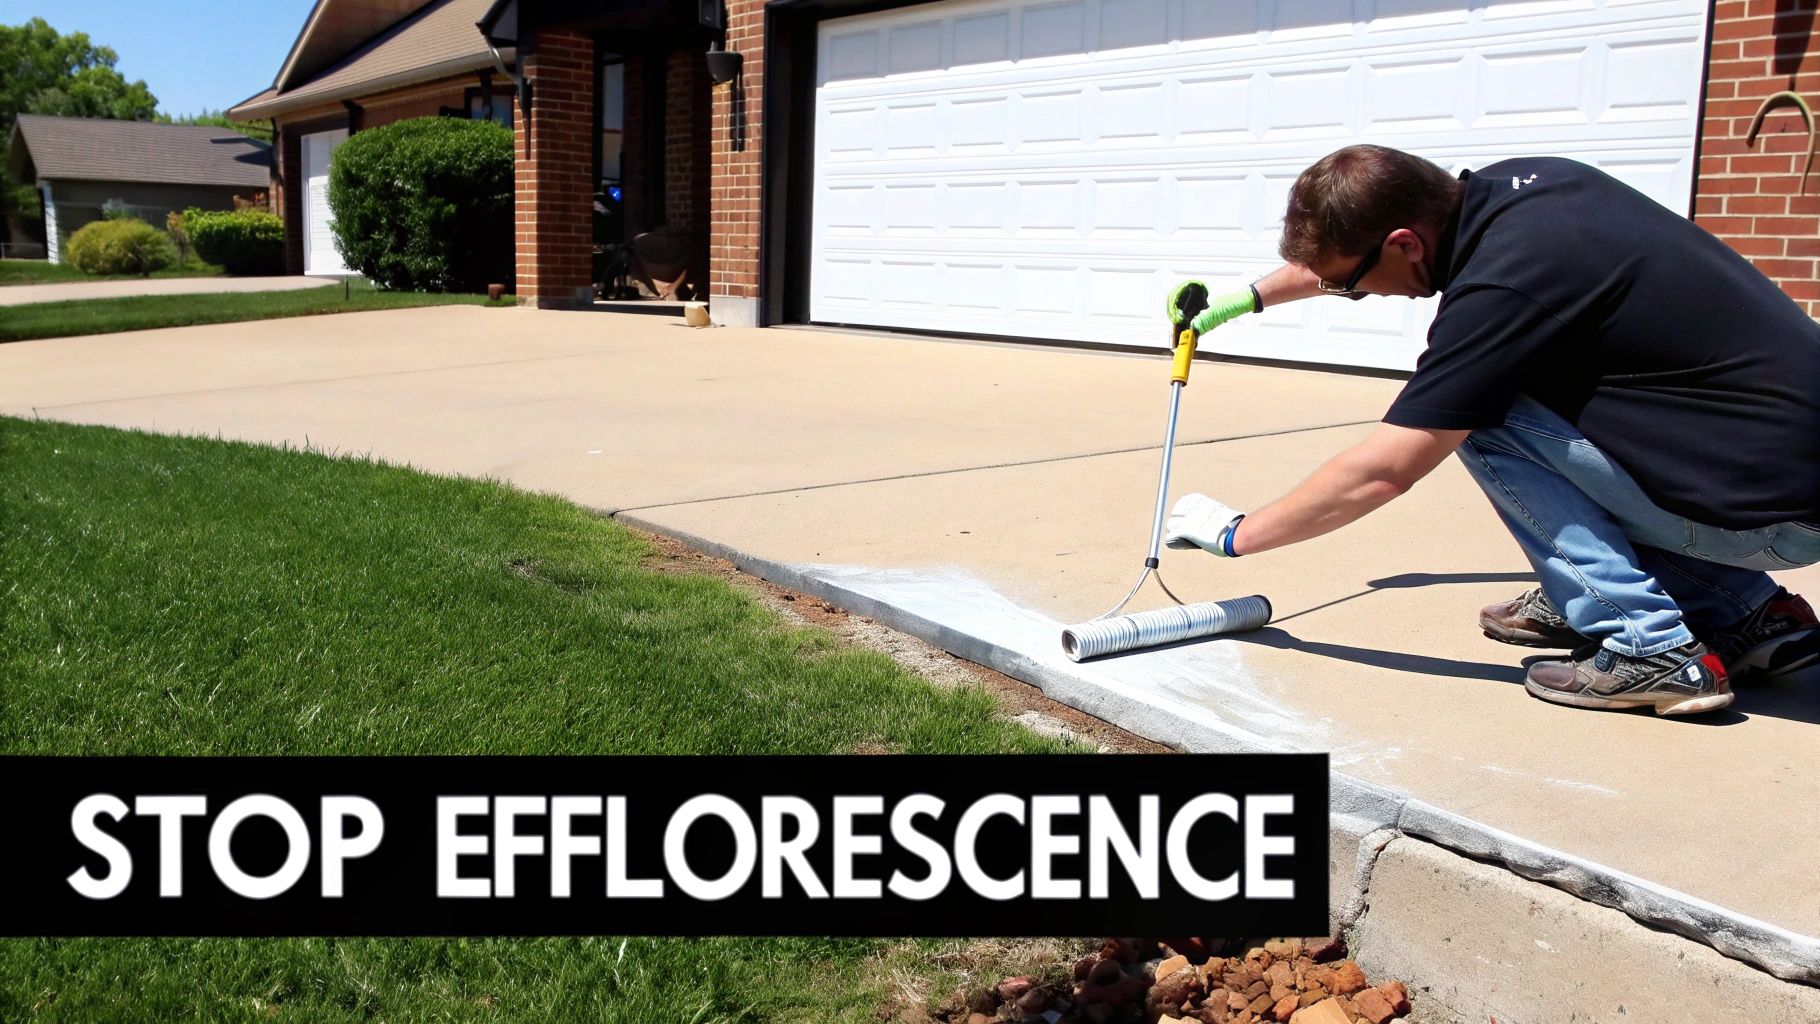
Seal and Protect Your Concrete
Once you have a handle on the external water sources, it's time to protect the concrete itself. Applying a high-quality sealer is one of the most effective long-term strategies you can use. A good sealer creates a barrier that stops water from getting in but is also breathable, allowing any trapped moisture vapor to escape.
A huge mistake I see people make is sealing over existing efflorescence. This just traps the moisture and salts, which will almost certainly cause the sealer to bubble, peel, and fail prematurely. Always make sure your concrete is completely clean and bone-dry before you even think about sealing it.
You'll want to find a penetrating sealer. These products soak deep into the concrete's pores instead of just forming a shiny film on top. The two best types for this job are:
- Silane Sealers: These have smaller molecules that can work their way deep into dense concrete, making them a great choice for driveways.
- Siloxane Sealers: With larger molecules, these are perfect for more porous surfaces like older concrete or brick pavers.
Picking the right sealer is critical. In a humid climate like we have here in metro Atlanta, capillary action from groundwater can be responsible for 65% of recurring efflorescence cases if the concrete isn't properly sealed. When you combine good site drainage with a quality sealer, you can prevent up to 80% of future issues.
Ultimately, a sealed surface does more than just stop efflorescence—it also helps repel stains and protects against freeze-thaw damage, which extends the life of your investment. This is particularly important for high-end surfaces like the ones we create with our residential polished concrete services, where maintaining a perfect finish is everything.
Knowing When to Call a Concrete Professional
Let's be honest, many efflorescence issues can be tackled with some elbow grease and the right cleaner on a Saturday afternoon. But there are definitely times when what seems like a simple cosmetic problem is actually the tip of the iceberg, signaling a much deeper issue. Knowing when to put down the brush and pick up the phone is crucial for protecting your property.
The biggest red flag? When it just keeps coming back.
If you clean that powdery white stain off your concrete slab, only to see it reappear a few weeks later, you're fighting a losing battle. This isn't just a leftover salt deposit; it’s a sign of a persistent moisture problem that DIY cleaning will never truly fix. You’re just treating the symptom, while the underlying cause—a constant source of water—is still at work.
Identifying Serious Warning Signs
Some situations should set off alarm bells and prompt an immediate call to an expert. Don't brush these off. They often point to problems that can eventually compromise the structural integrity of your concrete and your home.
Keep an eye out for these tell-tale signs:
- Widespread Coverage: If efflorescence is taking over a huge area, like an entire basement wall or a large patch of your driveway, it means a significant amount of water is seeping through the concrete. This isn't a small-scale leak.
- Foundation Stains: Seeing efflorescence bloom on your interior foundation walls is a major concern. It’s a classic sign of hydrostatic pressure pushing groundwater right through the concrete, a situation that absolutely needs a professional assessment.
- Paired with Cracking or Spalling: When you find efflorescence alongside physical damage like cracking, chipping, or flaking concrete (spalling), the moisture has already started to break down the material itself. For example, if you see white powder along a crack in your garage floor that is getting wider, it's a clear signal to call for help.
A professional diagnosis is about more than just cleaning the surface. A good contractor will play detective, tracing the water back to its source—whether it's poor yard drainage, hidden foundation cracks, or a high water table—and give you a real solution, not just a temporary cosmetic fix.
For really heavy, stubborn deposits, professionals might bring in equipment for industrial pressure washing to blast away the buildup without harming the concrete. But that's usually just one part of a bigger plan to stop the moisture intrusion for good.
If you're noticing any of these red flags, your best bet is to look into professional residential concrete and masonry repair. It’s the smart move to protect your home and your investment.
Common Questions About Concrete Efflorescence
Even after you’ve tackled efflorescence on your concrete, some questions tend to linger. We get these all the time from Atlanta homeowners, so let's clear up some of the most common points of confusion.
Is Efflorescence Harmful to My Concrete?
The white, powdery stuff itself? Not really. It's more of an eyesore than anything. But what it represents is a much bigger deal. Think of efflorescence as a big, flashing warning light pointing to an underlying moisture problem.
If you ignore that warning, the constant presence of water can lead to serious, long-term damage. We’re talking about cracking, spalling (when the surface flakes off), and even freeze-thaw damage, which is a real threat during our chilly Georgia winters. The salts aren't the enemy here; the water that brings them to the surface is the real culprit.
Why Does Efflorescence Keep Returning on My Driveway?
Seeing that white haze come back again and again is frustrating, but it means one thing for sure: you have a constant source of moisture that hasn't been dealt with. Scrubbing the surface is just a temporary fix. To stop it for good, you have to play detective and find where the water is coming from.
A few usual suspects we see around Atlanta are:
- Poor drainage that lets water sit against the concrete slab for hours or days.
- Sprinkler systems that are set a little too wide and constantly douse the concrete.
- Groundwater wicking its way up through tiny, unsealed cracks in the slab.
Think of it this way: cleaning recurring efflorescence without fixing the water issue is like bailing out a boat with a hole in it. You can scoop out water all day, but until you plug the leak, you’re not solving the real problem.
Can I Just Paint or Seal Over Efflorescence?
Please don't. This is one of the most common and costly mistakes we see. Trying to paint or seal over efflorescence is a recipe for failure because you're trapping the moisture and salt crystals right underneath the new coating.
This trapped moisture prevents the paint or sealer from getting a proper grip on the concrete. Before you know it, your brand-new finish will start to bubble, peel, and flake right off. Always, always, always completely remove the efflorescence and allow the concrete to dry out completely before you even think about applying a sealer.
When DIY methods just aren't cutting it and the moisture issues feel overwhelming, it's time to bring in a pro. Atlanta Concrete Solutions has spent over a decade diagnosing and permanently fixing the root causes of efflorescence. Contact us for a free quote and let's get you a lasting solution.