A successful concrete driveway repair hinges on one thing: getting the diagnosis right. From there, it's about picking the right game plan. You can seal small cracks, patch bigger holes, or even give a tired surface a complete facelift with a resurfacer—it all comes down to using the right approach and materials. For example, using a simple caulk-style filler on a pothole is a waste of time; you need a sturdy, cement-based patching compound designed to withstand vehicle weight.
This guide will break it all down, step by step, with practical examples so you can bring your driveway back to life.
Your Guide to Concrete Driveway Repair
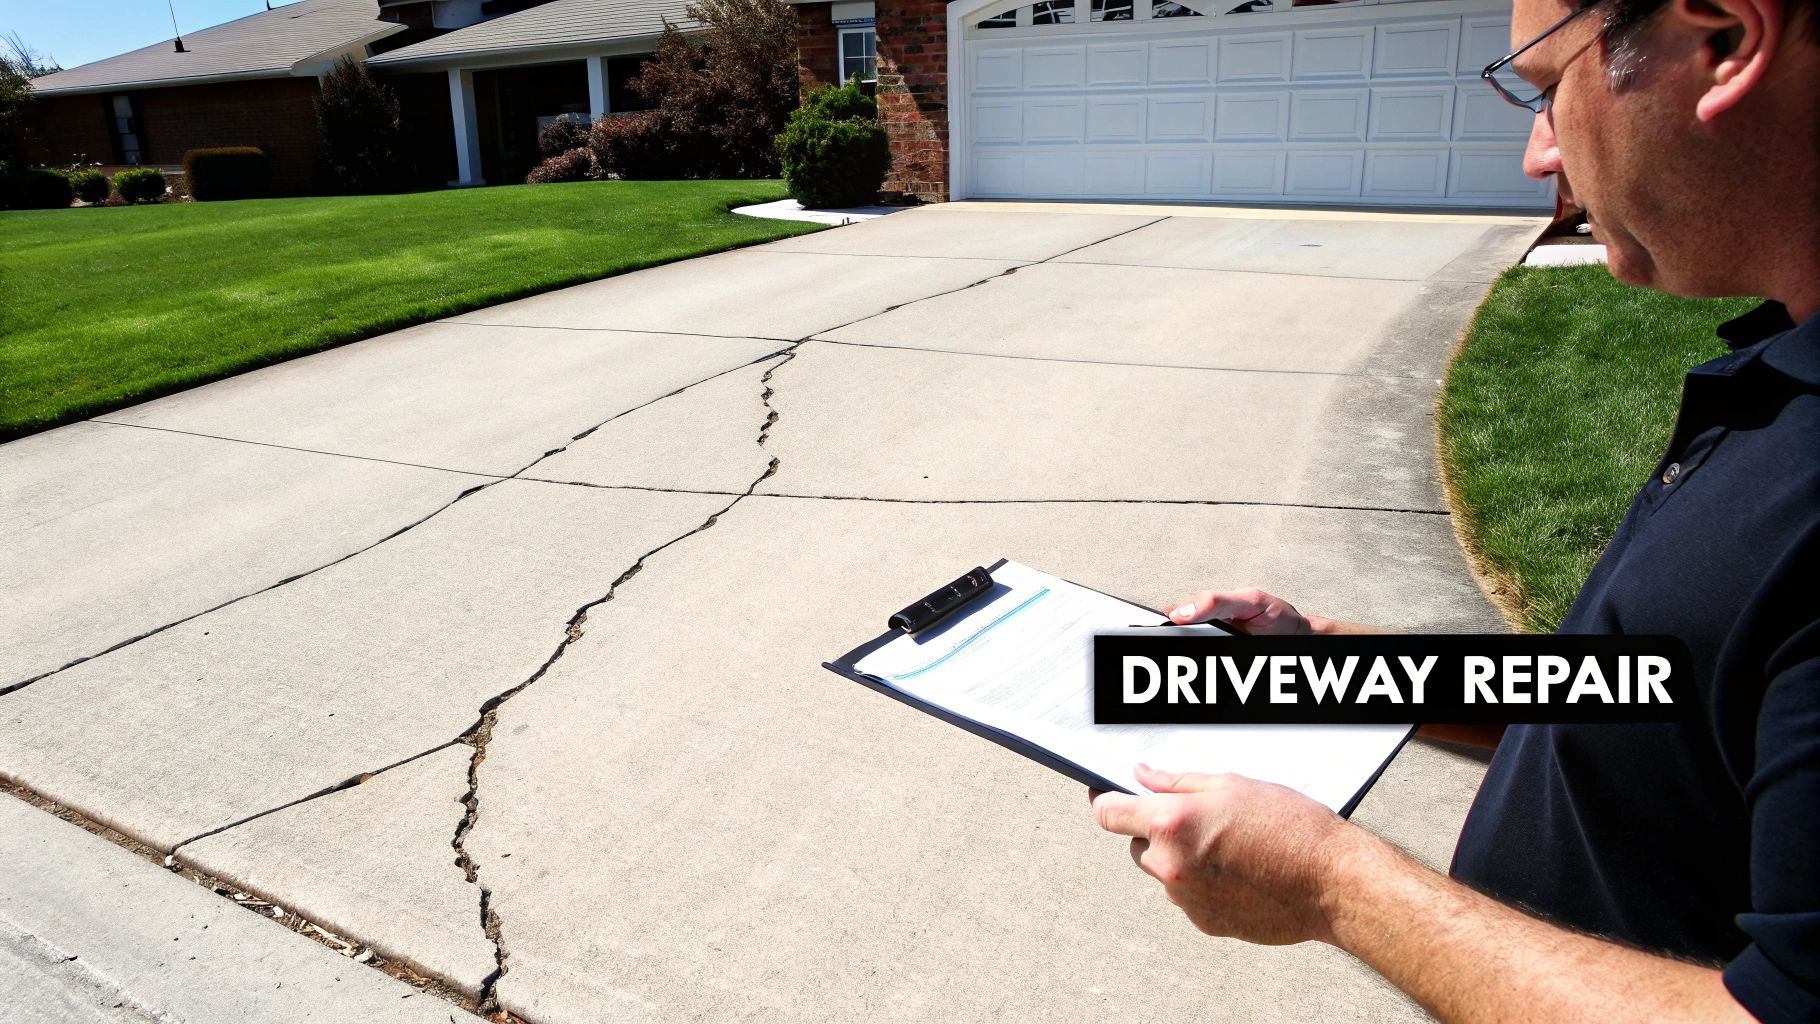
Let's be honest, a cracked or crumbling driveway is more than just an eyesore. It drags down your home's curb appeal and can even be a tripping hazard, like a sunken slab edge that catches your foot every time you get the mail. While a web of cracks might look intimidating, many of the most common issues are completely manageable for a determined DIYer. Think of this as your roadmap for repairing your concrete driveway without immediately jumping to the cost of a full replacement.
The absolute key to a fix that actually lasts is a solid diagnosis. Before you even think about buying sealant or concrete mix, you have to play detective and figure out why the damage happened in the first place. For instance, is that long crack near the garage caused by a heavy truck, or is it a sign that the ground underneath is settling due to a poorly placed downspout? Getting to the root cause means you're applying a real solution, not just slapping on a temporary bandage.
Matching the Problem to the Solution
The first real step in any repair job is figuring out exactly what kind of damage you're up against. This initial look-see will determine everything that comes next—the materials you'll need, the tools you'll have to grab, and the techniques that will give you a durable, long-lasting fix. A simple example of this is recognizing that a flaking, spalled surface requires a thin overlay (resurfacer), not a thick patch meant for deep holes.
To help you get started, I've put together a quick cheat sheet. This table breaks down the usual suspects when it comes to driveway damage and points you toward the right repair.
Quick Guide to Common Driveway Damage and Repair Methods
| Type of Damage | Description | Recommended DIY Repair Method | When to Call a Pro |
|---|---|---|---|
| Hairline Cracks | Very thin, surface-level cracks (less than 1/8-inch wide). Often cosmetic but can let water seep in. | Flexible crack filler or concrete sealant | If they're widespread across the entire driveway, which could indicate a curing issue. |
| Larger Cracks | Cracks wider than 1/4-inch. May suggest slab movement due to soil issues or freeze-thaw cycles. | Chisel out, clean, and fill with patch compound | If the cracks are getting wider or one side is higher than the other (heaving). |
| Spalling or Pitting | The top layer of concrete is flaking or chipping away, leaving a rough, pockmarked surface. | Concrete resurfacer or polymer overlay | If the spalling is deep (over 1/2-inch) or covers more than 25% of the surface. |
| Sinking/Settling | An entire slab section has dropped below the level of the surrounding concrete, creating a "step." | (Not a DIY job) | Immediately. This requires professional slab-jacking or mudjacking to fix the base. |
This table should give you a solid starting point for assessing the job ahead.
By correctly identifying the issue, you avoid wasting time and money on the wrong fix. For instance, using a simple sealant on a sinking slab is like putting a bandage on a broken bone—it doesn't address the underlying structural problem. An example of a proper diagnosis is noticing that the sinking slab is right where your gutter downspout drains, pointing to soil erosion as the true culprit.
Understanding these distinctions is what separates a quick fix from a lasting repair. The good news is that for many homeowners, these projects are perfectly manageable and far more cost-effective than a total replacement. On average, a professional concrete driveway repair can range from $828 to $2,824, with most homeowners landing around the $1,800 mark, depending on the scope. Tackling it yourself can save a significant chunk of that. For example, a few tubes of crack filler and a Saturday afternoon might cost you less than $50, versus a minimum service call fee from a contractor.
Knowing what your options are for your residential driveway concrete gives you the power to restore your property’s value and make it safe and functional again.
Getting to the Root of Your Driveway's Problems
Before you even think about mixing up a patch, you need to play detective. I've seen it a hundred times: someone rushes out, buys a bucket of filler, and slaps it on a crack, only to watch it fail a few months later. Why? Because they treated the symptom, not the cause. A proper diagnosis is the difference between a real fix and a temporary bandage.
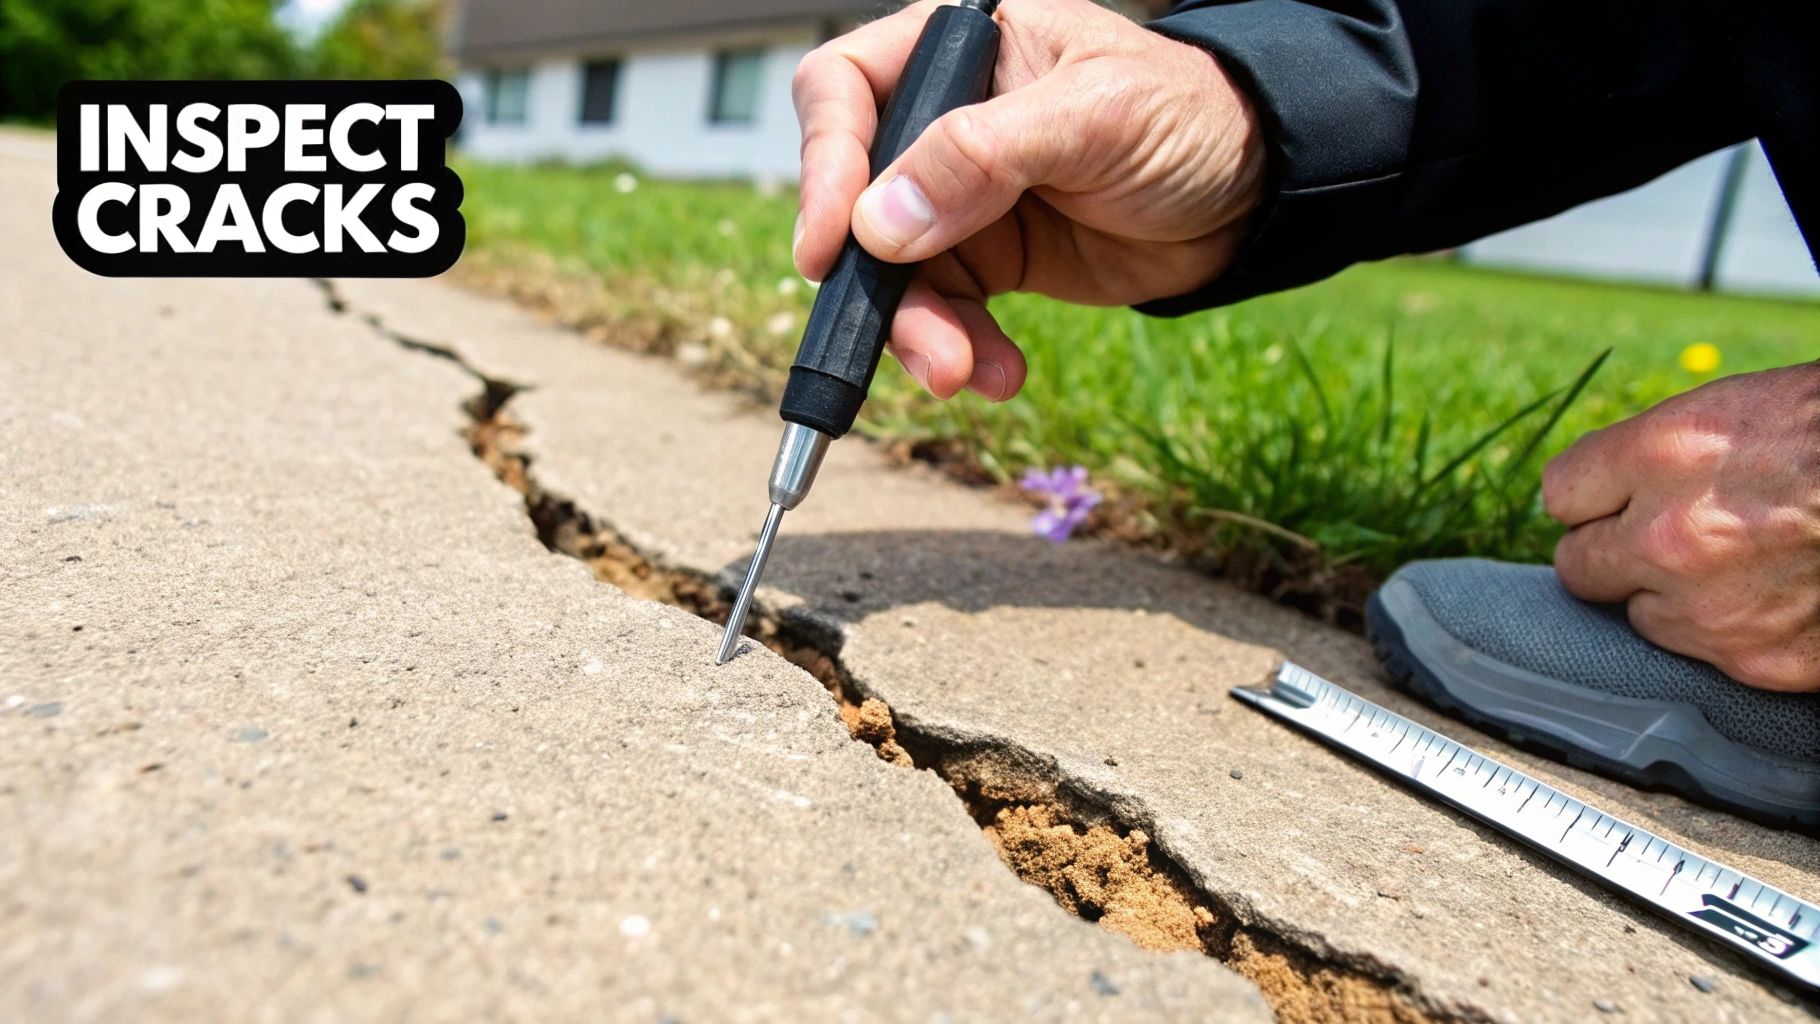
Start by taking a slow walk around your entire driveway. Seriously, take your time. Look at it from different angles and check it at different times of the day. You’d be surprised what a long shadow can reveal about a subtle dip you'd otherwise miss in the bright sun. Grab a tape measure and a flathead screwdriver—these are the only tools you need for this initial inspection.
This isn’t just about cataloging damage. It's about understanding the story your driveway is telling you. A crack isn't just a crack; it's a clue. For example, a series of parallel cracks where you park your heavy work truck is a clear indicator of overloading, while a crack that mirrors a large tree root nearby tells a different story entirely.
Hairline Cracks vs. Structural Cracks: What's the Difference?
Not all cracks are created equal, and knowing the difference is key. The most common ones you'll find are hairline cracks, which are usually less than 1/8-inch wide. These are often just cosmetic issues from the concrete shrinking as it cures. While they might not seem like a big deal, they are an open door for water to get in, freeze, and turn that tiny line into a real headache down the road.
Then you have the more ominous structural cracks. These are the big ones, often 1/4-inch or wider, and they usually point to a problem with the driveway’s foundation. A dead giveaway is when one side of the crack is higher than the other—we call that "heaving." It's a major red flag that the ground is shifting underneath, maybe from poor compaction when it was first poured or water getting under the slab and eroding the soil. For example, if you lay a 4-foot level across a wide crack and see a half-inch gap under one end, that’s a clear sign of heaving.
Here are a couple of old-school tricks to figure out what you're up against:
- The Screwdriver Test: Take the tip of your flathead screwdriver and gently probe the crack. If it only goes in a little bit, it’s probably a surface issue. But if you can push it deep into the opening, you're likely dealing with a full-depth structural problem.
- Measure and Monitor: Use a pencil to mark the very ends of the crack and jot down its width. Come back in a month or two. If that crack has gotten any longer or wider, you have an "active" crack, which means there's ongoing movement. For example, if a crack grows from 1/4-inch to 3/8-inch over a single winter, you have a serious, active problem.
A single, isolated crack is one thing. But if you see a web of interconnected cracks that look like a spiderweb or alligator skin, that's a classic sign of sub-base failure. A simple patch job won't fix that. This pattern, for example, often appears when a driveway was poured on poorly compacted soil that couldn't support the concrete's weight from day one.
Spotting Spalling and Sunken Slabs
Cracks aren't the only problem you might find. Two other common issues can plague a concrete driveway. The first is spalling, which is when the top layer of the concrete flakes off, leaving a rough, pockmarked surface. This is almost always caused by water getting into the concrete and freezing. As the water expands into ice, it pops off the surface layer. Using de-icing salts, especially those with ammonium nitrate or sulfate, can make this happen a lot faster. For instance, you might notice spalling is worst right where your car's tires track in winter slush and salt.
An even bigger problem is a sunken slab. This is when a whole section of your driveway has dropped below the rest, creating a nasty trip hazard and an eyesore. This is rarely an issue with the concrete itself. It’s a direct sign that the soil base underneath has either washed away or settled, leaving the heavy concrete slab with nothing to stand on. You’ll often see this happen near downspouts or in areas with poor drainage, where years of water flow have slowly eroded the foundation.
Picking the Right Materials and Tools for the Job
Alright, you've diagnosed the problem with your driveway. Now comes the fun part: a trip to the hardware store. But if you've ever walked down the concrete aisle, you know it can be a little intimidating. You're met with a wall of different bags, tubs, and tubes, all claiming to be the perfect fix.
The secret isn't finding a single "best" product, but matching the right material to the specific damage you're facing. Think of it this way: you wouldn't use a Band-Aid for a deep cut. The same goes for concrete. The flexible sealant you need for an expansion joint is worlds apart from the tough, rigid compound required to fill a nasty pothole.
How to Select the Best Concrete Repair Product
Getting this choice right is crucial. A mismatch here is a recipe for frustration, and you’ll likely find yourself redoing the work next season. The market for these materials is huge; in fact, the concrete repair mortars segment was the largest part of the market back in 2022, driven by the constant need to maintain infrastructure. You can dig deeper into the numbers in this report on the concrete repair system market.
To cut through the noise, let's look at the main players and what they're good for.
Choosing the right concrete repair material can feel like a guessing game, but it’s actually pretty straightforward once you understand what each product is designed to do. This table breaks down the most common options to help you grab the right one for your specific driveway repair.
Comparing Concrete Repair Products
| Product Type | Best For | Key Features | Average Cost (per unit) |
|---|---|---|---|
| Flexible Crack Filler | Hairline cracks, control joints | Remains elastic to handle expansion/contraction. Comes in easy-to-use caulk tubes. | $8 – $15 |
| Epoxy Crack Filler | Structural, stationary cracks | A two-part system that cures harder than concrete itself. "Welds" the crack. | $25 – $50 |
| Cement-Based Patch | Potholes, spalling, missing chunks | Polymer-modified for strong adhesion and durability. Trowel-applied. | $15 – $30 |
| Concrete Resurfacer | Widespread pitting, stains, spalling | A thin overlay that creates a new, uniform surface. Applied with a squeegee. | $30 – $60 |
Ultimately, your goal is to create a repair that lasts. By matching the product's properties—like flexibility or compressive strength—to the type of damage, you’re setting yourself up for a professional-grade fix that will stand up to Atlanta’s weather and wear. For example, using a flexible filler in an expansion joint allows the concrete slabs to move naturally with temperature changes, preventing new cracks from forming alongside the joint.
A Pro Tip From Experience: Always, always read the product label. Pay close attention to the temperature range for application (most products fail below 50°F) and the full curing time. Getting impatient is the fastest way to a failed repair. For example, the label might specify that while the patch is hard to the touch in 4 hours, it needs 72 hours before it can support vehicle weight.
Your Go-To Driveway Repair Toolkit
Having the right tools is just as critical as choosing the right materials. A little preparation here makes the entire job go smoother and safer, and the final result will look ten times more professional. You don't need a truck full of gear, but a few key items are non-negotiable.
Remember, the main goal of your tools is to properly prep the damaged area. Without clean, solid concrete for the new material to bond to, even the best patch will fail. For some projects, especially larger jobs involving extensive poured concrete work, preparation is easily 90% of the work.
Here’s a rundown of the tools you'll likely need.
For Basic Crack and Patch Jobs:
- Stiff Wire Brush: This is non-negotiable. It's the best way to scrub out loose debris and old, failed sealant from inside the cracks.
- Shop-Vac or Blower: After brushing, you need to get all that fine dust out. A clean surface is key for a strong bond.
- Caulking Gun: For applying any tube-based crack fillers or sealants.
- Margin Trowel: A small, pointed trowel is perfect for pressing patching compound firmly into holes and cracks.
- Mixing Bucket: A dedicated bucket for mixing your patching compounds. A 5-gallon plastic bucket is a perfect example.
For More Serious or Widespread Repairs:
- Pressure Washer: If you're resurfacing, this is the most effective way to deep-clean the entire slab.
- Angle Grinder with a Diamond Blade: This is what the pros use. It lets you chase cracks, opening them into a "V" shape so the filler has more surface area to grab onto.
- Hammer and Chisel: Good old-fashioned muscle for breaking away stubborn, crumbling concrete and undercutting the edges of a patch to give it a mechanical lock.
- Drill with a Mixing Paddle: Trust me, if you're mixing a whole bag of resurfacer, this will save your arms and ensure you get a perfectly smooth, lump-free mix. For example, trying to mix a 40-pound bag of resurfacer with a stick will leave you with lumps that ruin the final finish.
Getting Your Hands Dirty: The Repair Process
Alright, you've got your materials and tools ready to go. This is where all that prep work really starts to count, turning that cracked-up driveway from an eyesore into a point of pride. A solid, lasting repair isn't about speed—it’s about being methodical and doing things the right way.
The secret to a repair that actually lasts? Meticulous preparation. I’ve seen it a hundred times: someone just slaps new concrete into a dirty, crumbling hole, and it fails within a year. You have to create a clean, solid foundation for the new material to grab onto. It’s non-negotiable.
This whole process really boils down to a few key stages.
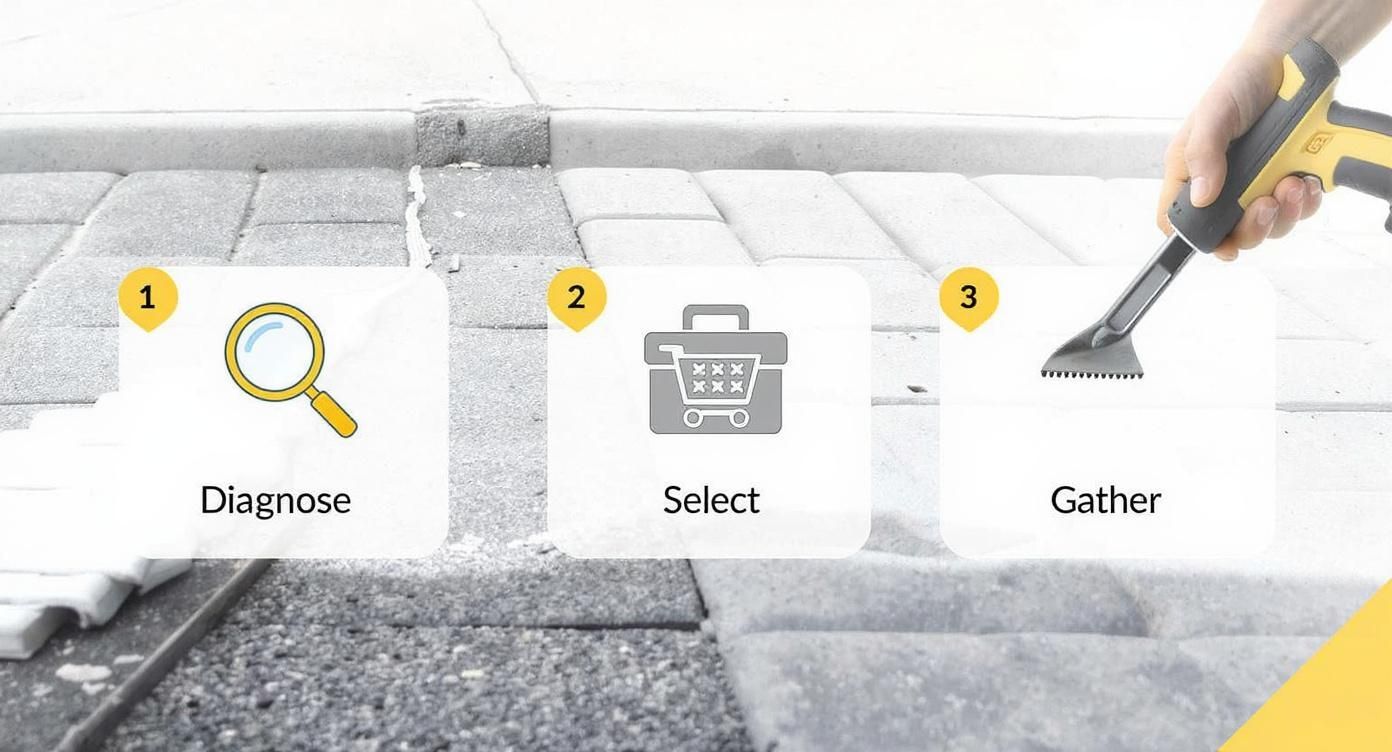
As you can see, most of the real work—the diagnosis, choosing your materials, and getting the right tools—is done before you even think about mixing anything.
Mastering the Art of Crack Filling
Filling cracks is probably the most common driveway repair, and when you do it right, you can stop a tiny issue from becoming a massive headache. The whole point is to clean out the crack completely and then seal it up so water can't get in.
First things first, get everything out of that crack—dirt, weeds, bits of loose concrete, you name it. A stiff wire brush and a shop vac are your best friends for this job. For any crack wider than 1/4 inch, I highly recommend using an angle grinder with a diamond wheel. Running that down the crack carves out a clean, V-shaped channel that gives the new filler way more surface area to bond to, creating a much stronger seal.
Here’s a pro tip: For any crack deeper than 1/2 inch, don't just fill the whole thing with sealant. Instead, push a foam backer rod down into it. This flexible foam rope sits just below the surface, saves you a ton of expensive sealant, and creates the perfect three-sided seal. This lets the filler flex with the concrete's movement instead of pulling away from the edges. For example, for a 3/4-inch deep crack, you'd use a backer rod that's slightly wider, like 7/8-inch, and push it down until it's about 1/2-inch below the surface before sealing.
Once the crack is spotless and bone-dry, it's time to apply your filler. For those tiny hairline cracks, a good-quality polyurethane sealant in a caulk gun is all you need. Lay down a steady bead, overfilling it just a bit, then smooth it flush with a small putty knife.
Executing a Rock-Solid Concrete Patch
When you're dealing with bigger potholes, spalling, or chunks of missing concrete, you'll need a dedicated patching compound. The prep work here is even more important because you're building a structural fix.
Start by grabbing a hammer and chisel and chip away all the loose, crumbly concrete until you hit a solid base. Now, here's the step most people skip: undercut the edges. You want to chisel the patch area so the bottom is slightly wider than the top, creating a dovetail or inverted "V" shape. This gives the patch a mechanical lock, making it almost impossible for it to pop out later. For example, a 6-inch wide hole at the surface should be chiseled out to be 7 inches wide at the bottom.
Clean everything out with your wire brush and shop vac. Then, just before you apply the patch, dampen the hole with a spray bottle of water. This is crucial. If you put new material onto bone-dry concrete, the old slab will suck the moisture right out of the new mix, leaving you with a weak, brittle patch. You want the surface to be damp, but with no puddles.
Mix your patching compound according to the directions—you're looking for a thick, peanut-butter-like consistency. Pack the material into the hole firmly with a trowel, forcing out any air pockets. Overfill it slightly, then use a straight 2×4 to screed it level with the surrounding surface. As it starts to firm up, you can finish it with a trowel for a smooth look or a stiff broom to match the existing driveway texture.
Giving Your Driveway a Facelift with a Resurfacer
If your driveway is just old and tired—covered in pitting, stains, or a web of fine cracks—a concrete resurfacer can make it look like a brand-new pour. This is basically a thin, polymer-fortified cement overlay that you spread across the whole thing.
With resurfacing, preparation is 90% of the job. You have to get the entire driveway obsessively clean. A pressure washer is essential here; you need to blast away every bit of dirt, oil, and grime. For example, a greasy oil stain must be completely removed with a degreaser before pressure washing, or the resurfacer won't bond to that spot. Any larger cracks (wider than 1/8 inch) need to be filled and fully cured before you even start.
Once it's clean and dry, you'll need to saturate the driveway with water, then use a squeegee to remove any standing water right before you apply the mix. Just like with patching, this keeps the old slab from drying out the thin overlay too fast.
Mix the resurfacer with a drill and paddle mixer until it's pourable and lump-free. Work in manageable sections, pouring it out and spreading it with a long-handled squeegee. You’re aiming for a thin, even coat, about 1/16 to 1/8 inch thick. Don't dawdle—this stuff can start setting up in as little as 30 minutes.
After it loses that initial wet sheen, you can give it a professional, non-slip finish by gently dragging a clean push broom across the surface in one direction.
Don't Skip the Curing and Safety Steps
No matter what repair you do, proper curing is the key to strength and durability. For patches and resurfacing, you need to "wet cure" the area. This just means you lightly mist the repair with a hose a few times a day for 3-5 days, and if possible, cover it with plastic sheeting in between mistings. This slows down the chemical reaction, allowing the concrete to reach its full potential strength. For example, leaving a patch uncovered on a hot, windy day is a recipe for a weak repair riddled with shrinkage cracks.
And finally, be safe. Concrete materials aren't friendly to your body.
- Eye Protection: Always wear safety glasses. Flying debris and chemical splashes are no joke.
- Gloves: Cement is highly alkaline and can give you nasty chemical burns. Wear waterproof, alkali-resistant gloves.
- Respiratory Protection: When you're grinding concrete or mixing the dry powder, wear a dust mask or respirator. You do not want to breathe in silica dust.
Follow these steps, and you can tackle your own driveway repairs with confidence. You'll not only save a lot of money but also add real value and curb appeal to your home.
Timing Your Repair with Atlanta's Weather and Rules
Fixing your driveway isn't just about mixing concrete and troweling it smooth. Your biggest challenge—and your most important partner—is the local environment. Here in Atlanta, our weather can be all over the place, and getting the timing right is the secret to a repair that actually lasts.
Think about it like this: fresh concrete patch is a chemical reaction in progress. It needs time and the right temperature to "cure" and gain its full strength. If you ignore the weather, you're just throwing your money and effort away.
Trying to patch your driveway on a scorching 95-degree July afternoon? The water in your mix will evaporate almost instantly. This flash-drying causes the patch to shrink, crack, and pull away from the old concrete. It'll look terrible and won't hold up. An example of this failure is seeing hairline cracks spiderweb across your new patch the very next day.
On the flip side, a sudden cold snap can be just as bad. Most repair products have a non-negotiable temperature floor, usually around 50°F. If the temperature dips below that, especially in the first 24-48 hours, the curing process just stops cold. The patch will be weak, brittle, and likely to crumble and pop out after the first frost.
Working with Atlanta's Climate
Living in the Atlanta metro area, we all know about the humidity. That thick, soupy air means things take forever to dry, and that includes your driveway. You have to be patient and make absolutely sure the crack or hole is bone-dry before you add any patching material. Trapped moisture is a bond-killer. For example, even after a morning rain shower, a porous crack can hold moisture for hours, so using a leaf blower to thoroughly dry it out is a crucial step.
Here’s how I handle repairs through the seasons here:
- Summer: I get up early and work in the morning before the sun gets brutal. If I have to work in the afternoon, I’ll rig up a simple tarp to create some shade over the repair area. It makes a huge difference.
- Spring and Fall: These are the sweet spots. The mild temperatures are pretty much perfect for letting concrete cure at its own pace. It's the ideal time to tackle these projects.
- Winter: Honestly, I just don't do it. If a repair is an absolute emergency, you're looking at specialized cold-weather mixes and insulated curing blankets. That's a job for the pros, plain and simple.
Don't Get Blindsided by Permits
Once your patch is set, you're not quite done. Before you even buy your materials for a larger project, you need to think about local regulations. Simple crack-filling won't raise any eyebrows, but if you're redoing a large section or touching the part of your driveway that meets the street (the "apron"), you need to check in with the city or county.
I once saw a homeowner have to tear out a brand-new driveway apron because they didn't pull a permit. The city said the slope was wrong and could cause water to run into the street. It was an expensive, heartbreaking mistake.
A quick call to your local planning department is all it takes. They'll tell you if your project needs a permit, which ensures everything is up to code for safety and drainage. It’s a five-minute conversation that can save you from a massive fine and the agony of redoing your own hard work.
Knowing When to Call a Professional
There’s a certain satisfaction that comes from fixing things yourself, and driveway repair is no exception. But let's be honest—knowing when to put down the tools and pick up the phone is just as important as knowing how to mix patching compound. Some problems are more than just cosmetic, and trying to DIY a serious structural issue can turn a manageable problem into a very expensive headache.
Ignoring the warning signs won’t make them go away. In fact, you could end up wasting time and money on a temporary fix while the real problem festers underneath, getting worse by the day. A professional has the heavy equipment and diagnostic experience to tackle root causes that are simply beyond the scope of a weekend project. Making that call isn't admitting defeat; it's making a smart investment in your property.
Red Flags That Point to a Deeper Problem
The cracks and blemishes you see on the surface are often just symptoms. If the foundation beneath your driveway is failing, a simple patch is like putting a band-aid on a broken bone. It might look better for a little while, but the underlying issue will just keep shifting and cracking your hard work apart.
Before you buy any materials, take a hard, honest look at the damage. If you see any of the following, it's time to call in an expert:
- Serious Heaving: Is one concrete slab pushed up several inches higher than its neighbor? This isn’t a surface flaw. It’s a tell-tale sign of major pressure from below, usually from expansive soil or a massive tree root. For example, if your driveway slab has been lifted so much that your garage door no longer closes flush to the ground, that's a job for a pro.
- Deep, Wide Cracks: I'm not talking about hairline fractures. If you have cracks over an inch wide that seem to grow with each passing season, you're looking at an active structural failure. The base has given way.
- Widespread "Alligator" Cracking: A spiderweb of interconnected cracks across a large area—often called alligatoring—is the classic sign of sub-base failure. The very foundation of your driveway is compromised, and no amount of resurfacer is going to solve that.
Think about it this way: if an entire section of your driveway has sunken, creating a nasty trip hazard, it’s because the soil underneath has washed away or was never compacted properly. Professionals can fix this with slab-jacking, a process where they pump a specialized grout underneath to lift the concrete back into place. That’s not something you can do with a bag of mix from the hardware store.
These are the kinds of problems that demand professional intervention. An expert can properly diagnose the soil and drainage issues to build a solution that actually lasts. To get a better feel for what’s involved in these bigger jobs, it’s worth exploring the options for residential concrete and masonry repair to understand what the pros can do. Recognizing when a job is out of your league is the first step to a successful, long-term repair.
Got Questions? We've Got Answers
Even the best-laid plans can leave you with a few head-scratchers once you've got concrete mix on your hands. It's totally normal. Let's run through some of the most common questions that pop up during a driveway repair project.
Thinking about when you can finally park your car on the fresh patch is always top of mind. But let me tell you, rushing this part is the quickest way to undo all your hard work. That curing time is when the magic happens, giving the repair its strength.
I've seen it happen more times than I can count: a homeowner gets impatient and drives on a new patch too soon. For example, they see that the patch looks dry after two days and decide to park on it, only to find permanent tire impressions embedded in their repair the next morning. Patience is just as critical as the repair itself.
How Long Until I Can Drive on My Repaired Driveway?
The real answer depends on the product you used and the weather, but here are some solid rules of thumb.
You should wait at least 24 to 48 hours before even walking on a new patch. When it comes to parking your car on it, you'll want to give it a full 7 days, minimum. Some of the high-end resurfacing products can take up to 28 days to fully cure and reach their maximum strength, so always—and I mean always—read the manufacturer's instructions. They know their product best.
Can I Repair My Concrete Driveway in Cold Weather?
Honestly, I'd strongly advise against it. Think of it this way: most concrete repair compounds need temperatures to stay above 50°F (10°C) to cure properly. That's not just during the hour you're working, but for several days after.
If you try to patch your driveway when it's too cold, the chemical reaction that hardens the concrete just stops in its tracks. You'll end up with a weak, crumbly repair that will probably fail the first time a hard frost hits. For example, a patch applied at 45°F might feel hard, but its internal crystal structure never fully forms, so it will easily crumble under pressure.
What Is the Best Way to Prevent Future Driveway Cracks?
A little preventative maintenance goes a long, long way. The single most important thing you can do is seal your driveway every 2-3 years. Sealing creates a barrier that keeps water out, and water is the number one enemy, especially with the freeze-thaw cycles we can get.
Also, take a look around your property. Make sure your downspouts and sprinklers aren't dumping water onto or alongside the driveway, as this can wash away the base and cause it to sink and crack. A simple example is adding a gutter extension to direct water 5-10 feet away from the driveway edge. And one more winter tip: try to avoid harsh de-icing salts. They eat away at the concrete surface over time.
If you're looking at your driveway and the job just feels too big, or if you're dealing with major structural damage, there's no shame in calling in the pros. The crew at Atlanta Concrete Solutions has seen it all and can give you a professional repair that's built to last. Get a free quote from Atlanta Concrete Solutions today.