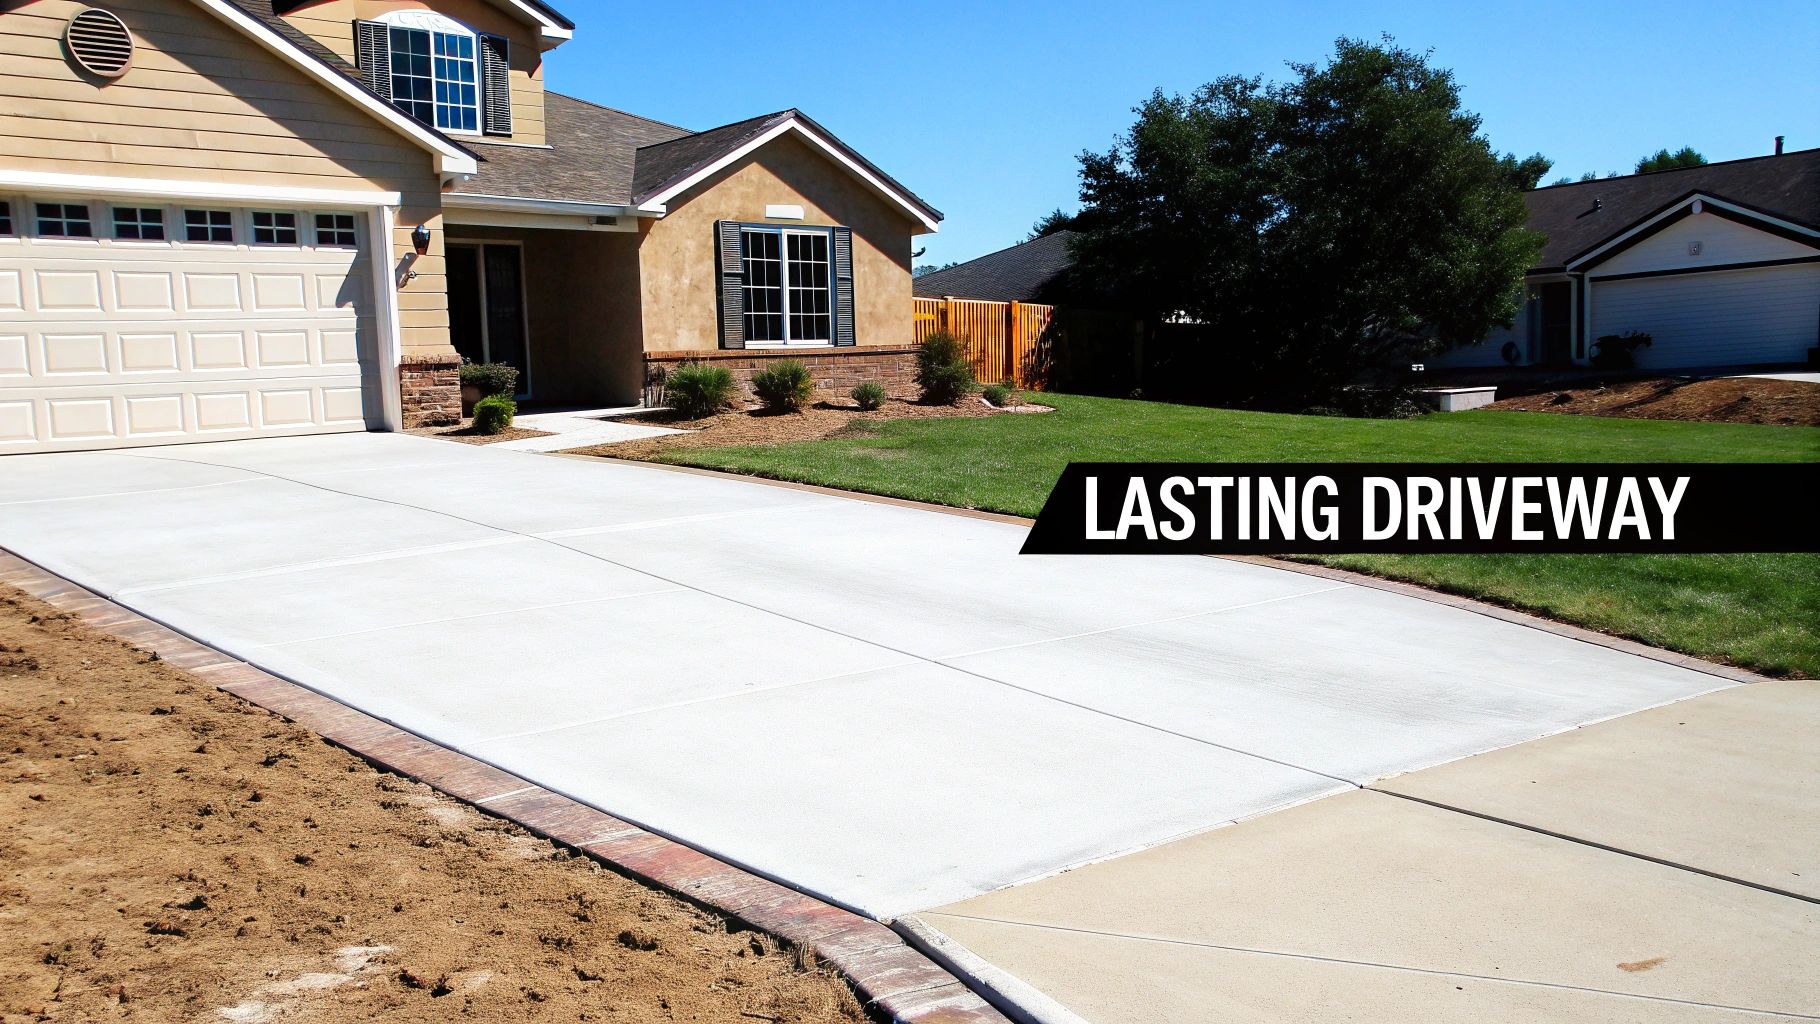
Thinking about a new concrete driveway? It's more than just a place to park your car—it’s one of the first things people see, a major boost to your home's curb appeal, and a smart investment in its overall value. But getting it right involves a lot more than just mixing and pouring some cement. For example, the difference between a driveway that cracks in five years and one that lasts thirty often comes down to the unseen details, like the depth of the gravel base or the placement of steel reinforcement.
This guide will walk you through exactly what a professional concrete driveway installation entails, so you can feel confident in your decisions from start to finish.
Why a Professional Installation Matters for Your Driveway
When it comes to your driveway, hiring a pro is the most critical choice you’ll make. You can think of it like the foundation of your house—if it’s not solid, you're guaranteed to have problems later on. A professionally installed driveway is properly engineered to handle everything Atlanta’s weather throws at it, from the blazing summer sun to the occasional winter freeze, ensuring it will last for 25 years or more. For instance, a pro knows to use a specific concrete mix (like a 4000 PSI mix) that can withstand vehicle weight and resist surface damage from Georgia’s climate.
This incredible durability is a big reason why concrete is the go-to choice for homes today. In fact, homeowners trust it so much that the global market for concrete pavers was valued at USD 16.4 billion in 2023 and is expected to soar to USD 29.2 billion by 2032. That’s a lot of driveways, and it speaks volumes about concrete’s proven strength and versatility.
What This Guide Covers
We’ve designed this guide to pull back the curtain on the entire process. Our goal is to give you the knowledge you need to pick the right style, hire the right team, and understand what’s happening on your property every step of the way.
Here’s a quick look at what we'll cover:
- Driveway Styles: We’ll explore the difference between a classic, non-slip broom finish and eye-catching decorative options like stamped concrete that can look just like natural stone or brick.
- The Installation Process: You'll get a step-by-step breakdown of each crucial phase, from site prep and forming to reinforcement, pouring, and proper curing. For example, we'll explain why a 4-inch gravel base is the minimum standard.
- Budgeting and Timelines: Get a realistic picture of what a project costs in the Atlanta area and how long it typically takes from the first day of work to the final product. We'll give examples of factors that can raise or lower your quote.
- Maintenance and Longevity: We’ll share some simple, practical tips to keep your new driveway looking fantastic and help it last for decades.
A well-built concrete driveway is a long-term asset, not just a surface. It adds tangible value and daily convenience, but only when the job is done right from the ground up.
Exploring Design Possibilities
Before we get into the nuts and bolts, it helps to see what’s truly possible. A concrete driveway doesn’t have to be a plain gray slab. From sleek, modern lines to rustic, textured surfaces, the right finish can completely transform your home’s exterior. For example, a homeowner with a craftsman-style house might choose a stamped pattern that mimics slate, while someone with a modern home might opt for a smooth, colored concrete finish.
We always recommend homeowners check out our project gallery to see a wide range of high-quality driveway installations we’ve completed around Atlanta. It’s the best way to get inspired and find a style that’s perfect for your home.
Choosing Your Driveway Style: Standard vs. Stamped
Picking the finish for your new concrete driveway is where you really get to put your personal stamp on your home's curb appeal. A driveway installation isn't a one-size-fits-all job; the surface itself can be a powerful design statement. It’s the difference between a simple, functional path and a grand entrance that truly elevates your property.
The choice usually boils down to two main paths: the practical, time-tested standard finish or the visually stunning world of decorative concrete. Both are incredibly durable, but they serve very different aesthetic purposes.
The Classic: A Standard Broom Finish
There's a good reason the standard broom finish is the most common choice you'll see. It's functional, tough as nails, and easy on the wallet, making it the reliable workhorse for any home. After the concrete is poured and smoothed out, we pull a specialized broom across the surface.
That simple step creates fine, textured lines that give you fantastic traction for cars and feet alike. Here in Atlanta, with our frequent rain, that non-slip surface is a huge safety plus. For example, on a sloped driveway, this texture can prevent your tires from slipping when it's wet. It’s a clean, straightforward look that complements any style of home without trying to be the star of the show.
Making a Statement with Stamped Concrete
Now, if you're looking to turn heads, stamped concrete is the way to go. Think of it as a high-end makeover for your driveway. This technique transforms a plain slab of concrete into a surface that beautifully mimics more expensive materials like natural slate, cobblestone, brick, or even rich wood planking.
The magic happens when we press three-dimensional patterns into the fresh concrete before it fully hardens. When you combine that with integral colors mixed right in or surface stains applied on top, the results are incredibly realistic. For example, an "Ashlar Slate" stamp pattern paired with a dark gray color can give you the look of a centuries-old stone path for a fraction of the cost.
The demand for these custom looks is booming. The global decorative concrete market, which includes stamped driveways, was valued at USD 17.3 billion and is expected to hit USD 29.6 billion by 2034. Stamped concrete is leading the charge, holding over 34.9% of the market share because it lets homeowners achieve that luxury look for 20-40% less than the cost of authentic materials. You can see more on this trend over at market.us.
You can explore a huge variety of patterns and colors to get a truly custom look that fits your home’s architecture perfectly. To see what's possible, take a look at our guide on residential stamped concrete.
Other Decorative Concrete Options
Beyond stamping, a few other decorative styles are really popular here in the Atlanta area, especially exposed aggregate and colored concrete.
- Exposed Aggregate: For this finish, we wash away the very top layer of cement paste to reveal the smooth, colorful stones and pebbles that are already mixed inside the concrete. You get a highly textured, durable surface with a natural, rustic feel and fantastic skid resistance. An example would be using river rock aggregate for a driveway leading to a cabin-style home.
- Colored Concrete: If you want to move beyond the classic gray, we can add color. It can be mixed directly into the concrete (integral color) for a consistent hue all the way through, or applied as a stain to the surface after it’s poured. This lets you match your driveway to your home's trim, siding, or landscaping for a beautifully cohesive design. For instance, a terra-cotta colored concrete can perfectly complement a Spanish-style home.
Your driveway finish is a reflection of your home's personality. Whether you prioritize timeless function or custom artistry, the right choice will add value and curb appeal for years to come.
To help you weigh the options, here’s a quick side-by-side comparison of the most popular finishes.
Comparing Concrete Driveway Finishes
This table breaks down the key features of different concrete driveway styles to help Atlanta homeowners choose the best fit for their property and budget.
| Feature | Standard Broom Finish | Stamped Concrete | Exposed Aggregate |
|---|---|---|---|
| Aesthetics | Clean, simple, and functional gray surface. | Mimics high-end materials like stone, brick, or wood with intricate patterns and colors. | Textured, natural look with visible stones and pebbles. |
| Cost | Most budget-friendly option, serving as the baseline price for installation. | Higher upfront cost due to specialized labor, tools, and materials. | Moderately priced, typically falling between a standard and stamped finish. |
| Traction | Excellent non-slip surface due to the fine, brushed texture. | Good traction, but can be slightly less than a broom finish depending on the pattern. | Superior traction due to the highly textured, pebbled surface. |
| Maintenance | Low maintenance, requiring occasional cleaning and sealing every few years. | Requires regular sealing to protect the color and pattern from wear and UV rays. | Needs periodic sealing to prevent stones from dislodging and to maintain its appearance. |
Each finish has its own personality and practical benefits. Thinking about how you use your driveway and the look you want to achieve will point you in the right direction.
The Professional Installation Process Step by Step
Pouring a new concrete driveway isn't just about mixing cement and water. It's a precise, multi-stage construction project where every single step builds on the last. If you cut corners at the beginning, you're guaranteed to see problems—like cracking and settling—down the road. For example, failing to compact the gravel base properly is a common DIY mistake that leads to the driveway sinking within a few years.
Let’s walk through what a true professional installation looks like. Knowing what's involved from start to finish will help you appreciate the craftsmanship required for a driveway that can stand up to Atlanta's weather for decades. It's also critical knowledge for hiring the right team.
Understanding the job is one thing, but picking the right contractor is another. It helps to know what influences a homeowner’s hiring decision so you can spot a pro from the rest.
Phase 1: Site Preparation and Excavation
A great driveway starts with the dirt. The first, and arguably most important, phase is preparing the site. This isn't just about clearing the way; it's about creating a stable foundation for everything that follows.
A professional crew will start by tearing out any old material—be it cracked concrete, busted asphalt, or just grass and topsoil. They then excavate the area, digging down 8 to 12 inches below where the final surface will be. This space is essential for the supportive gravel base that comes next.
As they dig, they're also carefully grading the land. This means creating a slight, almost unnoticeable slope (usually about a quarter-inch per foot) to ensure rainwater flows away from your house and towards the street. A great example of this in action is ensuring water from a downspout doesn't pool on the driveway but instead runs off into the lawn or a drain.
Phase 2: Building a Solid Gravel Base
With the ground excavated and properly sloped, it’s time to bring in the unsung hero of every durable driveway: the sub-base. This is a compacted layer of crushed stone or gravel that provides the real support for the concrete slab above. It has a few crucial jobs:
- Distributes Weight: It spreads the load of your vehicles evenly across the soil, preventing ruts and sinking over time. For example, without this base, the heavy weight of a parked truck could cause the concrete to crack.
- Ensures Proper Drainage: The gravel gives water a place to go, which is critical in preventing the ground from heaving and cracking the slab during freeze-thaw cycles.
- Creates Stability: A tightly compacted base is a firm, unmoving platform. This ensures the concrete cures evenly and stays put for good.
Crews spread the gravel and then use a heavy plate compactor to mash it down into a dense, solid layer. This is a non-negotiable step for any driveway meant to last.
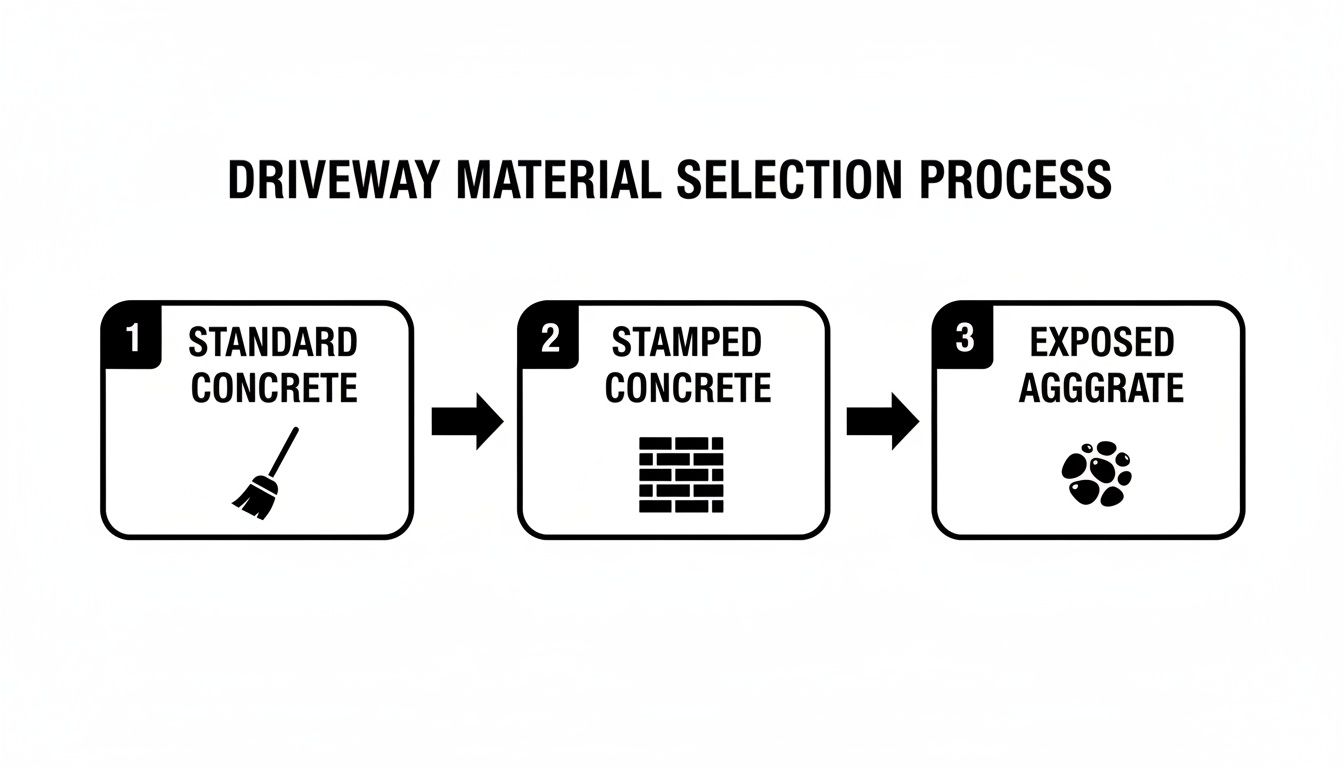
This diagram shows how you might choose a finish before the work even begins—from a basic, functional surface to more decorative, textured options that match your home's aesthetic.
Phase 3: Setting Forms and Reinforcement
Once the gravel foundation is solid, it's time to build the frame. The crew sets up a temporary border of wood or steel planks, known as forms. These forms act like a mold, defining the exact shape, thickness, and edges of your new driveway.
Next comes the skeleton: steel reinforcement. Concrete is fantastic at handling compression (downward force), but it's weak when it comes to tension (pulling forces). Reinforcement is what gives it that tensile strength.
Reinforcement is the internal steel skeleton that holds the concrete together. It helps the slab resist cracking from heavy loads, shifting soil, and temperature swings, turning it from a brittle slab into a tough, unified structure.
There are two main options here:
- Steel Rebar: A grid of thick steel rods tied together. This is the heavy-duty choice, perfect for driveways that will see RVs, work trucks, or other heavy vehicles. For example, a grid of #4 rebar spaced 18 inches apart is a common specification for high-strength driveways.
- Wire Mesh: A grid of thinner steel wires. This is great for standard residential driveways and is very effective at preventing small surface-level cracks.
Phase 4: Pouring and Finishing the Concrete
This is the day the magic happens, and it's a race against the clock. When the concrete truck arrives, the crew has to work fast to pour the mix into the forms, spreading it evenly and making sure there are no air pockets.
Finishing the surface is a true art form that depends entirely on timing. Start too early, and the surface will be weak; wait too long, and the concrete becomes unworkable. Whether they're creating a simple broom finish for traction or stamping an intricate pattern, it all has to happen when the concrete is at just the right stage of setting. For instance, the finisher must wait until the "bleed water" on the surface has evaporated before using a trowel.
Phase 5: Curing for Maximum Strength
The work isn't done when the truck drives away. Concrete doesn't "dry"—it cures. This is a slow chemical reaction where the material hardens and gains its ultimate strength, and it needs moisture to happen correctly.
To ensure a proper cure, pros will often spray on a liquid curing compound or cover the new slab with plastic sheeting. This traps moisture, slowing down evaporation and allowing the concrete to become as dense and durable as possible. A simple example of bad curing is a driveway poured on a hot, windy day without protection—it can lose moisture too fast, leading to a weak surface and shrinkage cracks.
While you might be able to walk on it in a day, it needs at least 7 days before you should even think about parking a car on it. And it won't reach its full, designed strength for 28 days.
From digging the first shovel of dirt to letting the slab cure, every phase is a critical part of a successful project. To see how these steps come together in different applications, feel free to explore the concrete services we offer for both homes and businesses.
Budgeting for Your New Concrete Driveway
When it comes to a new driveway, the two biggest questions on every homeowner's mind are always the same: "How much is this going to cost?" and "How long will my yard be a construction zone?" Getting a straight answer on both is key to planning your concrete driveway installation without any surprises.
The final price tag isn't just a number pulled out of thin air. It’s a sum of several moving parts, much like building a custom piece of furniture. The final cost depends on the size, the materials you choose, and how complex the design gets. The same goes for your driveway—every single project is unique.
Key Factors That Influence Your Final Cost
An experienced contractor will walk you through these details during your initial quote, but it helps to know what they're looking for. These are the main things that will shape your budget.
- Driveway Size: This is the big one. A longer, wider driveway naturally requires more concrete, more gravel for the base, and more rebar. It also takes more time to install. For example, a simple 20×40 foot (800 sq ft) driveway will be significantly cheaper than a 20×80 foot (1600 sq ft) one, even if all other factors are identical.
- Demolition Needs: Do you have an old, busted-up driveway that needs to go? Breaking up and hauling away old asphalt or concrete is a separate job that requires heavy equipment and labor, which adds to the bottom line.
- Site Accessibility: How easy is it for a massive concrete truck to get to the pour site? If your property has tight access, such as a narrow gate or proximity to a neighbor's fence, the crew might need to use smaller concrete buggies. This adds a lot of labor and time, pushing the cost up.
- Design Complexity: A standard, straight-shot driveway with a simple broom finish is always the most affordable option. But if you're picturing stamped patterns that mimic stone, custom colors, or elegant curves, that's where the cost starts to climb. As an example, a complex "cobblestone" stamp with multiple colors can cost 50-100% more per square foot than a standard finish.
A detailed quote isn't just a number; it's a roadmap of your project. It should clearly break down costs for demolition, materials, labor, and any special finishes so you know exactly what you are paying for.
Typical Project Timelines from Start to Finish
Knowing the day-to-day schedule can make the whole process feel a lot less chaotic. While every job has its own quirks, a standard concrete driveway installation pretty much follows this playbook.
Week 1: Preparation and Pouring
- Day 1-2: The crew gets to work. This involves tearing out the old driveway (if there is one), digging out the area, grading the soil so water drains properly, and laying and compacting the gravel base.
- Day 2-3: Next, they build the wooden forms that will hold the wet concrete and create the driveway's final shape. Inside those forms, they'll lay down a grid of steel rebar or wire mesh for strength.
- Day 3-4: It's pour day! This is the most critical (and often the fastest) part of the job. The concrete truck arrives, and the crew pours, levels, and finishes the surface.
Weeks 2-4: The Curing Process
- After 48-72 Hours: You can usually walk on the new surface without leaving footprints.
- After 7 Days: The concrete is now strong enough to park your regular passenger cars on it.
- After 28 Days: This is the magic number. After about four weeks, the concrete reaches its full design strength and is ready to handle heavier vehicles, like a work truck or an RV.
Following this timeline is crucial. Rushing the curing process is the fastest way to compromise the strength and longevity of your investment. And as you plan, don't forget how your new driveway fits in with the rest of your yard. If you're looking to spruce things up without breaking the bank, check out these budget-friendly landscaping ideas.
How to Care for Your Driveway and Keep It Looking New
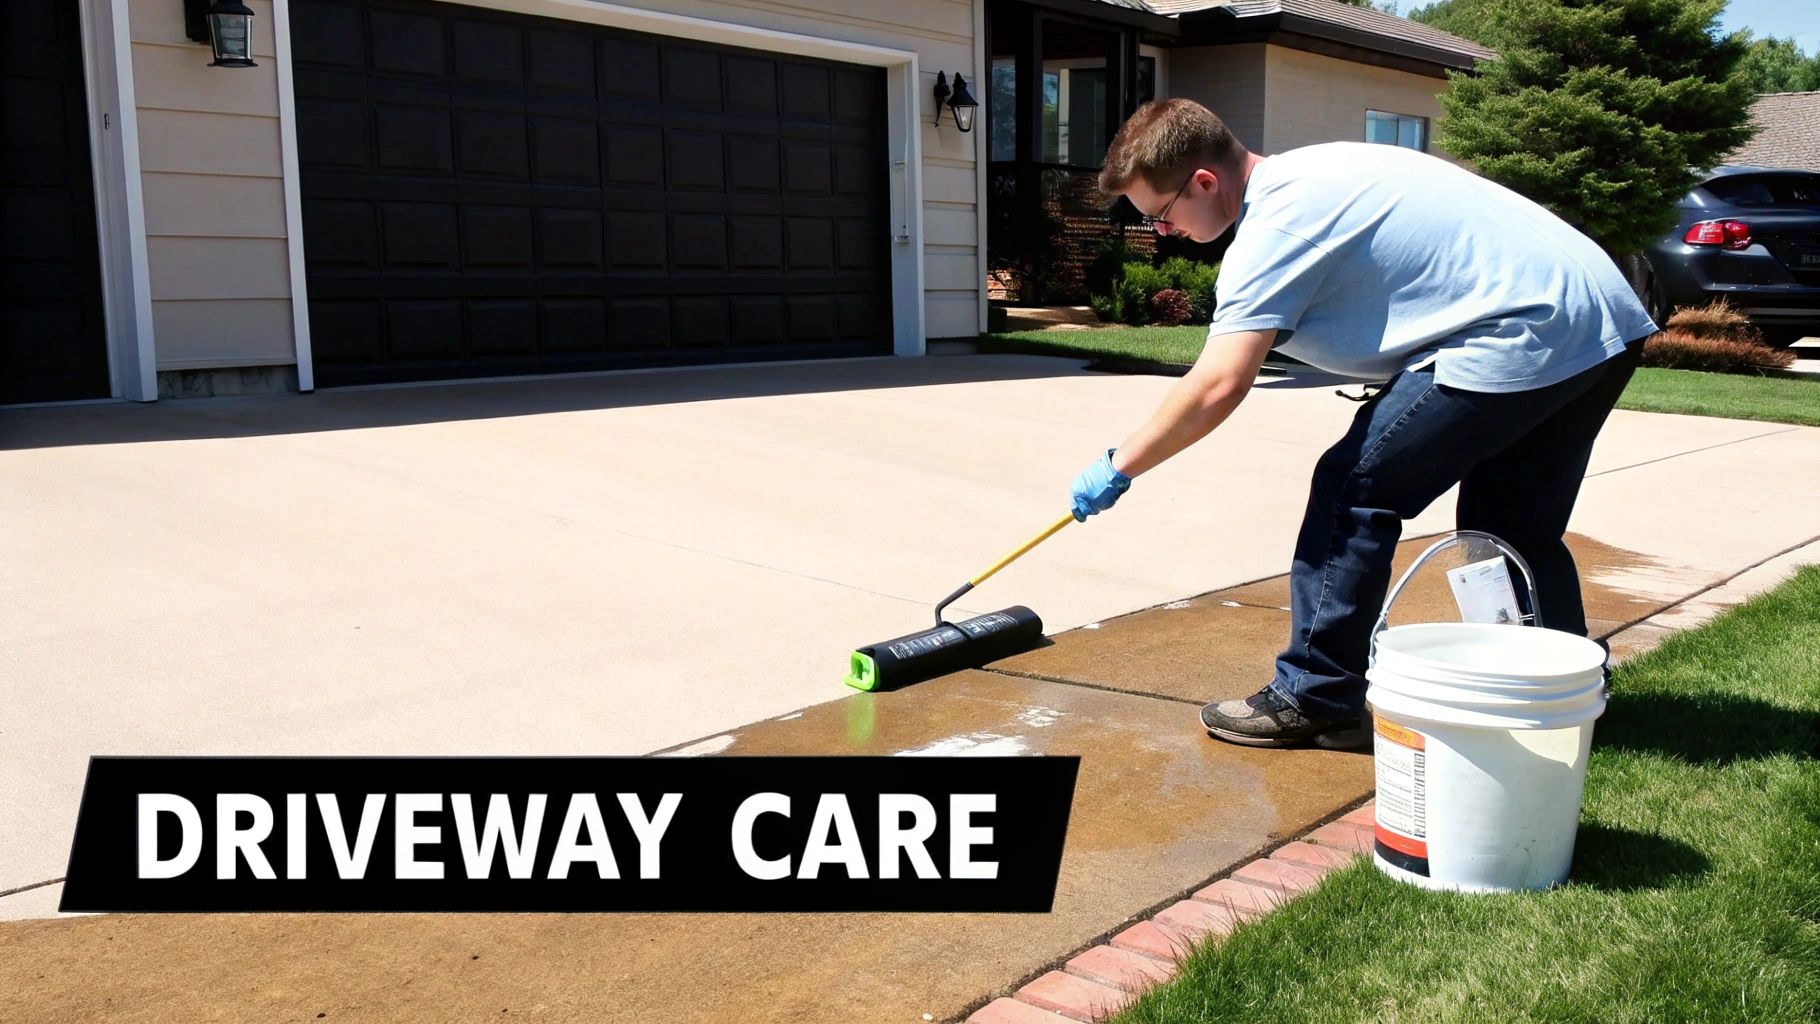
You’ve just made a great investment in your home's curb appeal. With a little straightforward care, that new concrete driveway will look fantastic and perform well for decades. The good news is, maintenance isn't a chore. It’s just a simple routine to protect your investment from stains, weather, and daily wear and tear.
Think of it like waxing your car. A little preventative work protects the finish and keeps it looking sharp. A well-maintained driveway does the same, resisting damage and making sure you get every bit of value out of your professional concrete driveway installation.
Your Simple Upkeep Schedule
Staying ahead of problems is the name of the game. A simple schedule is all it takes to keep your driveway in prime condition and catch minor issues before they turn into major headaches.
- Routine Cleaning: Give your driveway a good wash at least twice a year, usually in the spring and fall. A pressure washer on a low setting or just a stiff brush with a good concrete cleaner will lift away the grime, dirt, and mildew that builds up over time.
- Prompt Stain Removal: Spills happen. The key is to act fast. Oil, grease, and even wet leaves can leave behind ugly stains if you let them sit. For example, if you notice an oil leak from your car, cover it immediately with cat litter to absorb the excess before cleaning with a degreaser.
- Crucial Sealing: This is, without a doubt, the most important step. Applying a high-quality sealer every 2 to 4 years gives your driveway a protective shield against moisture, stains, and the sun's UV rays.
Sealing your concrete driveway is like applying sunscreen. It creates an invisible barrier that blocks damaging elements, preventing moisture penetration and fading while making the surface much easier to clean.
Addressing Common Concrete Issues
Even the toughest concrete can show its age. Knowing what to look for and how to handle it will go a long way in preserving your driveway’s strength and appearance.
Hairline Cracks
Don't panic if you see tiny, web-like cracks. They're often just a normal part of concrete's life. For anything less than a quarter-inch wide, you can easily handle it yourself with a flexible concrete crack filler from your local hardware store. This prevents water from getting into the crack, freezing, and making it wider.
Spalling or Pitting
If the top layer of your driveway starts flaking or chipping off, that's called spalling. This usually happens when moisture seeps into the concrete and then freezes, popping off small pieces of the surface. A common cause in colder climates is the use of de-icing salts, which is why a good sealer is so important.
When to Consider Concrete Resurfacing
What if your driveway is structurally sound but has seen better days—covered in stains, discoloration, or a network of surface cracks? A full replacement isn't your only choice. Concrete resurfacing is a fantastic, budget-friendly alternative.
The process involves applying a thin, durable layer of a cement-based overlay right on top of your existing driveway. It covers up all the old imperfections and gives you a brand-new surface without the expense and disruption of a complete tear-out. For example, a driveway with extensive surface pitting but no deep structural cracks is a perfect candidate for resurfacing.
This method is a game-changer for extending the life of a concrete slab. The market for these products was valued at USD 4.44 billion and is expected to hit USD 6.56 billion by 2032. Especially here in North America, where many driveways are over 20 years old, resurfacing can slash costs by 60-75% compared to a new pour. You can learn more about this growing trend from market analysis by Data Bridge Market Research.
Got Questions? Here Are Some Common Ones We Hear
Even after walking through the whole process, you probably have a few specific questions floating around. That's completely normal. We've put together some of the most common questions we get from homeowners just like you to give you straightforward answers.
How Soon Can I Use My New Driveway?
This is probably the number one question everyone asks! It's tempting to park on that beautiful new surface right away, but patience is key here. While the concrete will be hard to the touch in a day or so, it's still curing and gaining strength on the inside.
For regular cars and light SUVs, you’ll want to wait at least 7 full days. If you have heavier vehicles—think large work trucks, an RV, or a moving van—it's best to give it the full 28 days to reach its peak strength. Waiting now prevents cracks and surface damage down the road.
Is Concrete Really Better Than Asphalt for Atlanta?
For a climate like ours in Atlanta, the answer is a resounding yes. Think about our hot, humid summers. Black asphalt soaks up that intense sun, getting soft and tacky. This can lead to ruts and tire marks pretty quickly. For example, on a 95-degree day, an asphalt surface can reach over 140 degrees, making it soft enough for a car's tires to leave impressions.
Concrete, being lighter in color, actually reflects a good deal of that heat, staying much cooler. It's a rigid pavement that won’t get mushy in July, making it a far more durable choice that will look great for 25 years or more. Asphalt just can't compete with that kind of longevity in our heat.
A professional concrete installation is engineered to control cracking, not prevent it entirely. By placing control joints at strategic points, we tell the concrete where to crack in a neat, straight line, maintaining the driveway's structural integrity and appearance.
What’s the Deal with Cracks?
No one wants to see cracks in their brand-new driveway, but it's important to know that tiny hairline cracks are a natural part of concrete's life. Concrete expands and contracts with temperature shifts, and this movement has to go somewhere.
That's where a professional installation makes all the difference. We strategically place control joints—those straight lines you see cut into the surface. These joints create a deliberate weak spot, essentially telling any future crack exactly where to form. This keeps them straight and hidden, preventing the ugly, spidery cracks that signal bigger problems. For example, on a large driveway, you will typically see these joints creating squares no larger than 10×10 feet.
When Is the Best Time of Year to Pour a Driveway?
Here in Atlanta, we have two sweet spots for a concrete driveway installation: spring and fall. The mild temperatures and moderate humidity create the perfect conditions for the concrete to cure slowly and properly, which is crucial for reaching maximum strength. For example, a perfect pouring day would be overcast with temperatures in the 60s.
Can it be done in summer or winter? Sure, but it's trickier. The intense summer heat can make concrete set too fast, and freezing winter temperatures can stop the curing process dead in its tracks. Sticking to the milder seasons is the best way to guarantee a perfect, long-lasting result.
Ready to transform your home’s curb appeal with a durable, beautiful new driveway? The team at Atlanta Concrete Solutions has the local expertise to deliver flawless results, from standard finishes to intricate stamped designs. Contact us today for a free, no-obligation quote and let's get your project started. Visit us online at https://atlantaconcretesolutions.com.