When we talk about forming a concrete foundation, we're talking about building the mold—the formwork—that holds the wet concrete and gives it its final shape. This is the very first, and arguably most important, step in construction. A solid foundation has to be strong, perfectly level, and built to precise dimensions. Everything that comes after, from the framing to the roof, depends on getting this part right. For example, a foundation that is out of level by just half an inch can cause major issues with installing doors and windows later on.
Your Blueprint For A Rock-Solid Foundation
The real work of forming a concrete foundation starts way before you ever stick a shovel in the ground. It’s all about meticulous planning. Think of it this way: skipping the prep work is like trying to build a house without a blueprint. You're just asking for expensive, and often permanent, mistakes down the line.
This is doubly true here in the Atlanta area. Our infamous red clay is known for being expansive—it swells up when it gets wet and shrinks when it dries out. Pour a foundation on clay that hasn't been properly prepared, and you've got a recipe for shifting, cracking, and years of headaches. For example, a foundation poured on improperly compacted clay can settle unevenly, causing large diagonal cracks in your drywall.
Navigating Local Codes and Soil Conditions
Before you do anything else, your first calls should be to your local municipal building department and a good geotechnical engineer. In metro Atlanta counties like Fulton, DeKalb, and Gwinnett, the inspectors are sharp. They're looking closely at footing depth, reinforcement schedules, and how well you're following local amendments. They need to see that your plans are built for our regional challenges.
A professional soil analysis isn't just a suggestion; it's a critical investment. This report tells you everything you need to know about the soil's load-bearing capacity and potential for movement, directly influencing your foundation's design.
For example, an engineer might specify wider footings (e.g., 24 inches wide instead of the standard 16) or the use of box voids—specialized forms that create a gap between the concrete and that tricky expansive soil—to handle the movement. Trying to save a few bucks by skipping this advice can easily lead to tens of thousands in structural repairs later on. Even the most complex https://www.atlantaconcretesolutions.com/commercial-foundation-concrete projects hinge on understanding these local soil dynamics.
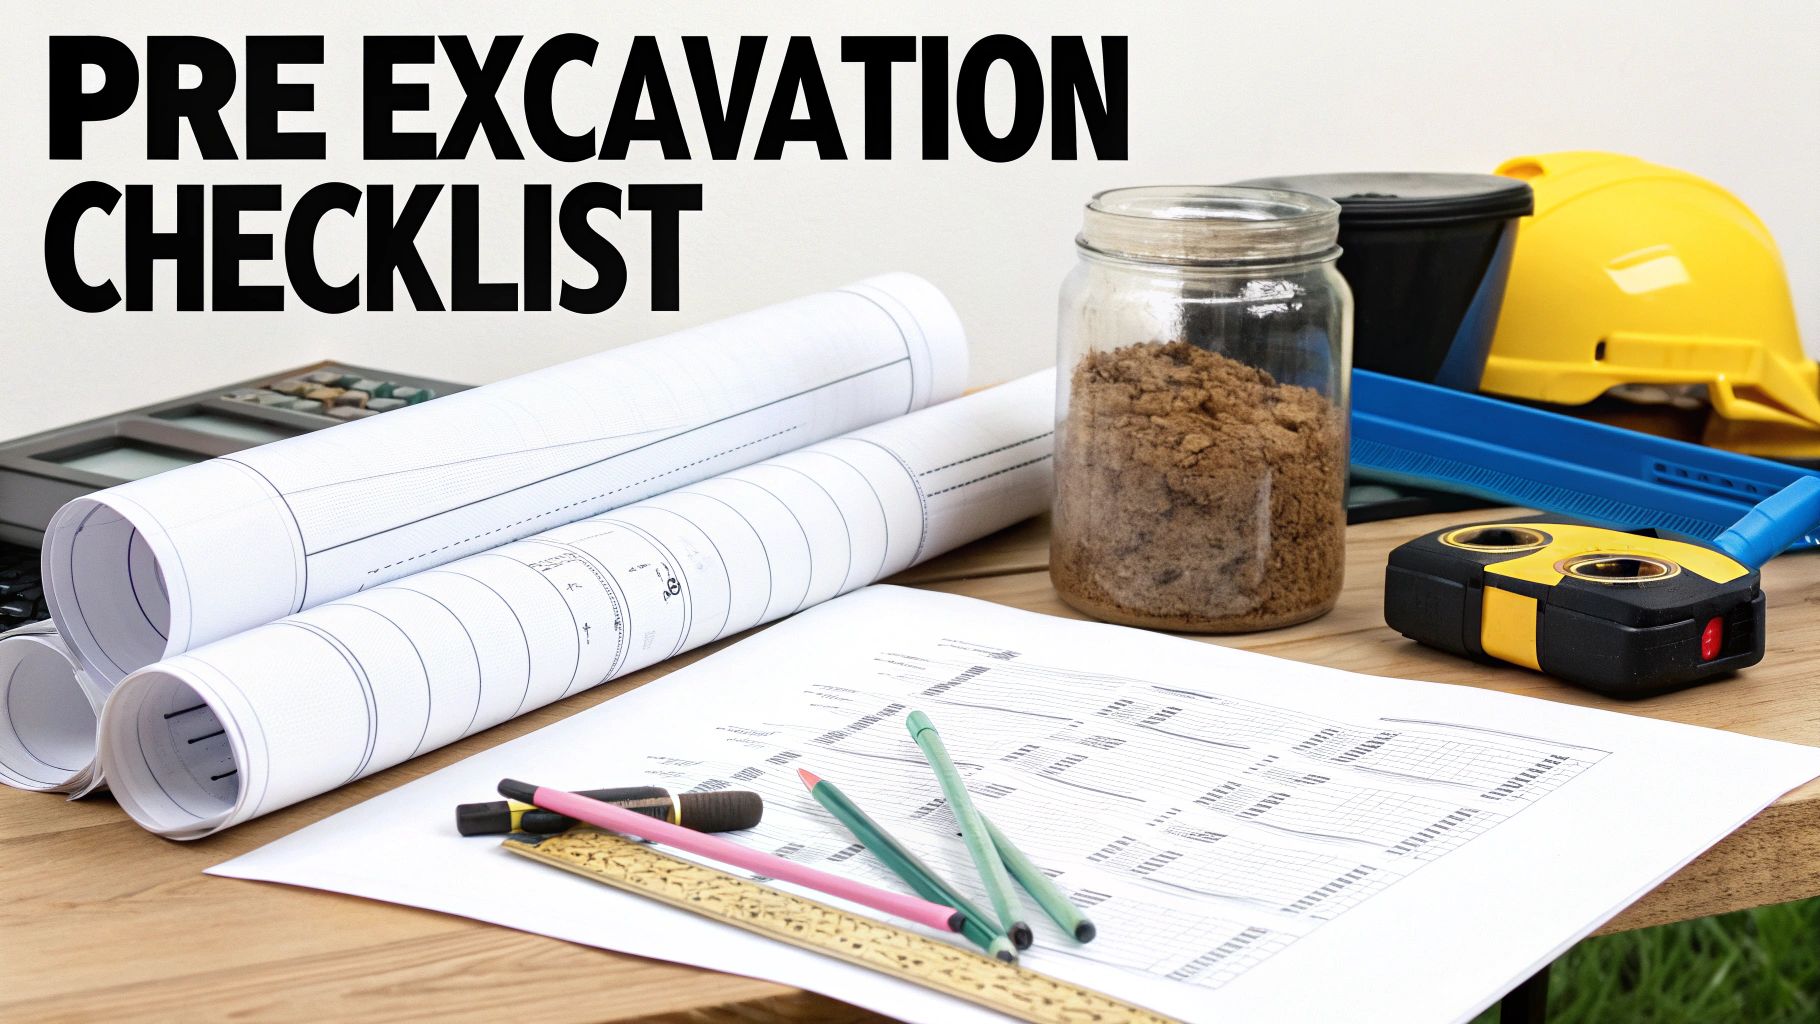
Your Pre-Excavation Checklist
An organized job site is a safe and efficient one. Running through a solid pre-construction checklist before the excavator shows up ensures every detail is buttoned up, which prevents frustrating delays and confusion. This isn't just about paperwork; it's about being ready on the ground.
Here are the absolute must-dos before you start digging:
- Locate Utility Lines: Always, always call 811 to have underground utilities marked. Hitting a gas or water line is a dangerous and incredibly expensive mistake you don't want to make. For example, a ruptured water main can completely flood your excavated site, causing days of delays and requiring costly pumping and re-compaction.
- Verify Your Permit: Make sure your building permit is fully approved and physically posted on-site in a weather-proof sleeve. You can't legally start work without it, and an inspector can issue a stop-work order if it's missing.
- Plan Site Access: Figure out the best route for heavy equipment. For instance, lay down plywood or gravel paths to prevent heavy trucks from getting stuck in soft soil or tearing up the client's lawn.
- Set Up a Staging Area: Designate a specific, easy-to-access spot for your lumber, rebar, and other formwork materials. This keeps the work area clean and safe, preventing tripping hazards and material damage.
- Install Erosion Controls: In Georgia, you’ll almost certainly need silt fences or other erosion controls in place before you break ground to comply with environmental rules. A common example is placing a silt fence along the lowest point of your property line to prevent muddy runoff from entering storm drains or neighboring properties.
If you want a real-world example of why this matters, just look at the meticulous planning required for foundations for structures like custom shade structures and pool houses. The principles are the same: proper soil analysis and planning are everything. Taking the time for this detailed prep work ensures your project starts on a compliant, safe, and truly solid footing.
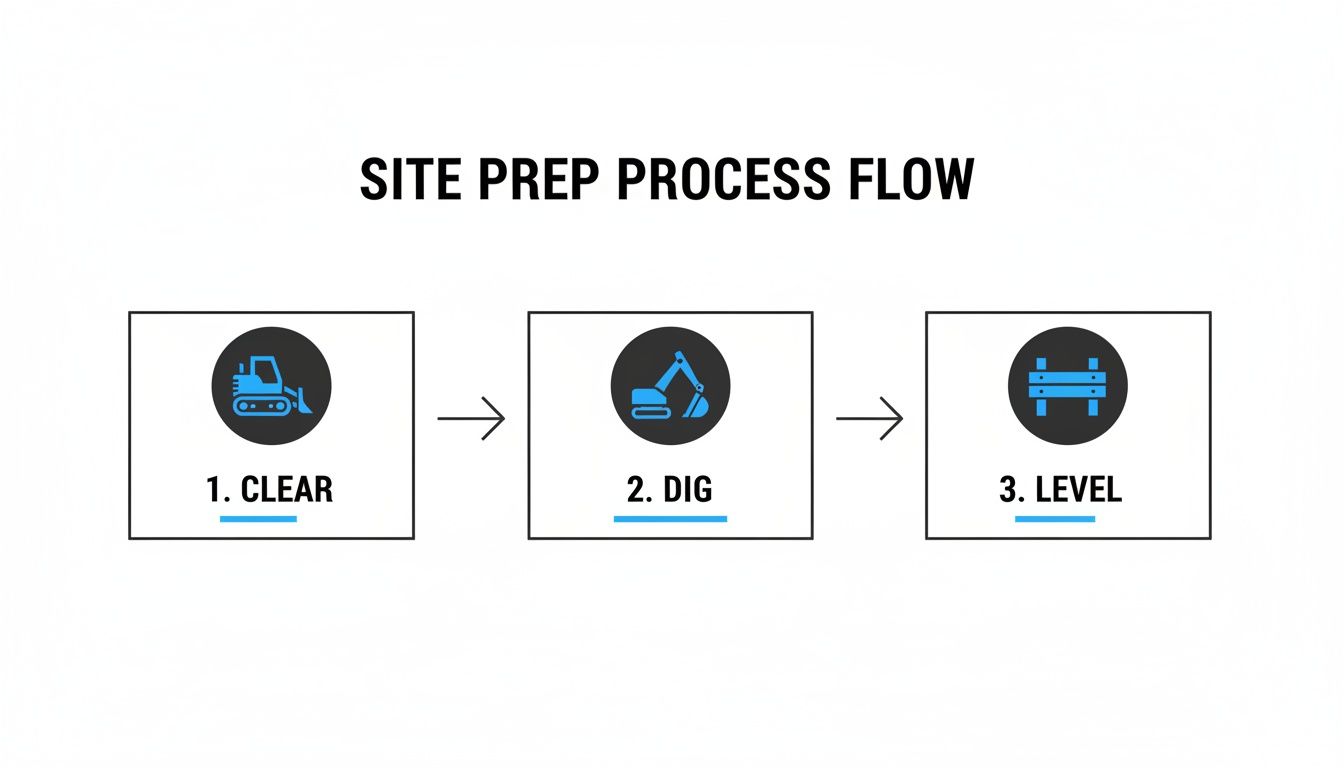
Excavating And Preparing The Build Site
Once the paperwork is signed and the permits are in hand, it’s time to break ground. This is where your foundation moves from a blueprint to a reality, and it all starts with transforming that patch of dirt into a perfectly prepped build site. Getting this stage right is everything—the precision in your excavation and soil prep is the literal groundwork for the entire project.
First things first, we're not just clearing a few bushes. You have to strip away all the topsoil, that dark, rich layer full of organic matter. It’s great for a garden, but it’s far too unstable to build on. In the Atlanta area, that usually means scraping off 6 to 12 inches to get down to the dense, firm subsoil, sometimes called "hardpan."
Digging To The Right Depth and Dimensions
With the site cleared, the real digging begins. The excavator operator will follow your plans to the letter, digging out the trenches for your footings—the thick, load-bearing base of your foundation.
Here in Georgia, your footings absolutely must sit below the frost line to prevent the foundation from heaving when the ground freezes and thaws. The code requires a minimum depth of 12 inches below undisturbed soil, but your soil engineer’s report will give you the exact number for your specific lot. Don’t eyeball this; being off by just a couple of inches can throw the whole structure into jeopardy.
Let me be clear: precision here is non-negotiable. A foundation that’s out of square by a single inch can become a domino effect of problems, creating a nightmare for the framing crew and costing you a fortune to fix later on.
So how do the pros guarantee accuracy? With a surprisingly low-tech but incredibly effective system: batter boards and string lines.
- Batter Boards: Think of these as temporary wooden goalposts. They're H-shaped frames (two stakes with a horizontal board nailed across them) hammered into the ground a few feet back from where the actual corners of the foundation will be. The key is that they're all set to the same level using a laser or builder's level.
- String Lines: We then pull strings tight between these boards, creating a perfect, elevated outline of the foundation's perimeter. This gives the excavator a clear guide to work with, well above the mud and mess. A good example of their use is checking diagonals: the measurement between opposite corners should be identical to ensure the layout is perfectly square.
To find the exact corner points on the ground, you just drop a plumb bob from where the strings cross. It's an old-school method, but it’s still the single best way to ensure your foundation is perfectly square and level from the get-go.
Compacting The Soil For A Stable Base
After you’ve dug down to the right depth, you're not done yet. You have to make sure the soil at the bottom of that trench is rock-solid. This is especially crucial around here, with our notorious red clay soils that can shift and settle. If you pour concrete on loose soil, it will settle, and your brand-new foundation will crack.
That's why soil compaction is a step you can't skip. We use a heavy-duty mechanical tamper—you'll hear it called a "jumping jack"—to pound the soil in the footing trenches. This process forces the soil particles closer together, dramatically increasing its density and ability to carry the immense weight of a house. A properly compacted base gives you the peace of mind that your site is truly ready for the next phase: building the forms.
Constructing And Bracing The Foundation Formwork
Alright, your site is graded and the layout is staked out. Now for the real test: building the formwork. This is the temporary mold that will hold thousands of pounds of wet concrete, so it has to be dead-on accurate and brutally strong. Think of it this way—any mistake here gets literally set in stone.
This isn’t the first step, but it’s where all the previous hard work of clearing, digging, and leveling comes together.
Get the forms wrong, and you’re in for a world of hurt when the framers show up. Let's make sure that doesn't happen.
Choosing Your Formwork Materials
The material you use for your forms is a big decision that balances cost, ease of use, and the final look of your concrete. There’s no single right answer; it really depends on the job.
- Traditional Lumber: For most residential foundations, good old 2×12 lumber is the standard. It’s available everywhere, it's easy to cut and nail, and it’s relatively affordable. The downside? Wood can bow under pressure if you don't brace it right, and you'll likely only get one use out of it.
- Plywood and LVL: When you’re dealing with taller walls or need a super smooth finish, many pros will use plywood sheets backed by sturdy Laminated Veneer Lumber (LVL) beams. This setup is much more rigid and less prone to bowing, making it a great choice for architectural concrete features.
- Reusable Forms: If you’re a pro doing foundations week in and week out, you invest in modular aluminum or steel forms. They're an expensive upfront cost, but they lock together fast, are incredibly strong, and can be used over and over. A common example is the Symons Steel-Ply system used in commercial construction.
For a standard slab or crawlspace foundation in the Atlanta area, you'll be fine with well-braced 2x12s. But if you're building a custom home with a full basement, you'd be wise to look at a stronger system like aluminum forms for that extra strength and precision.
Assembling Forms That Are Plumb and Level
With materials in hand, it’s time to build. Your only goals here are to be perfectly plumb (vertical) and perfectly level (horizontal). Start by driving wood or steel stakes into the ground, following your string lines. The inside faces of your form boards get screwed or nailed right to these stakes.
Don’t just eyeball it. Check every board with a level and a square, constantly. A builder's level or, even better, a laser level is your best friend for making sure the tops of the forms are at the exact same height all the way around. An out-of-level form means an out-of-level foundation, and that's a nightmare for the framers.
Wet concrete is a beast. It’s incredibly heavy and pushes outward with immense force, known as hydrostatic pressure. A single cubic yard of concrete weighs about 4,000 pounds. Weak bracing is the #1 reason forms blow out.
That immense pressure means that a few stakes just won't cut it. The real secret to strong formwork is in the bracing.
The Critical Role of Bracing
Bracing is what keeps your forms from looking like a busted dam when the concrete truck shows up. A well-braced form is a safe form, period. It all comes down to a few key components.
- Stakes: These are your main vertical supports driven into the ground. A good rule of thumb is to place one every 2 to 3 feet along the outside of the forms. For example, on a 20-foot wall, you should use at least 7 to 10 stakes.
- Kickers: These are the diagonal braces that really do the heavy lifting. They run from the top of a stake back down to another stake or block in the ground, preventing the forms from pushing out at the top.
- Whalers (or Walers): For taller walls, you need whalers. These are horizontal beams (usually doubled-up 2x4s) that run along the outside of the forms, tying all the stakes together and spreading the load out evenly.
Corners are the weakest points, so they need extra love. Always add extra diagonal braces across every corner to keep them from blowing open. Here’s a pro tip for long, straight walls: run a string line tight across the top of the forms from end to end, then use your kickers to push or pull the wall until it's perfectly straight along the line. This is the kind of detail that separates a good-enough job from a truly professional one when forming a concrete foundation.
Adding Steel Reinforcement For Lasting Durability

With your formwork standing strong, it’s time to build the hidden skeleton that gives the foundation its real muscle: steel reinforcement. Concrete by itself is a powerhouse under compression—it can handle incredible weight pressing down on it. But ask it to stretch, and it fails. That’s where it’s weak, in tension.
This is where steel rebar comes in. It has phenomenal tensile strength, giving the finished foundation the ability to flex under pressure from shifting Atlanta clay soil or the weight of the structure above. Getting this steel grid right is non-negotiable for a foundation that’s built to last.
Choosing The Right Rebar
This is one area where you absolutely cannot freelance. Your structural plans will call out the exact grade (strength) and size (diameter) of the rebar you need, and you have to follow it to the letter. For instance, using Grade 40 rebar when Grade 60 is specified can compromise the foundation's strength by 33%.
For a standard residential project, you'll likely see a call for #4 rebar, which has a 1/2-inch diameter. But if you're dealing with taller basement walls or particularly unstable soil, the engineer might specify beefier #5 rebar (5/8-inch diameter) to handle the increased load. Sticking to the plan is crucial for passing inspections and for the long-term safety of the structure.
Building The Steel Grid
Once you have your rebar on site, you’ll begin laying it out in a grid pattern inside the forms. You'll have bars running in both directions, horizontally and vertically, creating a tic-tac-toe pattern. The spacing is also determined by your plans, but a common layout is 18 inches on-center.
Everywhere the bars cross, they need to be tied together firmly with steel tie wire. A tool called a rebar tier can make quick work of this, but it’s perfectly fine to do it the old-fashioned way with a pair of pliers. The key is to create a single, rigid cage that won’t get pushed around when thousands of pounds of wet concrete come rushing in.
A Critical Mistake to Avoid: Never let your steel reinforcement sit directly on the ground. If the rebar is lying on the dirt when you pour, it offers virtually no tensile strength to the slab. It must be suspended in the middle of the concrete to do its job.
Ensuring Proper Placement
So, how do you get the rebar to float in the middle of the pour? You use supports to lift it off the ground. In the trades, we call these "chairs" or "dobies."
- Rebar Chairs: These are typically plastic supports that clip right onto the rebar, holding it at a precise height. They're cheap, light, and very easy to work with. For example, you would use a 1.5-inch chair for a 4-inch slab to center the rebar perfectly.
- Dobies: These are basically small, pre-cast concrete blocks that come with tie wires sticking out of them. You place them under the grid and tie the rebar to them. They provide a rock-solid base and are often required in heavier commercial applications.
Using these supports ensures the steel is perfectly encased in concrete, which protects it from moisture and rust while letting it reinforce the slab. For a typical 4-inch-thick slab, you'll want that rebar grid sitting about 2 inches from the bottom. This final step is what makes the hidden structure work, actively fighting cracks before they can ever start.
Mastering The Concrete Pour And Finish
The moment the ready-mix truck backs onto your site, the clock starts ticking. This is the main event—a fast-paced, high-stakes process where coordination and technique are everything. Get it right, and you're rewarded with a foundation that will stand for a century. But if you get it wrong, you'll be dealing with problems that are literally set in stone.
Your success starts long before the truck arrives. When you place your order with a ready-mix supplier, you're not just asking for "concrete." You need to be specific. Call out the mix design required by your engineering specs, which is usually a 3,000 to 4,000 PSI (pounds per square inch) strength for most residential foundations.
You also have to specify the slump. This number measures the concrete's workability or wetness. A 4 to 5-inch slump is a solid, all-around choice for foundations—it's fluid enough to fill the forms but not so watery that it compromises strength. For example, ordering a 7-inch slump might make it easier to pour, but it can significantly reduce the final strength of the concrete.
Using professional suppliers has been a complete game-changer. The global ready-mix concrete market was valued at a staggering USD 815.1 billion in 2024, showing just how much the industry has moved away from inconsistent, back-breaking on-site mixing. Ready-mix gives you superior quality control and efficiency, making it the only real choice for serious foundation work. You can read more about the growth of the ready-mix industry from gminsights.com.
Placing And Consolidating The Concrete
Once the chute is in position, the goal is to get the concrete into the forms without causing segregation. This happens when the heavy gravel and aggregates separate from the sand and cement paste, creating weak spots. To avoid this, don't just dump it all in one spot and hope for the best. Work your way around the forms, placing the concrete in even, manageable layers.
As the concrete goes in, you have to consolidate it to eliminate trapped air pockets. These voids are strength-killers. This is where a concrete vibrator becomes your most valuable tool.
Plunge the vibrator vertically into the fresh concrete every couple of feet, but only for about 5 to 15 seconds per spot. You’ll see air bubbles race to the surface. As soon as the bubbles stop and a slight sheen appears, pull the vibrator out slowly and move on. Be careful, because over-vibrating is just as bad as under-vibrating—it can cause segregation, too.
The Art Of Finishing The Surface
With the concrete placed and vibrated, the skilled work of finishing begins immediately. This is a multi-stage process that you simply can't rush.
- Screeding: The first move is to level the concrete. Grab a long, straight screed board (a straight 2×4 works perfectly) and, using a back-and-forth sawing motion, strike off the excess concrete to make the surface level with the top of your forms.
- Floating: After screeding, you have to be patient. Let the concrete rest until the "bleed water" on the surface has completely evaporated. Then, use a bull float or a darby to smooth the surface, push the larger aggregates down, and bring a bit of "cream" to the top for the final finish.
- Troweling: For that classic, dense, and hard surface you see on basement or garage floors, you’ll need to trowel it. This step happens after the concrete has stiffened up even more. Using a steel trowel held at a slight angle, you work the surface to a slick, smooth finish. For a non-slip finish on an exterior surface like a patio, you would use a broom to create a light texture instead of troweling.
The most overlooked yet critical step in the entire process is curing. Freshly poured concrete doesn't just "dry"—it undergoes a chemical reaction called hydration. If the water evaporates too quickly, the reaction stops, and the concrete never reaches its full design strength.
Thankfully, proper curing is easy. Covering the slab with plastic sheeting for 3 to 7 days is a simple and highly effective way to trap moisture and allow the hydration process to finish. Another great option is a liquid curing compound, which you just spray on the surface to create a film that stops evaporation. This final step is your insurance policy for a strong, durable foundation.
To see more on how the pros handle this, check out our guide on residential poured concrete applications.
Common Foundation Forming Mistakes And How To Fix Them
I've learned over the years that experience is often just a long list of mistakes you've learned not to make again. When it comes to forming a concrete foundation, even tiny errors can snowball into massive, expensive headaches down the road. Let’s walk through the most common—and costly—blunders I see in the field and talk about how to keep them from happening on your job site.
The most spectacular failure you can have is a form blowout. This is when the forms literally burst open from the incredible pressure of wet concrete. Keep in mind, a single cubic yard of concrete weighs around 4,000 pounds, and that force has to go somewhere. Nine times out of ten, a blowout is the direct result of flimsy, inadequate bracing. A few stakes every four feet simply won't cut it.
If you ever see a form start to bulge during a pour, you have to move fast. Yell to stop the pour immediately. Then, get diagonal kickers braced against the bulging section and hammer them securely into the ground to force the form back into line. To avoid this nightmare scenario altogether, over-brace your corners and never place stakes more than 24 inches apart on straight runs.
Misplaced Reinforcement And Weather Woes
Another mistake that's less dramatic but just as damaging is setting rebar incorrectly. If your steel reinforcement is sitting on the ground or shoved right up against the top edge of the form, it’s doing absolutely nothing for the structural integrity of the slab. Rebar has to be perfectly encased in the middle third of the concrete to do its job of providing tensile strength. Always use rebar chairs or dobies to suspend the steel grid at the right height before the concrete truck even shows up.
The weather is another huge variable you can't ignore, especially with Georgia's unpredictable climate.
- Pouring in Extreme Heat: On hot, windy days, the water in your mix can evaporate way too fast. This halts the chemical curing process in its tracks, leaving you with a weak slab that’s begging to crack. For example, concrete poured at 90°F can lose up to 50% of its strength compared to concrete cured at 70°F if not protected. If you absolutely have to pour on a hot day, schedule it for the crack of dawn and have curing blankets or a spray-on compound ready to go.
- Pouring in Freezing Temperatures: Concrete can't cure if it freezes within the first 24 hours. A single freeze can slash its final strength by up to 50%. My rule is to avoid pouring if the forecast shows temps dipping below 40°F. If you must, you'll need insulated blankets and special strength-accelerating admixtures.
The goal isn't just to avoid a disaster on pour day; it's to build a foundation that will perform without a single issue for decades. It's the proactive planning and a healthy respect for what can go wrong that really separates amateur work from a professional build.
Preventing these problems starts long before the concrete arrives. A solid understanding of Mastering Construction Project Risk Management can help you anticipate pitfalls and keep your project on track. Catching a mistake early is one thing, but if you're dealing with a foundation that has already developed cracks or started shifting, it's time to call in an expert. It's best to get a professional opinion on residential concrete and masonry repair to figure out just how serious the structural impact is.
Your Top Questions About Foundation Forms, Answered
Even after mapping out every step, you're bound to have some questions once you start getting your hands dirty with foundation forms. It's totally normal. Here are the most common things people ask, along with some straight-shooting answers based on years of experience.
Is It Okay to Reuse Lumber for Concrete Forms?
You can, but I almost always advise against it for a one-off project like a home foundation. When you pour, the wood soaks up moisture from the concrete, which can cause it to warp and bow. On top of that, it's a real pain to clean off all the dried concrete paste, and any residue left behind can mess up the finish on your next pour. A good example is a piece of dried concrete from a previous job falling off and creating a void in the new wall.
For a residential foundation, just spring for new 2×12 lumber. You’ll get the clean, straight edges you want, and it's worth the small investment. The big professional crews you see? They're often using specialized aluminum or steel forms that are built to handle hundreds of pours without losing their shape.
How Long Do the Forms Need to Stay On?
This really depends on what you're building and what the weather is doing. For a straightforward slab-on-grade foundation, you can usually strip the forms after 24 to 48 hours. By then, the concrete is typically hard enough that it won't slump or lose its shape.
But if you're dealing with load-bearing foundation walls, or if the temperature is dipping below 50°F, you need to be more patient. Leaving the forms in place for 3 to 7 days is a much safer bet. This extra time helps the concrete hold onto its moisture, which is absolutely vital for the curing process that builds its long-term strength. Taking them off too soon can result in weak, crumbly corners. For instance, stripping a corner too early on a cold day could cause it to spall or break off when handled.
Key takeaway: Remember that "hard" and "cured" are two very different things. Concrete feels solid to the touch within a day, but it's not until about 28 days later that it actually reaches its full design strength. Leaving the forms on longer gives the curing process a big head start.
What’s the Best Way to Stop My Forms from Bowing?
There's only one answer here: solid, relentless bracing. Wet concrete is incredibly heavy and exerts tremendous outward pressure. You simply cannot over-brace your forms.
- Stakes are non-negotiable. Drive them into the ground every 24 inches right up against the outside of your form boards.
- Add "kickers." These are diagonal braces running from the top of your forms back to another stake in the ground, forming a triangle. They're your main defense against bowing.
- Use "whalers" on taller walls. If your foundation walls are high, run horizontal 2x4s (whalers) across the outside of your vertical stakes. This helps spread the load evenly across the entire wall instead of creating pressure points. A good example is on an 8-foot basement wall, where you would typically have a whaler at the bottom, middle, and top of the formwork.
Here at Atlanta Concrete Solutions, we know that everything starts with a perfect foundation. If you're building in the Atlanta area and need a team that gets it right the first time, we have the local expertise to pour a rock-solid base for your project. Get your free, no-obligation quote today at atlantaconcretesolutions.com.