
Seal the concrete as soon as it's dry enough to walk on. That's the advice most homeowners get, and it's the fastest route to a milky, blistered, peeling driveway.
A sealer is a moisture decision before it's a coating decision. Concrete keeps releasing water for weeks after the surface looks finished, and a film laid over a slab that's still giving off vapor has nowhere to put that vapor except up through the film. What shows up afterward is whitening, bubbles, soft spots and peeling, and it looks exactly like a bad product. Almost never is.
Readiness decides the job. Age of the slab, moisture inside the slab, surface temperature, dew point and film thickness settle the outcome before technique gets a vote. The work below treats sealing as a substrate-control operation with a coating step at the end, which is what it is.
Check Concrete Age and Weather Before You Seal
A slab can look finished and still be weeks away from ready. The American Concrete Institute guidance cited by the Associated Schools of Construction recommends curing conventional concrete for 7 days when temperatures stay above 40°F (5°C), and a high-early-strength mix can be ready in 3 days once temperatures reach 73°F (23°C). Those are minimums for the concrete itself. A conventional protective sealer waits for the 28-day milestone, because the slab keeps gaining strength and shedding internal moisture through that whole period.
Cure-and-seal compounds run on a different clock, and confusing the two is how slabs get coated too early. The Dayton Superior sealer technical guide puts cure-and-seal application at 4 to 6 hours after placement, or 2 to 3 hours in hot weather, once surface water and sheen have disappeared. That same guide calls for at least 14 days of curing, preferably 28, before an anti-spalling sealer goes down. Rolling a conventional sealer over a slab that never finished curing doesn't rescue it. It seals the problem in.
Prep and weather finish the readiness check. The decorative-concrete guidance calls for stripping dirt, oil, curing residue and efflorescence, then allowing roughly 12 to 24 hours of drying before the coating goes on. The Dayton Superior guide sets the working band at 50°F to 80°F measured at the surface, and outside it adhesion and leveling both slide. Vapor still leaving the slab will lift a fresh film weeks after the job looked done.
Match the product type to its minimum age and temperature window, and treat the figures as planning numbers until you check the container in your hand.
Readiness requirements by sealer type
| Sealer type | Minimum concrete age | Temperature window | Weather or moisture check |
|---|---|---|---|
| Penetrating silane or siloxane | 14 days minimum, 28 days preferred | Surface 50°F to 80°F | Slab clean, dry and free of standing water |
| Film-forming acrylic or urethane | 28 days for conventional concrete | Surface 50°F to 80°F | No rain or dew expected for 12 to 24 hours |
| Cure-and-seal compound | 4 to 6 hours after placement (2 to 3 hours in hot weather) | Same 50°F to 80°F surface band | Surface water and sheen gone |
| High-early-strength concrete, any sealer | 3 days minimum | At least 73°F (23°C) | Moisture check passed |
| Water-based products | Per data sheet | Air and slab around 45°F and rising | Avoid heat that causes skinning |
The 16-Hour Moisture Check
Calendar age proves nothing about dryness. Tape a two-foot square of clear plastic sheeting to the concrete, seal all four edges and leave it for 16 hours. Condensation on the underside of the plastic, or a dark damp patch on the slab beneath it, means vapor is still moving. Wait a week and test again.
Run the test in the afternoon rather than at dawn, and put a square on the shaded end of the driveway as well as the sunny stretch. A slab in shade dries slower than one in full sun, and the difference won't show from standing height.
Practical rule: the slab sets the schedule and the label only confirms it.
The technical data sheet for the product in your hand overrides every general rule above. Two sealers sitting side by side on the same shelf can carry different waiting periods, different recoat windows and different minimum temperatures.
How Much Sealer to Buy and How Many Coats
Measure before you buy. Length times width for every slab you plan to coat, then add the apron and any walkway getting the same treatment. Buying by eye because the driveway looks about two cars wide is how a job runs dry halfway through the second pass.
Manufacturer coverage rates turn that measurement into gallons. Sakrete's cure-and-seal technical instructions specify approximately 200 square feet per gallon and recommend two even, thin applications at right angles rather than one heavy coat. Run the arithmetic on a 1,000-square-foot driveway and you land at about 5 gallons for a single coat, before texture, porosity, waste or the second coat get counted.
Why the Reference Rate Is a Starting Point
Broom-finished concrete, exposed aggregate and stamped surfaces absorb more material than a troweled slab, and an etched or weathered driveway pulls harder still. Texture is the variable a coverage chart can't see. Buy for the surface you have, not the surface in the photo on the can.
Getting the quantity wrong hurts in both directions. Too little leaves pinholes and thin spots that fail first, usually along the tire paths. Too much traps solvent or moisture inside the film, and that surfaces as whitening, tackiness, peeling or visible roller and spray marks, the exact failure list the manufacturer instructions warn against.
Sealer quantity at 200 sq ft per gallon per coat
| Slab area | One coat | Two coats |
|---|---|---|
| 200 sq ft | 1 gallon | 2 gallons |
| 500 sq ft | 2.5 gallons | 5 gallons |
| 1,000 sq ft | 5 gallons | 10 gallons |
| 1,500 sq ft | 7.5 gallons | 15 gallons |
| 2,000 sq ft | 10 gallons | 20 gallons |
| 3,000 sq ft | 15 gallons | 30 gallons |
Add 10 percent for spills, tray residue and cut-in work around edges and the garage apron. Before committing to the full quantity, coat a four-by-four test patch, measure what it took, and scale up from that number. Then check your total against the coverage rate printed on your own product, because those figures belong to one manufacturer's sheet, not to every sealer on the market.
How to Apply Concrete Sealer Step by Step
Readiness is settled by this point, so the work becomes a question of rate, overlap and control.
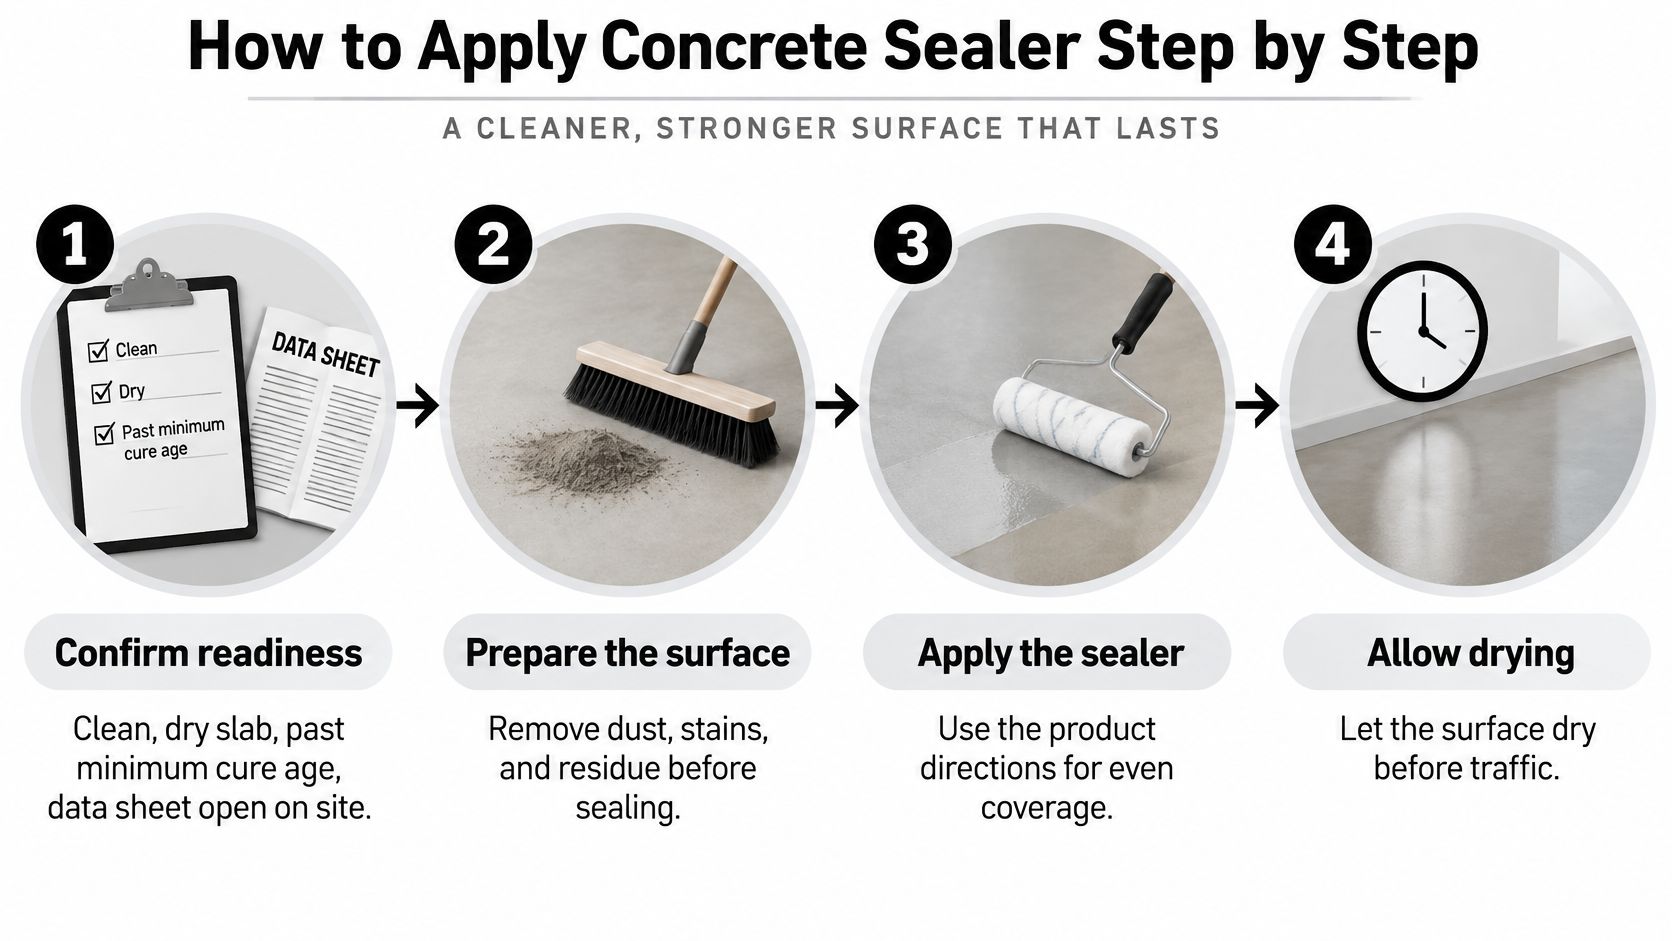
- Confirm readiness. Slab clean, slab dry, slab past its minimum cure age for the product in hand. The data sheet stays on site, not in the truck.
- Test a corner. Coat a small patch, let it dry, and check color, gloss and how fast it absorbs. A patch that goes blotchy tells you more than any label.
- Match the tool to the chemistry. A calibrated pump sprayer covers a long driveway quickly, a roller gives control on patios and edges, and a squeegee suits penetrating products that need spreading rather than spraying.
- Work in sections and hold a wet edge. Spray only in calm wind. Overspray travels onto cars, glass, masonry and planting beds, and it doesn't come back off.
- Cross the passes. Two thin coats at right angles cover better than one heavy coat, because a thin film lets solvent and moisture escape instead of sealing them in.
- Remove the excess. Where the data sheet calls for it, redistribute or wipe off material that hasn't soaked in. Puddles dry to haze, and haze dries to a slippery patch.
- Log the job. Start time, finish time, air temperature and surface temperature, written down. When something looks off in three days, that page answers the first four questions.
The American Concrete Institute's field guidance on concrete repair and protection is blunt about the core discipline: control the application rate instead of judging by how wet the surface looks, maintain a wet edge, and prevent puddling, lap marks and overspray. If you want a second look at sprayer technique and back-rolling before you commit a whole driveway, sealing tips from Riverside Sealing & Striping walk the same sequence from a contractor's side of the work.
A finished job looks even in raking light, with no pooling at low spots, no stripes where a pass stopped, and a surface that beads water once the film has fully cured.
When Foot Traffic and Cars Can Return
Dry to the touch is not the same as ready for service, and often a good coat is ruined during the first afternoon.
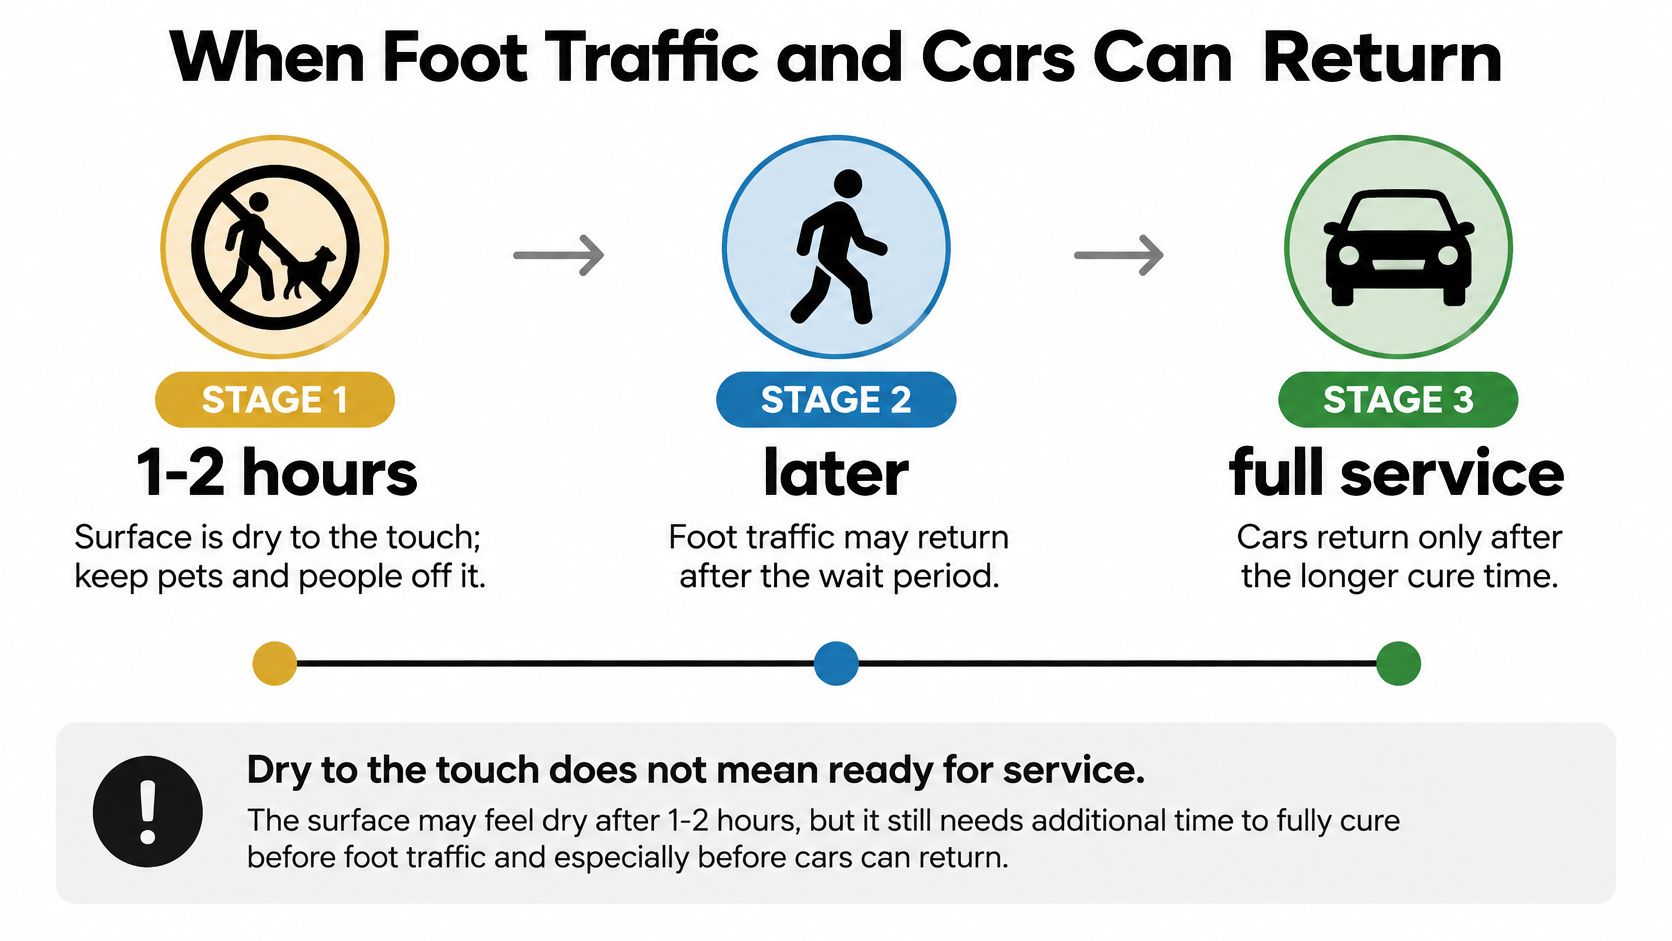
Decorative-concrete guidance from the Associated Schools of Construction is specific about the gap: a sealed surface may feel dry after 1 to 2 hours, yet the recommendation is 3 to 4 hours before light foot traffic and at least 24 hours before furniture goes back or a car parks on it.
Staged reopening, in order:
- First two hours. Nobody on it. Keep pets and children off, and keep the hose away from the slab. Dew settling on a fresh film overnight does the same damage as rain.
- Three to four hours. Light foot traffic is reasonable. Walking is fine; dragging patio chairs, hose reels or ladders across the surface is not.
- Overnight. Watch the forecast rather than the clock. A film still curing when weather moves in can blush or lift, and the repair costs more than the waiting did.
- Twenty-four hours. Furniture returns and a car can park. Pull in slowly and keep tires off the fresh edge, because a scuff on a soft film sets permanently.
- Full cure. Follow the data sheet. Film-forming acrylics and urethanes take considerably longer than penetrating silane products to reach final hardness.
Atlanta adds its own variables. A shaded driveway on the north side of a house, a humid morning and an afternoon thunderstorm can all land in the same day, and each one stretches the schedule. Write the reopening time on a calendar before the bucket opens, then tell everyone in the house what it says.
New pours and older slabs follow the same reopening rules, but the newer slab has to clear its cure window first, and the residential driveway concrete process covers that pour-to-seal sequence.
Fixing Whitening, Bubbles, Tacky Spots and Peeling
Whitening, or blushing, is the complaint that comes up most, and it nearly always means moisture was trapped under the film or the air was cold and humid while the sealer cured. The film isn't ruined yet. Let it dry completely, run the plastic sheet test again, and recoat only if the surface passes and the area still looks dull.
Moisture is the common thread through most of these symptoms. ACI's guidance on protective surface treatments treats it as a primary failure trigger: too much moisture under a film-forming system can produce blistering, whitening, pinholes or debonding, while standing water on the surface can dilute or block absorption of a penetrating silane product.
Sealer symptoms, causes and fixes
| Symptom | Likely cause | Fix |
|---|---|---|
| Whitening or blushing | Moisture trapped, or applied cold or humid | Let dry, pass the moisture check, then recoat thinly |
| Bubbles | Coat too thick or applied in heat | Let cure, lightly abrade, recoat in thinner passes |
| Pinholes | Too little material applied | Add a second thin coat at right angles |
| Tacky or soft spots | Excess product or cool temperatures | Wait out the cure window; if still tacky, remove residue with the solvent named on the data sheet |
| Peeling or lifting | Poor cleaning or moisture under the film | Strip, clean and re-prepare before recoating |
| Lap or roller marks | Wet edge not maintained | Back-roll edges while wet and work in smaller sections |
Peeling deserves its own paragraph, because it isn't really a coating problem. Film lifts when it bonded to contamination instead of concrete, or when moisture pushed it from below. Stripping the failed area, cleaning properly and re-preparing the surface is the only fix that holds. Recoating over it just builds a second failure on top of the first.
Lap marks are the easiest to prevent and the easiest to spot in late afternoon light. They come from breaking the wet edge, meaning the roller or sprayer returned to a section that had already started to skin. Back-roll the edge while it's still wet and keep sections small enough to finish in one pass.
Timing decides whether a repair sticks. A fix attempted the day before a rainy forecast isn't a fix, and neither is a recoat applied in the evening as temperatures fall. If the surface itself has started to break down and chunks come away, sealing is no longer the conversation. That's repair work, and residential concrete and masonry repair is the category to look at before another coat goes onto anything.
A fix attempted the day before rain isn't a fix.
Maintaining the Sealer Between Applications
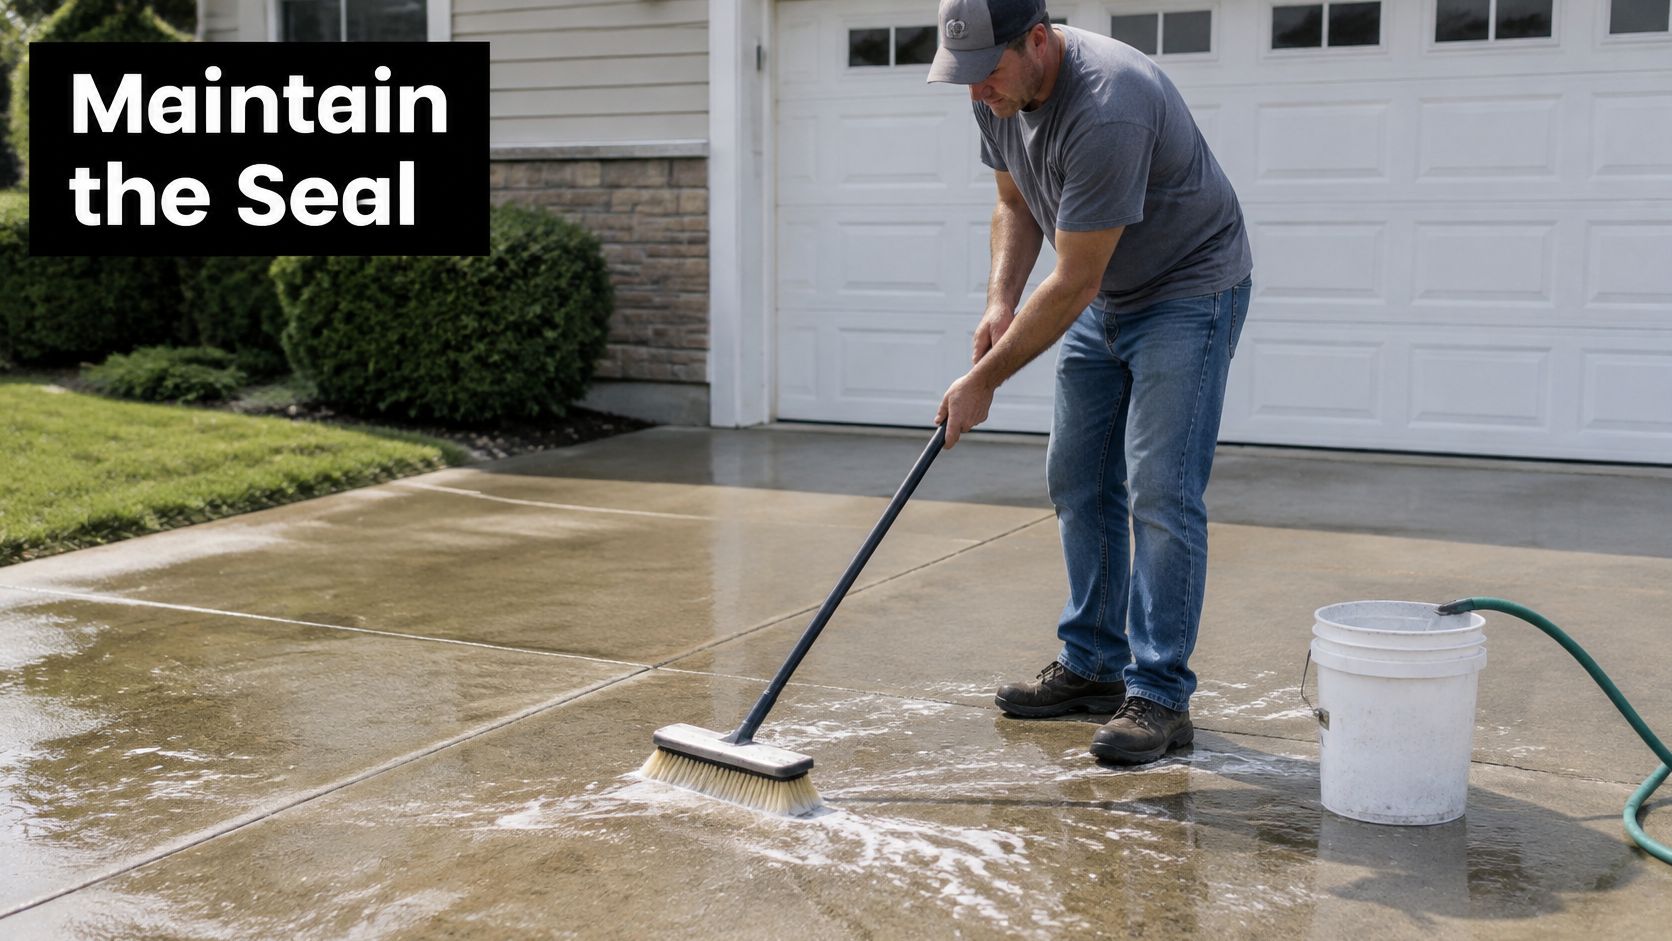
Sealing is a maintenance cycle, not a one-time event. A driveway that gets swept, washed and recoated on schedule keeps its color and sheds water for years, while one left alone goes chalky and starts soaking up oil.
The Federal Highway Administration's pavement preservation guidance sets two conditions that apply directly to a residential slab. The pavement must be completely dry before sealer goes on, because sealing over damp concrete traps moisture and accelerates deterioration. And a surface sealer should cover the entire pavement rather than isolated spots, since full coverage is what slows deterioration. Water- or solvent-based silane sealers are named there as suitable options for concrete pavement preservation.
The Annual Water Test
Once a year, throw a cup of water across the slab. If it beads and rolls, the sealer is still working. If it soaks in and darkens the concrete within a minute or two, the film has worn through in that area and it's time to reseal.
The rest of the routine is simple. Sweep or blow off grit and leaves, rinse with a hose, and hit oil spots with a mild detergent before they cure into the surface. Keep a pressure washer nozzle back from joints and edges, because a narrow jet aimed at a joint will erode the bedding and open a channel for water.
Cracks and joints come first. Fix active defects before the next coat, since sealing over a moving crack hides it for a season and then it reappears. FHWA drainage research separates surface, groundwater and structural drainage, and notes that excess water combined with traffic loads drives transverse cracking, faulting and corrosion of embedded steel. A low spot that ponds after every storm belongs on the repair list, and retrofitted drains are recognized there as a way to pull water out from beneath a slab.
Here's the same routine in motion, from prep through the final pass.
Then plan the next coat. A working driveway in this climate usually wants a fresh application every two to three years, sooner where a truck parks or the slab takes full afternoon sun. Log the date and the product, and the next round becomes a scheduled job instead of a surprise. For more on keeping hard surfaces sound between coats, driveway maintenance advice from Premier Gardens covers the seasonal side of the same routine. Decorative finishes need a gentler hand, and the decorative concrete care approach differs from a plain broom finish.
Decide Whether to Seal It Yourself or Hire a Pro
Some jobs suit a careful homeowner. A small patio or front walkway, a penetrating sealer, a settled weather window and a free afternoon for a test patch add up to a reasonable DIY project. Material cost stays low, the technique forgives small errors, and a mistake on a slab that size is fixable.
Hire for the rest. A long driveway, a film-forming coating that demands tight control of moisture and recoat timing, a slab with active cracks or delamination, or a commercial or HOA property where a failed coat has to be stripped before it can be redone: each pushes the risk past what a weekend saves. Film-forming products are the least forgiving of the group, because every defect stays visible on the surface. The failures that look like product defects usually trace back to the same cause, a slab coated before it was ready, and no product on the shelf fixes that after the fact.
There's a permitting angle too. The City of Atlanta Department of Transportation states that any disturbance to the public right-of-way requires a permit, and lists installing or repairing a driveway apron, along with sidewalk work, as examples. Permitted work has to follow Atlanta's standard details for construction in the right-of-way. If the apron meets the street inside that boundary, the project involves the city, not just the property. That rule is specific to the City of Atlanta and shouldn't be assumed for every metro municipality.
What to Ask Before You Sign
- Product name and data sheet. Get the exact sealer in writing, then read its coverage rate and recoat window yourself. A description of the product is not the product.
- Cure and moisture plan. Ask how the contractor will confirm the slab is dry, and what happens if it isn't.
- Test patch. A crew that won't run a sample area before coating 1,200 square feet is telling you something.
- Line-item estimate. Slab area, number of coats, coverage rate and waste allowance. Those four numbers let you check a quote against the math above.
- Licensing and insurance. Ask for both and verify the license is current for the state.
A contractor who answers all five without hesitation has done this before, and one who pushes you to coat a damp slab on a tight schedule is quoting speed, not quality. We're licensed and insured for work across the metro, and the honest answer is sometimes to wait a few weeks rather than seal a slab that isn't ready.
Do one thing this week whichever way you go. Measure every slab and the apron, write down the pour date if you know it, photograph any cracks, and bring that page plus two sealer types to your first conversation with anyone. The person holding those numbers gets a better answer than the person asking what it usually costs.
Sealing comes down to readiness, moisture and film thickness, and getting all three right on an Atlanta slab takes the right product plus a crew that checks the slab before opening a bucket. Atlanta Concrete Solutions handles concrete repair, resurfacing and full driveway replacement across the metro, and we'll tell you plainly whether your slab is ready for a coat or needs prep work first. Call (678) 554-4433 for a free estimate, or visit Atlanta Concrete Solutions to schedule a consultation.