
Even though fresh concrete feels solid to the touch within 24-48 hours, its journey to becoming incredibly strong has only just begun. The secret isn't about drying out like a mud puddle; it's a chemical reaction called hydration. This process is where the real magic happens, as water and cement bond to build internal strength. For example, a standard concrete mix might have a compressive strength of around 2,500 PSI after 7 days, but it needs the full 28 days to reach its designed strength of 4,000 PSI or more, which is necessary to handle heavy loads.
Your Essential Concrete Curing Timeline
Asking "how long does concrete have to cure?" is one of the most important questions you can ask. It’s a bit like watching grass grow, but this phase is what separates a strong, long-lasting slab from one that fails prematurely. Again, curing is not drying. It's an active chemical process that creates a dense, crystalline structure inside the slab. Rushing it is a classic rookie mistake.
Think of it like baking a cake. You can't just pull it out of the oven and immediately stack layers on it. It needs time to cool and set, or it will just collapse into a crumbly mess. Putting heavy weight on concrete before it's ready works the same way—you risk permanent damage like cracks and spalling, seriously compromising the slab's durability. A perfect example is parking a heavy pickup truck on a new driveway after only a few days; the immense pressure can create hairline fractures that will widen over time.
Key Strength Milestones
The curing journey happens in stages, with the concrete getting progressively stronger over time. Each milestone opens the door for different activities, from a person walking on it to a truck driving over it. Knowing these stages helps you avoid costly damage and protect your investment.
The most critical benchmark is the 28-day mark. This is the industry standard for when concrete is considered to have reached its full "design strength." While it technically continues to harden for months (or even years!), the most dramatic strength gain happens in this first month. For instance, it gains roughly 70% of its strength in the first week, but the remaining 30% is built more slowly over the next three weeks.
This visual gives a great breakdown of what you can expect and when.
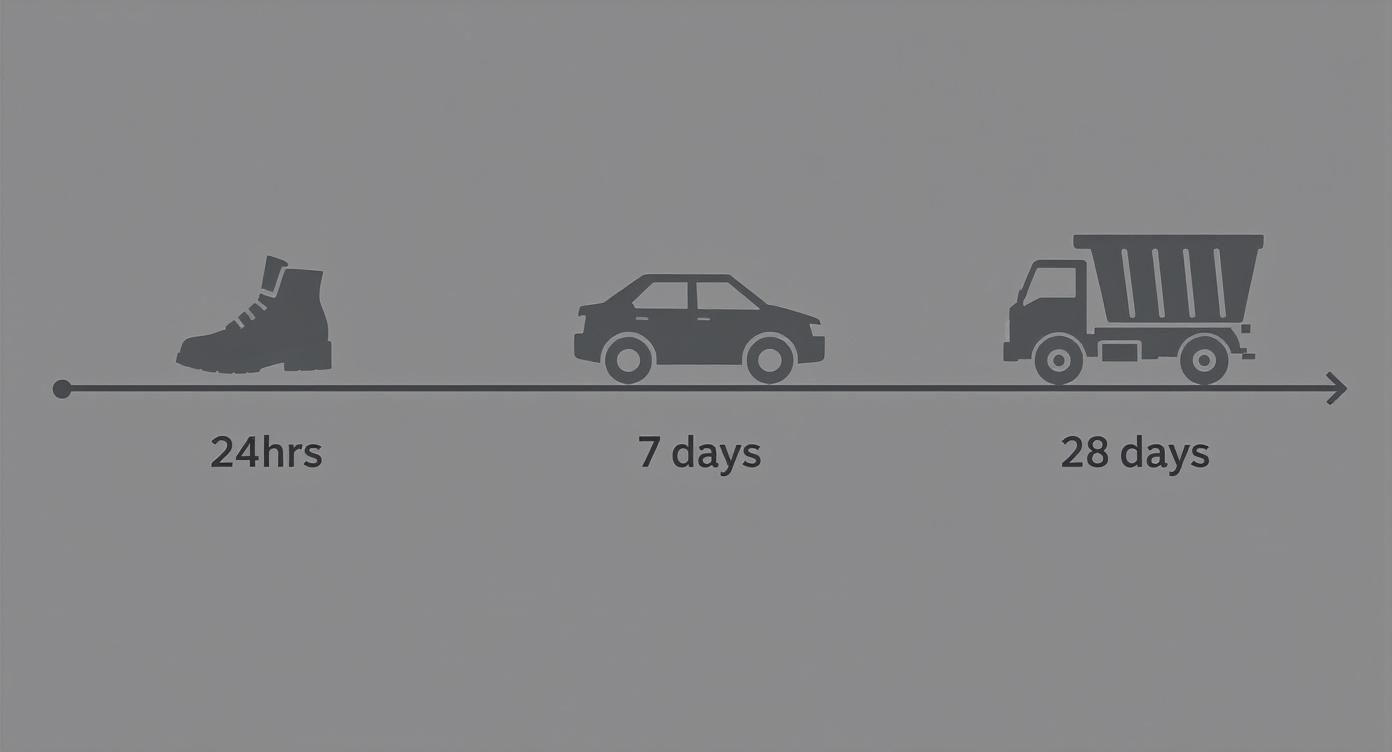
As you can see, patience is everything. Different activities become safe at the 24-hour, 7-day, and 28-day points.
Concrete Curing Milestones At a Glance
Here’s a quick reference guide to help you understand what's happening inside your slab and what you can do at each stage. This table assumes a standard 4-inch slab poured under ideal weather conditions (around 70°F or 21°C).
| Curing Time | Achieved Strength (Approximate) | Safe Activities |
|---|---|---|
| 24 Hours | ~50% | Light foot traffic, walking carefully. Maybe a small pet. |
| 3 Days | ~60% | Heavier foot traffic, moving patio furniture (lift, don't drag). |
| 7 Days | ~75% | Light vehicle traffic (passenger cars, SUVs). |
| 14 Days | ~90% | Heavier residential vehicles (pickup trucks). |
| 28 Days | 99%+ | Full design strength. Safe for heavy loads like dump trucks or moving vans. |
Remember, these are just general guidelines. Factors like the mix design, temperature, and humidity can shift this timeline, so it's always best to err on the side of caution. For example, in cooler weather (around 50°F), it might take 10-12 days to reach the same 75% strength that it would in 7 days at 70°F.
The 28-Day Curing Standard
So, why 28 days? This specific timeframe gives engineers and contractors a reliable, consistent benchmark for specifying and testing the strength of a concrete mix. The hydration process is firing on all cylinders during this period, creating the robust internal structure that gives concrete its legendary durability. After a month, the rate of strength gain slows way down.
Rushing the cure is a recipe for weak concrete. Proper hydration over the first 28 days is what creates a dense, durable surface that resists cracking, weathering, and wear for decades.
It’s also fascinating how much temperature plays a role. For instance, concrete cured in cooler, moderate weather around 55°F (13°C) for 28 days actually achieves a higher ultimate compressive strength than concrete cured in hot weather. You can find more in-depth details about how temperature impacts curing on powerblanket.com. This is exactly why a professional installation, which takes these environmental factors into account, is so vital for getting the best possible result.
Understanding the Science of Curing
Most people assume that once concrete is poured, the goal is to get it to dry out as fast as possible. This is probably the single most common—and most damaging—misconception out there. To get a real handle on how long concrete needs to cure, you first have to understand that curing and drying are two totally different things.
Drying is just evaporation. Simple as that. Curing, on the other hand, is a chemical reaction that needs water to happen. This reaction is called hydration, and it’s the secret sauce that gives concrete its incredible strength.
The Chemistry of Strength: What is Hydration?
Picture a bag of cement mix. It's full of tiny, dormant particles just waiting for something to happen. The moment you add water, you kickstart the hydration process. Water molecules start reacting with the cement, causing them to form a complex, interlocking web of crystals. For example, the primary compound in Portland cement, tricalcium silicate, reacts with water to form calcium silicate hydrate, which is the "glue" that holds everything together.
This crystal structure is the backbone of your concrete slab. Think of it like millions of microscopic threads weaving themselves together into a dense, solid fabric. The more these crystalline bonds form, the stronger and more durable the concrete gets. This process is what we call curing.
Curing isn't about getting rid of water; it’s about making sure the concrete has enough water to finish its chemical transformation. If it dries out too soon, the reaction stops, leaving the concrete weak and brittle.
This is exactly why you see professionals meticulously keeping new concrete wet. They are essentially feeding that hydration reaction, giving those internal crystals the water they need to grow, lock together, and build maximum strength from the inside out.
Initial Set vs. Final Cure
It’s also crucial to know the difference between the concrete’s initial set and its final cure. This explains why a fresh slab can feel hard to the touch long before it's ready for any real action.
- Initial Set: This happens in the first few hours. The concrete goes from a liquid to a semi-solid, becoming stiff enough to hold its shape. It has almost zero internal strength at this point and is incredibly fragile. For a typical mix at 70°F, this initial set occurs within about 2 to 4 hours.
- Final Cure: This is the long game. Hydration continues for weeks, months, and even years. But the most dramatic strength gain happens in the first 28 days—that’s the industry benchmark for measuring its final design strength.
Let's say you just poured a new walkway. It might feel solid enough to walk on after just 24 hours. And while it can probably handle your weight, that internal crystal structure is still in its infancy. Dropping a heavy tool or dragging patio furniture across it too soon can create tiny fractures that will compromise its durability down the road.
Even though the surface looks finished, the real work is happening deep inside. Protecting that slab from drying out and avoiding stress during that first month is the key to making sure it lasts for decades. Patience is everything when figuring out how long concrete has to cure for your job.
What Affects Concrete Curing Time?
Ask any seasoned concrete pro how long a slab needs to cure, and they'll tell you the same thing: "It depends." There's no single, universal answer because every single pour is unique. Think of the standard 28-day cure as a benchmark, not a hard-and-fast rule.
Several key factors can throw that timeline for a loop, either speeding things up or slowing them way down. Getting a handle on these variables is the real secret to managing a project correctly and getting concrete that will stand the test of time. A hot, breezy Atlanta afternoon will demand a completely different approach than a cool, overcast day in March.
The Concrete Mix Itself
It all starts with the recipe. The specific mix design—the precise ratio of cement, water, sand, and stone—is the biggest factor in how your concrete will behave. A mix with less water relative to cement will ultimately be stronger and more durable, but the chemical reactions might take a bit longer to get going. A prime example is comparing a standard 3000 PSI mix with a high-performance 5000 PSI mix; the stronger mix has a lower water-to-cement ratio and requires more meticulous curing.
The type of cement used is a huge piece of the puzzle, too. Different cements are engineered for different jobs. For a typical residential project using standard Type I cement, you can expect it to reach about 70% of its final strength after a solid 7 days of good curing. But if you’re in a hurry, you could opt for a high-early-strength Type III cement, which can hit that same strength milestone in as little as 3 days. This is exactly why you can't just order "concrete"; the mix has to match the job. You can dig deeper into how specific cements can speed up the curing timeline if you're on a tight schedule.
Mother Nature's Role: Weather and Environment
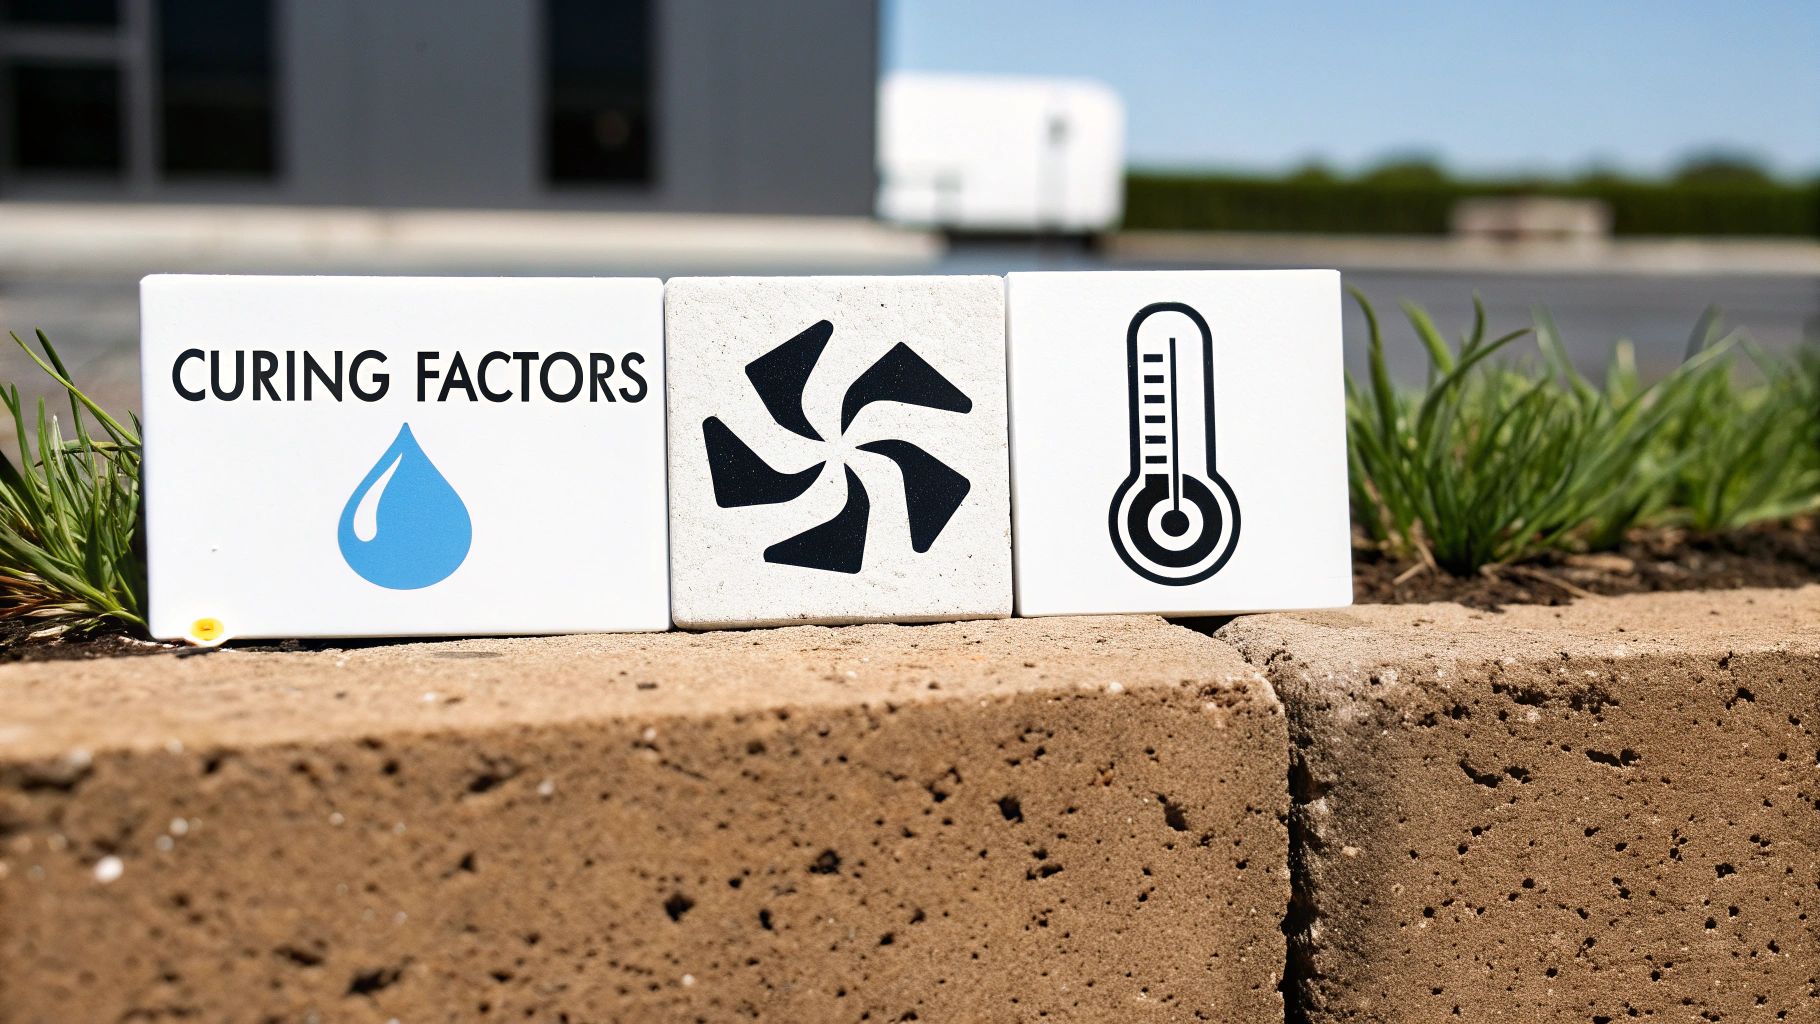
The weather on pour day and the days that follow has a massive say in how things turn out. Temperature, humidity, and wind are the big three, and they can either be your best friend or your worst enemy.
- Temperature: Think of heat as an accelerator for the curing process. The sweet spot is generally between 70°F and 90°F, where concrete gains strength nice and steadily. Once the temperature drops below 50°F, everything slows down dramatically. And if it gets near freezing? The hydration process can stop dead in its tracks, potentially causing permanent damage. For example, concrete poured at 40°F (4°C) can take twice as long to reach its target strength compared to concrete poured at 70°F (21°C).
- Humidity: Curing concrete loves humidity. When the air is damp, it slows down evaporation from the surface, keeping that critical moisture locked inside the slab where it's needed for the chemical reactions to continue. Dry, low-humidity air does the opposite, sucking moisture out too fast and putting the surface at risk. A pour in a humid climate like Miami will cure differently than one in arid Phoenix.
- Wind: That gentle breeze might feel great, but it’s a nightmare for fresh concrete. Wind acts like a giant hairdryer, stripping moisture from the surface and starving it of the water it needs to cure properly. This is a classic cause of a weak, dusty surface and ugly plastic shrinkage cracks. A 10 mph wind can increase surface evaporation four times compared to a calm day.
The Shape and Size of the Pour
The physical dimensions of what you’re pouring make a big difference. A massive foundation wall and a thin sidewalk slab cure in completely different ways.
A thick slab—say, a deep footing for a building—is great at holding onto the heat naturally generated by the hydration reaction. It essentially insulates itself, which keeps the core curing at a nice, stable rate even if the outside air gets a little cool. It also holds onto its internal moisture much longer.
On the other hand, a thin 4-inch patio slab has a ton of surface area compared to its volume. This makes it incredibly vulnerable to the elements. It can lose its heat and moisture in a flash, which is why you have to be extra careful to protect it.
That exposure is why actively curing thin slabs is so non-negotiable for things like driveways and patios. Whether you're using a spray-on curing compound or covering it with wet burlap, you have to protect that surface so it can develop the strength it needs to last.
To see how these elements play against each other, take a look at the table below. It breaks down how different scenarios can push your curing timeline one way or the other.
How Different Factors Impact Curing Time
| Factor | Impact on Curing Time | Example |
|---|---|---|
| High Ambient Temperature (90°F) | Accelerates | Concrete gains strength faster in the first few days. Ideal for quick turnarounds. |
| Low Ambient Temperature (45°F) | Decelerates | Hydration slows significantly, extending the time needed to reach full strength. |
| High Humidity (>80%) | Accelerates (Ideal Conditions) | Reduces surface evaporation, keeping moisture in for a more complete cure. |
| Low Humidity & High Wind | Decelerates (Poor Conditions) | Rapid moisture loss can stop surface hydration, causing cracks and weakness. |
| High-Early-Strength Cement (Type III) | Accelerates | Designed to reach high strength in 1-3 days instead of the typical 7 days. |
| Low Water-to-Cement Ratio | Decelerates (Initially) | A "drier" mix hydrates more slowly but results in much stronger, denser concrete. |
| Thick Slab (e.g., 12-inch foundation) | Accelerates (Internal) | Retains heat from hydration, which speeds up the internal curing process. |
| Thin Slab (e.g., 4-inch sidewalk) | Decelerates (Vulnerable) | Loses heat and moisture quickly, requiring more careful curing to prevent defects. |
As you can see, there’s a real push and pull between all these variables. Managing them effectively is what separates a flawless, durable slab from one that fails prematurely.
Curing Timelines for Common Projects
Knowing the science is one thing, but how does it actually play out on your property? The real-world answer to "how long does concrete take to cure?" really depends on what you're pouring. A driveway faces totally different stresses than a stamped patio, and neither can be treated like a structural foundation.
Applying the right timeline is the key to getting a slab that performs as it should and lasts for the long haul. Let's break down the technical jargon into practical timelines you can use for the most common projects around the home.
Driveways: From Footsteps to Heavy Trucks
A new driveway is a serious investment, so protecting it while it gains strength is non-negotiable. Being impatient is the quickest way to end up with permanent damage before you've even properly used it.
For a driveway, the timeline is all about gradually introducing heavier loads. Here’s a safe, conservative schedule to follow:
- 24-48 Hours: At this point, the surface should be hard enough for you and your family to walk on without leaving footprints.
- 7 Days: After a full week, your concrete has gained roughly 70-75% of its final strength. It's now safe to park regular passenger cars and SUVs on it.
- 28 Days: This is the magic number. After four weeks of proper curing, the slab is considered fully cured and ready for anything you can throw at it—moving vans, construction equipment, or that big RV.
The single biggest mistake we see homeowners make is parking a heavy work truck on a new driveway after just a week. That kind of concentrated weight on concrete that hasn't fully matured is a recipe for hairline cracks that will only get worse.
Sidewalks and Patios
With sidewalks and patios, the main worry isn't so much vehicle weight, but surface damage. These slabs are typically thinner and more exposed, making them vulnerable to drying out too fast. That can lead to ugly shrinkage cracks or a weak, chalky surface.
The goal here is simple: keep people and heavy items off long enough for the surface to harden. A person walking on it after 24 hours is usually fine. But wait at least 3 to 5 days before dragging heavy patio furniture across it or letting the kids ride their bikes on it. The corners and edges are especially delicate during this initial phase. A great example is waiting a full week before placing heavy planters, as their concentrated weight can cause indentations.
Decorative and Stamped Concrete
When you've paid for the visual appeal of stamped or colored concrete, curing becomes even more critical. An uneven cure doesn't just impact strength—it can completely ruin the final look.
If one part of your beautiful stamped patio dries faster than the rest, you'll end up with permanent blotches and discoloration. For example, if a corner is exposed to direct sun while the rest is shaded, that corner will appear lighter and washed out. The pressure from the stamping tools also makes the fresh surface more sensitive. For these projects, achieving a slow, consistent cure over the first 7 days is absolutely essential for a uniform color and a crisp, durable pattern.
Foundations and Footings
When it comes to structural concrete like a foundation, the timeline isn't about convenience; it's about safety and structural integrity. These elements have to reach a specific strength before they can handle the immense load of walls, floors, and a roof.
Building on top of a "green" foundation is a risk no professional will ever take, as it can lead to catastrophic failure down the road. We never backfill against a foundation wall or start framing until the concrete has cured for a minimum of 7 to 14 days and its strength has been verified. For instance, the concrete must reach at least 75% of its design strength before removing the forms and starting to build walls on top of it. This ensures the entire home is built on a stable, solid base.
Patience is more than a virtue here—it's a structural necessity. To understand just how critical this process is, you can learn more about the specifics of pouring residential foundation concrete and why it’s a job best left to the pros.
Proven Methods for Proper Concrete Curing
Getting your concrete to its full potential strength isn't just a waiting game—it's an active process. The goal is simple: you have to keep enough moisture locked inside the slab for that first critical week. This moisture fuels the hydration reaction, which is what gives concrete its strength.
If you let it dry out too fast, it’s like trying to grow a plant without water. The whole process just stalls, leaving you with weak, underdeveloped concrete.
There are a few time-tested ways to get the job done right. The best method really depends on your project and the local climate—especially here in Atlanta—to ensure you end up with a strong, durable, and crack-free surface.
Keeping It Wet: Water Curing Methods
The most straightforward way to keep the hydration process going is to continuously add water to the concrete’s surface. Many pros consider this the gold standard because it gives the chemical reactions an endless supply of the moisture they need to work their magic.
You’ll typically see two approaches:
- Sprinkling or Misting: Think of a lawn sprinkler set to a gentle mist, keeping the slab constantly damp. It’s highly effective, but it does require a steady water source and you have to make sure it doesn’t create puddles or wash away the surface. For a new patio, this might mean setting a timer to mist the slab for 5 minutes every hour during the day.
- Ponding: This involves building small, temporary dams around the edge of a slab and flooding the surface with about an inch of water. It's fantastic for perfectly flat surfaces like a big patio but obviously won't work for anything sloped, like a driveway.
Both of these methods are incredibly effective, but they need your full attention for the first 3 to 7 days.
Trapping Moisture With Covers
If constantly adding water isn’t practical, you can trap the moisture that’s already in the mix. The idea is to cover the slab right after it's finished to stop evaporation in its tracks. For most homeowners and residential projects, this is a much more manageable approach.
Here are a couple of popular options:
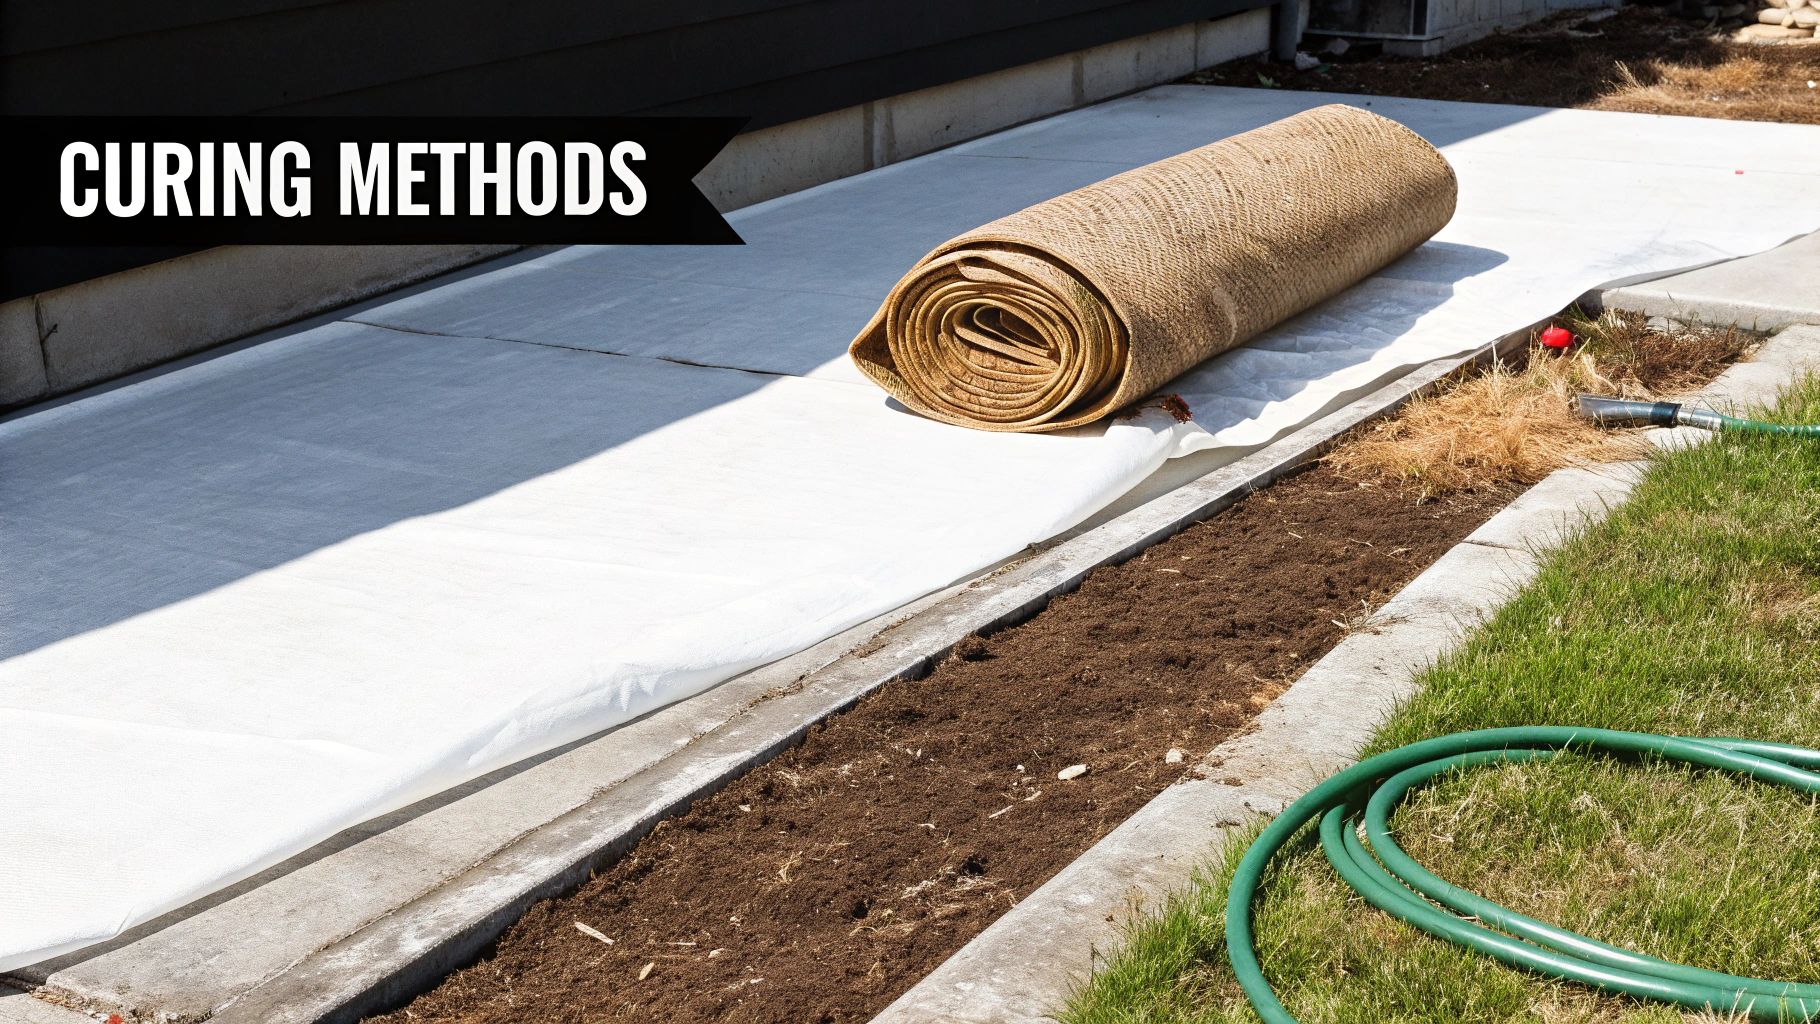
- Plastic Sheeting: This is the go-to for many because it’s cheap and creates an excellent vapor barrier. The trick is to lay it perfectly flat and secure the edges with lumber or bricks. Any wrinkles or air gaps can lead to splotchy, uneven curing and discoloration—a huge problem for any kind of decorative concrete.
- Wet Burlap or Curing Blankets: These are a step up. You lay the material over the concrete and keep it damp. They provide a much more even cure than plastic and also help keep the slab's temperature stable, which is a big help in preventing cracks. A good example is soaking burlap rolls in water, laying them over the slab, and then covering them with plastic to keep them from drying out.
Proper curing is all about creating the perfect environment for hydration. The American Concrete Institute (ACI) is clear on this: concrete that's kept moist for just 7 days can be about 50% stronger than concrete that's just left to air dry. You can find more details on the benefits of proper curing on ConcreteNetwork.com.
Using Chemical Curing Compounds
Sometimes, using water or covers just isn't an option. For those situations, chemical curing compounds are a lifesaver. These are liquid, membrane-forming products that you simply spray or roll onto the fresh concrete.
Once applied, the compound forms a thin, protective film that seals the moisture in, preventing it from evaporating too quickly. They’re a breeze to apply and work incredibly well, especially on vertical walls or on windy days where burlap would dry too fast.
The only real catch is that some of these compounds have to be completely removed—either with chemicals or by grinding—before you can apply certain paints, sealers, or flooring. For example, if you're aiming for a mirror-like finish, you have to think about how that curing compound will interfere with the process. Our guide on how residential polished concrete is achieved dives into why starting with a clean, receptive surface is non-negotiable.
Costly Curing Mistakes to Avoid
Pouring concrete is only half the battle. Getting the curing process right is just as important, and a few common mistakes can ruin an otherwise perfect job. These aren't minor issues you can fix later—they permanently weaken the slab, turning your investment into a long-term headache.
The frustrating part is that most of these errors are easily avoidable. They almost always come down to a lack of patience or not fully appreciating the delicate chemistry at work. Let's walk through the most common pitfalls so you can steer clear of them.
Letting the Surface Dry Too Quickly
This is, without a doubt, the number one mistake we see out in the field. If you let the sun and wind beat down on fresh concrete, the moisture on the surface evaporates way too fast. That sudden loss of water stops the hydration process right where you need it most—the top layer.
The result is a weak, vulnerable surface with serious problems:
- Plastic Shrinkage Cracks: The top layer shrinks rapidly while the concrete below is still wet, creating a network of ugly, spiderweb-like cracks within the first few hours. This is a common sight on driveways poured on a hot, windy day without any curing compound applied.
- Surface Dusting: The slab never hardens properly on top. Instead, you get a chalky, powdery surface that will wear away underfoot. If you can rub the surface with your hand and see fine powder come off, it's a sign of poor curing.
- Reduced Durability: The concrete becomes porous and acts like a sponge, making it incredibly vulnerable to freeze-thaw cycles and de-icing salts.
Think of it like a plant trying to grow in a desert. Without sustained moisture, it can't develop the internal structure it needs to thrive. The same is true for your concrete slab.
Applying Loads Before the Concrete Is Ready
Patience is everything with new concrete. Those timelines for walking and driving on it aren't just suggestions; they are structural necessities. When you put a heavy load on a slab before it’s gained enough strength, you create tiny fractures throughout the concrete. You might not see them right away, but they're the starting point for major cracks down the road.
Parking a heavy truck on a new driveway after just a couple of days is a classic example of this. The concrete simply can't handle that kind of concentrated weight yet. Stick to the milestones: 24-48 hours for foot traffic, at least 7 days for cars, and the full 28 days before parking heavy vehicles. If a slab has been damaged by premature stress, it's critical to deal with it early. Our guide on residential concrete and masonry repair covers some effective solutions.
Failing to Protect Against Extreme Weather
Extreme weather is fresh concrete’s worst enemy. Pouring concrete without checking the forecast and having a plan is a massive gamble.
- Freezing Temperatures: If fresh concrete freezes in the first 24 hours, the water inside expands by about 9%. That expansion shatters the delicate chemical bonds that are just starting to form, which can reduce the final strength by up to 50%. A simple example is a sidewalk poured in late fall that freezes overnight; it will likely flake and spall apart by the next spring.
- Intense Heat: Hot, sunny days are just as dangerous. They turbocharge moisture loss, leading to the cracking and dusting we just talked about. In Atlanta’s summer heat, using curing blankets or misting the slab isn’t just a good idea—it’s absolutely essential.
Your Top Concrete Curing Questions Answered
Even the best-laid plans can hit a snag, and when it comes to concrete, questions always come up. Getting a handle on the curing process is the key to protecting your investment. Let's tackle some of the most common questions we get from homeowners.
Can I Speed Up Concrete Curing?
You can, but you have to be careful. The pros have a few tricks up their sleeves, like using high-early-strength cement (Type III) or adding special accelerating admixtures right into the mix. These are designed for rapid strength gain in commercial jobs, like patching a highway overnight.
For a homeowner, the safest bet is managing the temperature. Concrete cures faster when it's warm. If you can keep the slab in that sweet spot of 70-90°F (21-32°C) with curing blankets, you'll speed up the chemical reaction. But—and this is a big but—never blast it with direct heat from something like a torpedo heater. That just dries out the surface, stops the curing process cold, and leaves you with weak concrete. You want a faster chemical reaction, not just faster water evaporation.
What Happens If It Rains on New Concrete?
It all comes down to timing and how hard it's raining. A light, misty rain that shows up a few hours after the concrete has stiffened up can actually be a good thing. It's like a gentle, automatic sprinkler, giving the surface the consistent moisture it craves for hydration.
On the other hand, a heavy downpour right after the pour is a real problem. It can literally wash away the top layer of cement, leaving the sand and gravel exposed. This doesn't just wreck the smooth finish; it creates a weak, pockmarked surface that won't last.
If you see heavy rain in the forecast, you absolutely need plastic sheeting on standby to cover the slab the second the finishing crew is done. For instance, if the finishers just completed the final trowel and dark clouds are rolling in, it's a race against time to get it covered.
How Can I Tell When My Concrete Is Fully Cured?
Here’s the tricky part: you can't tell just by looking at it. Concrete is a bit of a slow-cooker; it keeps getting stronger for months, sometimes even years. The 28-day mark is simply the industry benchmark. It's the point where we expect the concrete to have hit its "design strength" and be ready for its intended job, but it's not the finish line for the curing process itself.
For a homeowner, the best thing to do is just stick to the tried-and-true timelines. They're designed to keep your slab safe while it's most vulnerable.
- Keep everyone off of it for 24-48 hours. No exceptions.
- Wait at least 7 full days before parking a regular car on it.
- Give it the full 28 days before you even think about parking a heavy work truck or an RV on your new slab.
From picking the right mix to developing the perfect curing plan for Atlanta's unique weather, navigating a concrete project is what we do all day, every day. If you want to make sure your new driveway, patio, or foundation is poured right and built to last, put your trust in the experts at Atlanta Concrete Solutions. Request your free, no-obligation quote today!